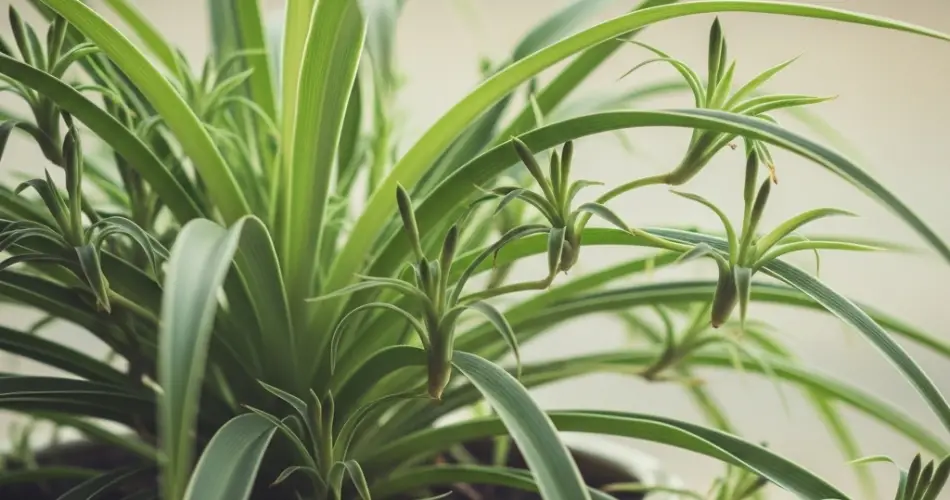
Spider plants (Chlorophytum comosum) are beloved houseplants for their graceful, arching leaves and air-purifying qualities. They’re also fast growers, producing baby “spiderettes” and filling up pots quickly. While spider plants are generally low-maintenance, they do eventually become root-bound—meaning their roots outgrow the container, circle around inside the pot, and crowd each other.
A root-bound spider plant can suffer from stunted growth, yellowing leaves, and even stress-related browning. Repotting at the right time and with the proper technique ensures your plant stays healthy, continues to grow, and produces more pups.
Here’s how to identify when your spider plant is root-bound and the steps to repot it properly.
Signs Your Spider Plant Is Root-Bound
Spider plants like being a bit snug in their pots, but too much crowding can cause problems. Look out for these signs:
-
Roots growing out of the drainage holes
-
Water running straight through the pot without soaking in
-
Slowed or stunted growth
-
Leaf tips turning brown despite good care
-
Soil drying out too quickly
-
Pot bulging or cracking from root pressure
If you see one or more of these signs, it’s time to repot.
When to Repot a Root-Bound Spider Plant
The best time to repot is during the spring or early summer, when the plant is actively growing. This helps the plant recover quickly and encourages strong new root growth.
However, if your spider plant is severely root-bound or showing signs of distress, you can repot it at any time of year—just be a little more gentle during colder months.
How to Repot a Root-Bound Spider Plant
Repotting a spider plant is a straightforward process, but there are a few important steps to follow for success.
What You’ll Need:
-
A new pot (1–2 inches wider than the current one)
-
Fresh, well-draining potting mix
-
Scissors or pruners (clean and sharp)
-
A tarp or newspaper to catch soil
-
Optional: gloves and a watering can
Step 1: Remove the Plant from Its Pot
Gently tip the pot on its side and ease the spider plant out. You may need to tap the sides or squeeze the pot slightly to loosen the roots.
If the plant is tightly stuck, run a butter knife around the edge of the pot to help release it. Avoid pulling the plant by the leaves to prevent damage.
Step 2: Examine and Loosen the Roots
Inspect the root ball. If it’s tightly coiled or packed solid, your spider plant is definitely root-bound.
Use your fingers to gently loosen and tease apart the outer roots. If some roots are extremely compacted, you can trim a few of them with clean scissors. This will encourage the plant to grow new, healthy roots once in its new container.
Step 3: Choose the Right Pot and Soil
Pick a pot that is 1–2 inches larger in diameter than the current one. Make sure it has good drainage holes to prevent root rot.
Fill the bottom of the new pot with a few inches of fresh potting mix. A general-purpose indoor plant soil works well, or you can use a mix of peat moss, perlite, and compost for better drainage and nutrients.
Step 4: Replant and Backfill
Place the spider plant in the center of the new pot, spreading out the roots if possible.
Add potting mix around the sides, filling in gaps and pressing lightly to secure the plant. Leave about an inch of space at the top to allow for watering.
Step 5: Water Thoroughly
After repotting, water the plant well to help settle the soil around the roots. The soil should be evenly moist but not soggy.
Let the pot drain fully and place the plant in a spot with bright, indirect light.
Optional: Divide Large Plants
If your spider plant is very large or producing lots of pups, this is a great time to divide it.
To divide:
-
Separate the root ball into sections with a clean knife or by hand.
-
Make sure each division has its own roots and leaves.
-
Pot each section into its own container.
This helps refresh your plant and gives you more spider plants to place around the house or share.
Post-Repotting Care Tips
-
Avoid fertilizing for about a month—let the roots adjust first.
-
Monitor the soil moisture closely, as newly repotted plants can dry out faster.
-
If the plant droops slightly, give it a few days. It will perk up once it settles in.
Conclusion
Repotting a root-bound spider plant is essential for long-term health and growth. By recognizing the signs early and taking a few simple steps, you can ensure your plant continues to thrive, produce lush foliage, and grow plenty of baby spiderettes. With a little care and attention, your spider plant will reward you with years of vibrant greenery.


