Eggplants, or aubergines, are delicious, versatile vegetables that thrive in a variety of climates. They are often seen as crops for traditional garden plots, but with a little creativity, they can flourish in urban environments too. For city dwellers with only a balcony, patio, rooftop, or small outdoor corner, bucket gardening is an effective and space-saving way to grow these nutrient-rich vegetables.
Urban gardening in buckets not only provides fresh produce but also transforms unused spaces into green and productive areas. Eggplants are particularly well-suited for this type of gardening because they grow vigorously in containers when given the right soil, sunlight, and care. This guide will walk you through the essentials of cultivating eggplants in buckets, helping you enjoy a harvest of fresh, homegrown vegetables in the middle of the city.
Why Choose Buckets for Growing Eggplants?
Urban gardeners often face challenges such as limited space, poor soil quality, and lack of access to traditional gardening plots. Buckets solve these problems in several ways:
-
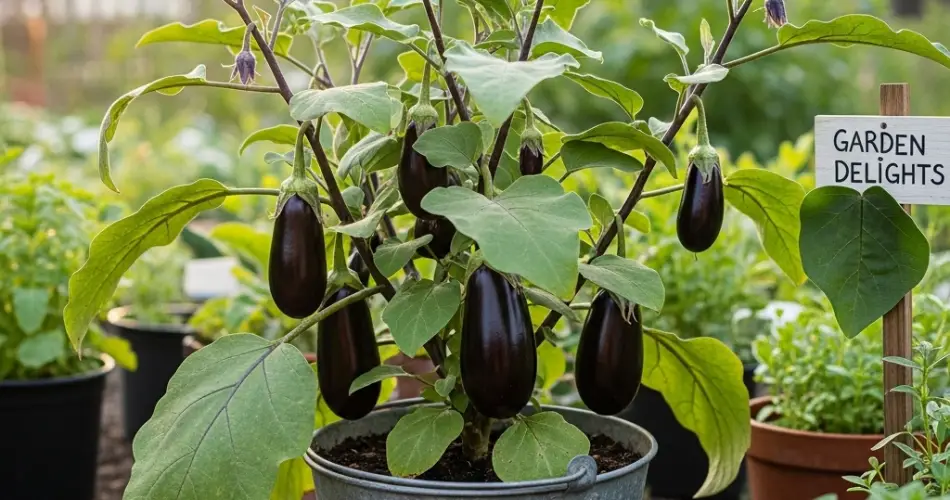
Compact and portable: A 5-gallon bucket fits easily on balconies, rooftops, or small patios and can be moved to catch better sunlight.
-
Soil control: You choose the soil mix, ensuring a healthy, pest-free medium.
-
Pest reduction: Elevating plants in containers reduces the likelihood of damage from ground-dwelling pests.
-
Cost-effective: Buckets are affordable, easy to repurpose, and widely available.
This makes bucket gardening an ideal solution for growing eggplants in cities where space is limited but fresh produce is still desired.
Step 1: Selecting the Right Bucket
The most important consideration is size. Eggplants need deep, roomy containers to allow proper root development. A 5-gallon bucket is perfect for one plant. Drill several drainage holes at the bottom to prevent waterlogging. Without good drainage, roots may rot quickly.
If possible, choose a light-colored bucket that reflects sunlight and prevents the soil from overheating during hot summer days.
Step 2: Preparing the Soil
Eggplants grow best in well-draining, nutrient-rich soil. For a bucket setup, prepare a custom mix such as:
-
2 parts quality potting soil
-
1 part compost or aged manure
-
1 part perlite or coarse sand for aeration
Maintain a soil pH between 6.0 and 6.8. Incorporating organic fertilizers like bone meal or a slow-release vegetable blend ensures a steady supply of nutrients. This foundation allows the plant to establish healthy roots and sustain heavy fruit production later.
Step 3: Planting Your Eggplant
You can grow eggplants from seed or transplant seedlings.
-
From seeds: Start indoors 8–10 weeks before the last frost. When seedlings are 6–8 inches tall and temperatures remain consistently above 60°F (15°C), they can be transplanted into buckets.
-
From seedlings: Buying healthy nursery plants is a faster option.
Plant one seedling per bucket, keeping the root ball at the same depth it was growing previously. Firm the soil gently and water thoroughly.
Step 4: Sunlight and Temperature
Eggplants are heat-loving plants that require 6–8 hours of direct sunlight daily. Place your buckets in the sunniest spot available, whether it’s a rooftop, balcony ledge, or patio corner.
The portable nature of buckets allows you to move them as the season changes, ensuring consistent exposure. In cooler urban climates, buckets can be placed near a warm wall to extend the growing season.
Step 5: Watering and Feeding
Since buckets dry out faster than garden soil, watering consistency is essential. Check the soil daily; when the top inch feels dry, water deeply. During hot spells, this may mean watering once or even twice a day.
Mulching the surface with straw or shredded leaves helps retain moisture and regulate temperature. Fertilize every 2–3 weeks with a balanced liquid fertilizer or a tomato-specific blend high in potassium and phosphorus to promote flowering and fruiting.
Step 6: Supporting Your Plant
Eggplants can become heavy with fruit, causing stems to bend or break. Insert a stake or small tomato cage into the bucket soon after planting. Tie the main stem gently with garden twine for support. This prevents damage and helps the plant direct its energy toward fruit development.
Step 7: Pest and Disease Control
Urban gardeners may still encounter pests like aphids, spider mites, or flea beetles. Inspect plants regularly and act quickly:
-
Use neem oil or insecticidal soap for aphids and mites.
-
Protect young plants from flea beetles with floating row covers.
-
Avoid fungal issues by watering at the base rather than overhead and ensuring good air circulation between plants.
Step 8: Harvesting Eggplants
Eggplants are generally ready to harvest 60–80 days after transplanting. Look for firm, glossy fruits that have reached their mature size. Dull or wrinkled skin indicates overripeness.
To harvest, cut the fruit from the stem with pruning shears instead of pulling, which can damage the plant. Frequent harvesting encourages more fruit production.
Step 9: Extending the Urban Harvest
One advantage of bucket gardening is mobility. As cooler weather approaches, you can move buckets indoors, into a greenhouse, or closer to a warm wall to prolong the harvest season. This flexibility is especially valuable in urban settings where growing seasons may be shorter.
Conclusion
Urban bucket gardening with eggplants is an efficient and rewarding way to bring fresh produce into city living. Buckets provide the right space, control, and portability needed for healthy growth, while the plants themselves adapt well to container life. With proper care—sunlight, consistent watering, nutrient-rich soil, and support—you can enjoy glossy, flavorful eggplants grown right outside your door.
Even in the middle of a busy city, your balcony or rooftop can become a mini garden oasis. Eggplants in buckets prove that fresh, homegrown food is possible anywhere, no matter how limited the space.


