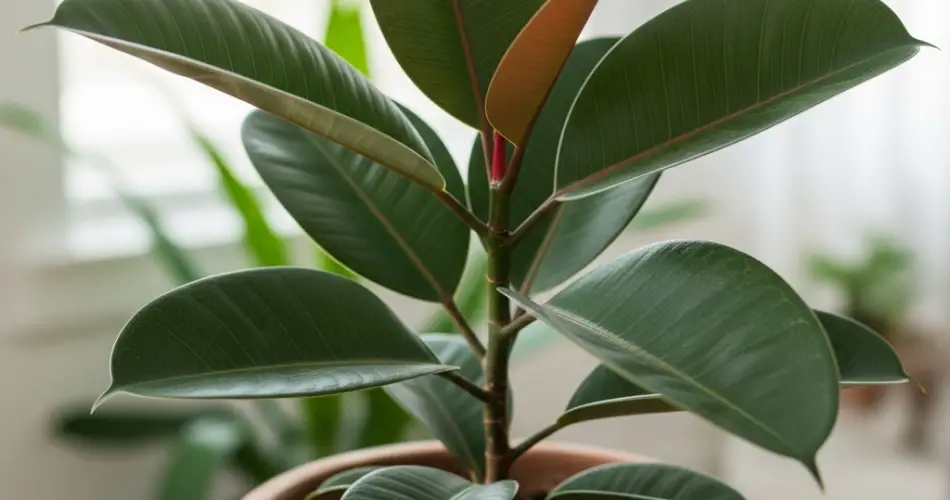
The rubber plant (Ficus elastica) is a popular indoor houseplant admired for its bold, glossy leaves and upright growth. While relatively low-maintenance, one of the most important aspects of long-term care is repotting. Over time, rubber plants can become root-bound, deplete nutrients from the soil, or outgrow their containers. Repotting revitalizes the plant, encourages healthy growth, and helps maintain its striking appearance.
This guide walks you through the step-by-step process of repotting a rubber plant the right way, ensuring minimal stress and maximum health.
When to Repot a Rubber Plant
Timing is crucial for successful repotting. Rubber plants generally grow slowly, so they only need to be repotted every 2–3 years. Signs that your plant needs repotting include:
-
Roots growing out of the drainage holes.
-
Soil that dries out very quickly after watering.
-
Stunted growth or yellowing leaves despite proper care.
-
A container that is too small for the plant’s current size.
The best time to repot is during the spring or early summer when the plant is actively growing. Avoid repotting during the dormant winter months, as growth is slower and the plant may experience additional stress.
Choosing the Right Pot and Soil
Selecting the proper pot and soil is key to healthy root development:
-
Pot size: Choose a container that is 1–2 inches larger in diameter than the current pot. A too-large pot can retain excess water, increasing the risk of root rot.
-
Drainage: Ensure the pot has drainage holes to allow excess water to escape. Rubber plants do not tolerate standing water.
-
Soil: Use a well-draining houseplant or tropical plant mix. Mixing standard potting soil with perlite or sand improves aeration and prevents compaction.
A slightly larger pot with proper drainage and nutrient-rich soil sets the stage for robust growth.
Step-by-Step Repotting Guide
1. Prepare Your Workspace
Lay down newspaper or a plastic sheet to catch excess soil. Gather your supplies: a clean new pot, fresh potting mix, scissors or pruning shears, and gloves if desired.
2. Remove the Plant from Its Current Pot
Gently loosen the plant from its container. If the plant is root-bound, carefully tease the roots apart without breaking them excessively. Avoid pulling forcefully, as this can damage the main stems or roots.
3. Inspect and Trim Roots
Examine the root ball for any signs of rot or disease. Healthy roots are firm and white, while black or mushy roots should be removed using sterilized scissors or pruning shears. Trimming damaged roots promotes new, healthy growth and reduces the risk of infection.
4. Add Soil to the New Pot
Place a layer of fresh potting mix at the bottom of the new pot. Position the plant in the center, ensuring that the top of the root ball sits slightly below the pot’s rim. Fill around the roots with soil, gently pressing it to eliminate air pockets. Avoid compacting too tightly, as roots need space for growth and aeration.
5. Water Thoroughly
After repotting, water the plant thoroughly until excess water drains from the bottom. This helps settle the soil around the roots and provides initial hydration. Allow the plant to drain fully and avoid overwatering in the following weeks as it adjusts to its new environment.
6. Adjust Placement
Place the repotted rubber plant in bright, indirect light, avoiding direct sunlight for a few days to reduce transplant shock. Keep it away from drafts, heaters, or air conditioning vents during the recovery period.
Post-Repotting Care
-
Monitor watering: Soil dries out faster in smaller or larger pots, so check moisture levels regularly.
-
Avoid fertilizing immediately: Wait 4–6 weeks before applying fertilizer, giving roots time to settle.
-
Prune if needed: Remove any yellowing or damaged leaves to redirect energy to healthy growth.
-
Watch for stress: Some leaf drop or wilting is normal as the plant adjusts. Consistent light, water, and humidity will help it recover.
Benefits of Proper Repotting
Repotting supports your rubber plant in several ways:
-
Encourages new root growth, leading to stronger, healthier foliage.
-
Provides fresh soil with essential nutrients, improving overall plant vigor.
-
Prevents root-bound conditions that can stunt growth and cause yellowing leaves.
-
Allows reshaping or pruning to maintain a balanced, attractive appearance.
Conclusion
Repotting a rubber plant is an essential part of long-term care. By choosing the right pot and soil, trimming damaged roots, and following proper techniques, you can minimize stress and encourage healthy new growth. Post-repotting care, including careful watering, light management, and pruning, ensures the plant adjusts smoothly and thrives in its refreshed environment.
With thoughtful attention and the right approach, your rubber plant will continue to produce glossy, vibrant leaves and remain a striking addition to your indoor space for years to come.


