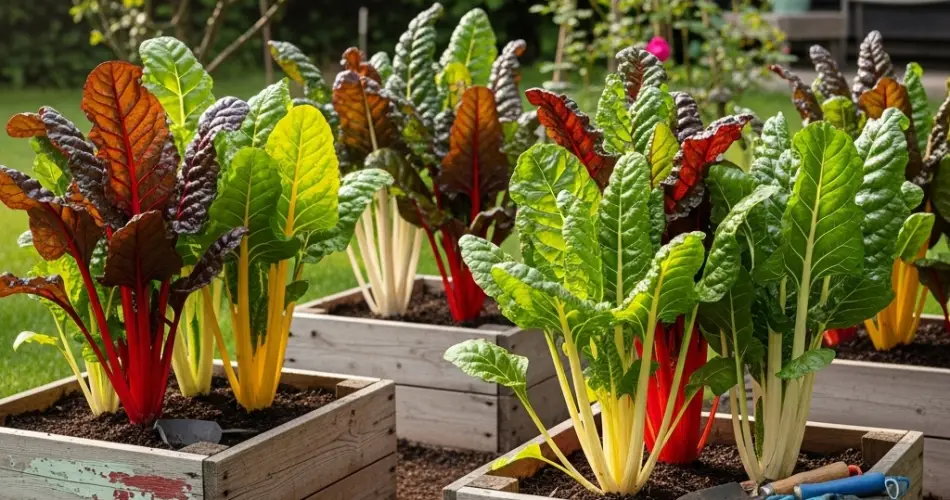
Swiss chard is one of the most versatile and colorful leafy greens you can grow at home. With its bright stems in shades of red, yellow, and white, paired with lush green leaves, it not only provides nutrition but also adds a decorative touch to any garden space. Best of all, it is easy to grow, making it perfect for both beginners and experienced gardeners.
Even if you don’t have a backyard or a large garden, Swiss chard can thrive in wooden containers. Planting in boxes gives you control over soil, space, and mobility while allowing you to enjoy fresh greens almost year-round. This step-by-step guide will walk you through everything you need to know to successfully plant and harvest Swiss chard in wooden boxes.
Step 1: Choose the Right Wooden Box
The first step is selecting a sturdy wooden container. Swiss chard develops a good root system, so your box should be:
-
At least 12 inches deep to support root growth.
-
Around 18–24 inches wide if you plan to plant several chard seedlings together.
-
Equipped with drainage holes at the bottom to prevent excess water from pooling.
Wood types like cedar or redwood are naturally resistant to rot, making them ideal choices. If you’re reusing wood, ensure it is untreated and free from harmful chemicals. For extra protection, line the inside with landscape fabric to extend the container’s life.
Step 2: Prepare the Soil Mix
Swiss chard thrives in nutrient-rich, well-drained soil. For the best results, prepare a mix that balances fertility and aeration. A good combination includes:
-
Two parts high-quality potting soil as the base.
-
One part compost to supply organic nutrients.
-
One part perlite or coarse sand to improve drainage and airflow.
Aim for a soil pH between 6.0 and 7.0. Before planting, enrich the mix with organic fertilizers such as worm castings, bone meal, or a balanced slow-release fertilizer.
Step 3: Select the Variety
Swiss chard comes in several varieties, all suitable for container growing. Some popular choices include:
-
Bright Lights: Known for its rainbow-colored stems and ornamental appeal.
-
Fordhook Giant: A hardy variety with broad green leaves and white stems.
-
Ruby Red: Features deep red stems and crinkled green leaves, both beautiful and tasty.
For smaller spaces, “Bright Lights” is a great choice since its vibrant stems double as a decorative plant.
Step 4: Plant the Seeds or Seedlings
Swiss chard can be grown from either seeds or seedlings.
-
Planting from seeds: Sow seeds about ½ inch deep, spacing them 3–4 inches apart. After germination, thin them to leave 8–10 inches between plants.
-
Planting from seedlings: If starting with young plants, carefully place them into the soil, ensuring their roots are fully covered and firmed in place.
Seeds typically germinate within 7–14 days, provided they are kept consistently moist.
Step 5: Provide the Right Light Conditions
Swiss chard prefers 6–8 hours of sunlight per day. Place your wooden box in a bright location such as a patio, balcony, or windowsill if growing indoors. While it enjoys full sun, chard also tolerates partial shade, making it a flexible option for urban gardening.
Step 6: Watering and Fertilizing
Swiss chard needs consistent moisture to thrive. Wooden boxes can dry out faster than garden beds, so check soil moisture regularly. Water when the top inch of soil feels dry, ensuring even distribution to reach the roots. Avoid waterlogging, which can cause root rot.
To encourage leafy growth, feed your chard every 2–3 weeks with a nitrogen-rich liquid fertilizer such as fish emulsion or compost tea. This supports continuous leaf production.
Step 7: Ongoing Plant Care
Swiss chard is relatively low-maintenance, but it benefits from a little routine care:
-
Mulch the soil surface to retain moisture and reduce weed growth.
-
Remove damaged leaves promptly to keep plants healthy.
-
Monitor for pests like aphids and leaf miners. If pests appear, wash leaves with water or use organic remedies like neem oil.
Because Swiss chard tolerates mild frost, you can often grow it year-round depending on your climate.
Step 8: Harvesting Your Swiss Chard
One of the best features of Swiss chard is its ability to produce leaves continuously over many months. Begin harvesting when leaves are about 6–8 inches long. Use the cut-and-come-again method: snip the outer leaves close to the base while leaving the central stalk intact.
Young, tender leaves are perfect for salads, while mature leaves can be cooked in soups, sautés, and stews. Even the colorful stems are edible and delicious when stir-fried or roasted.
Step 9: Extend Your Harvest
To keep your supply going, sow new seeds every 3–4 weeks. This staggered planting ensures you’ll always have fresh leaves available. In colder climates, consider moving boxes indoors or covering them with a cold frame to extend the growing season.
Final Thoughts
Swiss chard is a resilient, nutrient-dense, and attractive plant that thrives in wooden containers. By following these step-by-step instructions, you can enjoy a continuous supply of fresh greens even in limited spaces. Whether you have a balcony, a small patio, or a sunny windowsill, a wooden box filled with vibrant chard can bring both beauty and nutrition into your daily life.
With minimal effort, Swiss chard rewards you with months of harvest, making it a smart and satisfying choice for small-space gardeners.


