Swiss chard is a beautiful, nutritious leafy green that’s easy to grow—even if you don’t have a traditional garden. With a few recycled plastic bottles and some basic supplies, you can grow colorful chard plants right at home on a balcony, patio, or windowsill. This eco-friendly and space-saving gardening method allows you to turn waste into something productive and rewarding.
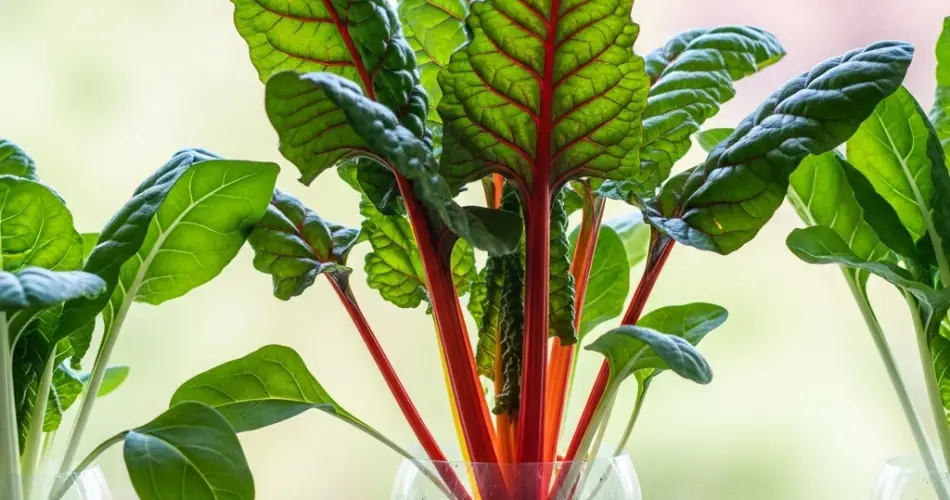
Swiss chard, known for its brightly colored stems and tender leaves, thrives in containers and grows well in limited spaces. Whether you’re gardening in a small apartment or looking for a creative way to reuse plastic bottles, this step-by-step guide will help you grow Swiss chard efficiently and sustainably.
Why Grow Swiss Chard in Bottles?
Swiss chard has shallow roots, making it an ideal candidate for growing in small containers like plastic bottles. It’s highly adaptable and grows well in moderate sunlight, which makes it perfect for balconies and windowsills. Using recycled bottles helps reduce plastic waste while giving you access to fresh, healthy greens without the need for large garden beds.
This method is especially useful for those who live in urban areas, have minimal outdoor space, or want to introduce kids to simple home gardening.
What You’ll Need:
-
2-liter plastic bottles (clean and empty)
-
Sharp knife or cutter
-
Nail or screwdriver (to poke drainage holes)
-
Potting mix (preferably organic or compost-rich)
-
Swiss chard seeds (rainbow or green varieties)
-
Spray bottle or watering can
-
String or wire (if you plan to hang the bottles)
Optional: Small stones or charcoal for drainage improvement
Step 1: Prepare the Bottles
Begin by washing the bottles thoroughly and removing any labels. With a knife or cutter, make a rectangular opening along the side of each bottle, large enough to allow planting and watering. Leave about 2 inches of space around the edges for structure and support.
Use a nail or screwdriver to make several holes in the bottom of the bottle for drainage. If you want to hang the bottles, make two holes near the top for threading string or wire.
Step 2: Add a Drainage Layer (Optional)
To improve drainage and prevent root rot, add a thin layer of small pebbles or crushed charcoal at the bottom of each bottle. This helps excess water drain properly and keeps the roots healthy.
Step 3: Fill with Soil
Fill each bottle with a high-quality potting mix, stopping about an inch below the cut opening. A good mix should be light, fertile, and well-draining. Adding compost or organic fertilizer to the soil before planting will boost growth and yield.
Avoid compacting the soil; keep it loose and airy for better root development.
Step 4: Sow the Seeds
Sprinkle Swiss chard seeds evenly over the soil surface. Each bottle can support 2–3 chard plants, depending on the variety. Cover the seeds with a thin layer of soil (about 1/4 inch) and gently mist with water.
Keep the bottles in a bright area with indirect sunlight during the germination period. Seeds typically sprout in 5–10 days.
Step 5: Place in a Sunny Spot
Once seedlings appear, move your bottles to a location that receives 4–6 hours of sunlight daily. Swiss chard grows best in cool to moderate temperatures and benefits from morning or filtered afternoon sun.
If hanging your bottles, ensure they are securely fastened and receive even light. Rotate the bottles occasionally to promote uniform growth.
Step 6: Watering and Maintenance
Keep the soil consistently moist but not soggy. Since bottles dry out quickly, especially in warm weather, it’s important to check moisture levels daily. Water gently with a spray bottle or narrow-spout can to avoid disturbing the roots.
You can feed the plants with diluted liquid fertilizer or compost tea every two weeks for optimal growth. Remove any yellow or damaged leaves to maintain plant health.
Step 7: Thin and Care for the Seedlings
When the seedlings reach about 3–4 inches in height, thin them out by snipping the weaker ones at the base. Leave the healthiest plants to grow, spacing them at least 3–4 inches apart for optimal leaf and stem development.
This thinning process improves airflow, reduces competition for nutrients, and promotes stronger plants.
Step 8: Harvesting Swiss Chard
Swiss chard is ready to harvest about 50–60 days after planting. You can begin harvesting baby leaves earlier if desired. Use the “cut-and-come-again” method by harvesting the outer leaves first, leaving the inner ones to continue growing.
With regular harvesting and care, a single plant can produce for several months.
Tips for Success
-
Use rainbow chard for a vibrant, colorful harvest.
-
Start new bottles every few weeks for a continuous supply.
-
Protect your plants from pests like aphids or leaf miners using organic sprays or manual removal.
-
Reuse the bottles for multiple planting cycles—just refresh the soil each time.
-
Avoid overcrowding to ensure proper airflow and prevent mold or disease.
Conclusion
Growing Swiss chard in recycled bottles is a sustainable and practical way to produce fresh greens at home. Whether you’re short on space or simply want a fun, eco-friendly gardening project, this method offers a simple yet effective way to enjoy healthy, homegrown vegetables. With minimal effort and supplies, your colorful chard garden can thrive—right from a plastic bottle.


