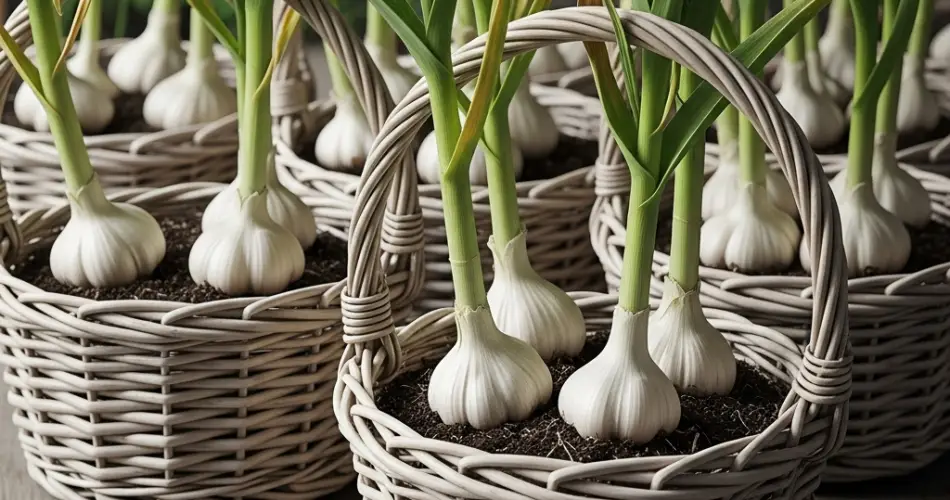
Garlic is one of the most rewarding crops to grow at home. It requires little maintenance, thrives in small spaces, and delivers bulbs that elevate almost any dish with flavor and aroma. While garlic is traditionally grown in garden beds, it can also flourish in baskets, making it an excellent option for gardeners with limited outdoor space. Baskets not only provide good drainage but also allow you to move your crop easily to follow sunlight or protect it from harsh conditions.
This guide walks you through the step-by-step process of planting garlic in baskets, ensuring a productive harvest and fresh bulbs for your kitchen.
Why Plant Garlic in Baskets?
Growing garlic in baskets offers several benefits, especially for urban gardeners or those with small patios and balconies.
-
Excellent drainage: Baskets naturally allow excess water to escape, reducing the risk of waterlogged roots.
-
Mobility: You can move baskets to sunnier spots or indoors during extreme weather.
-
Space-saving: Even a small balcony can support several garlic baskets.
-
Aesthetic appeal: Woven baskets give a rustic, charming look while doubling as functional planters.
Choosing the Right Basket
The first step is selecting a suitable basket. Garlic roots don’t need deep soil, but they do require enough space to form healthy bulbs.
-
Size: A basket 8–10 inches deep and at least 12 inches wide works well. This size allows you to plant multiple cloves without crowding.
-
Material: Choose sturdy woven baskets or even wicker-style planters lined with breathable fabric. Ensure it can support moist soil without breaking apart.
-
Drainage: Line the inside with landscape fabric or burlap to keep soil contained while still allowing water to pass through.
Preparing the Soil
Garlic thrives in loose, well-draining soil enriched with nutrients. Since baskets have limited soil volume, preparing the right mix is key.
-
Use 2 parts high-quality potting soil.
-
Add 1 part compost to supply organic nutrients.
-
Mix in 1 part perlite or coarse sand for proper aeration and drainage.
Before planting, you can also add a handful of bone meal or a balanced organic fertilizer to boost phosphorus levels, which support strong root development.
Selecting Garlic Cloves
For the best results, choose garlic suited to your climate and avoid supermarket garlic, which may be treated with growth inhibitors.
-
Hardneck garlic: Best for cooler regions, produces flavorful bulbs and edible scapes.
-
Softneck garlic: Thrives in milder climates and stores longer after harvest.
Separate the bulb into individual cloves, keeping the papery skins intact. Select the largest, healthiest cloves for planting, as they produce the biggest bulbs.
Planting Garlic Step by Step
-
Fill the basket with your prepared soil mix, leaving about 1–2 inches of space at the top.
-
Place the cloves with the pointed end facing upward and the flat root side down.
-
Spacing: Plant cloves about 4–6 inches apart. In a 12-inch basket, you can usually fit 4–5 cloves comfortably.
-
Depth: Bury each clove about 2 inches deep.
-
Water lightly after planting to settle the soil around the cloves.
Light and Temperature
Garlic needs plenty of sunlight to grow strong and form large bulbs.
-
Sunlight: Provide at least 6–8 hours of direct sunlight daily. Place your basket in the brightest spot available, such as a balcony or patio.
-
Temperature: Garlic is planted in fall in cooler regions so that roots establish before winter. In warmer areas, plant in late fall or early winter for spring harvests.
Watering and Fertilizing
Maintaining proper moisture is essential, especially since baskets dry out faster than garden beds.
-
Watering: Keep the soil consistently moist but never soggy. Water when the top inch of soil feels dry. In hot weather, daily watering may be required.
-
Fertilizing: Apply a nitrogen-rich fertilizer (such as fish emulsion) every 3–4 weeks during the growing season to encourage leafy growth, which in turn supports bulb development.
Stop fertilizing once the plants begin to form bulbs in late spring.
Ongoing Care
Garlic doesn’t demand much attention, but regular observation keeps plants healthy.
-
Mulching: Add a thin layer of straw or dried leaves to retain moisture and suppress weeds.
-
Pest management: Watch for aphids or fungal diseases. Improve airflow around your basket and avoid overwatering to prevent problems.
-
Trimming scapes: If growing hardneck varieties, cut off the curly scapes once they appear. This directs energy back into bulb growth while giving you a delicious extra harvest.
Harvesting Garlic
Garlic is usually ready for harvest in late spring to mid-summer, depending on planting time.
-
Signs of readiness: When the lower leaves begin to turn yellow and dry, bulbs are nearly mature.
-
Harvest method: Gently loosen the soil and pull up the bulbs carefully. Avoid tugging on the stems, as this can damage the garlic.
-
Curing: Lay harvested bulbs in a dry, well-ventilated area for 2–3 weeks. This curing process extends storage life and enhances flavor.
Once cured, trim the roots and cut the stems down to about an inch, or braid softneck garlic for a decorative and practical storage method.
Conclusion
Planting garlic in baskets is a simple, space-saving way to enjoy fresh bulbs at home. With the right soil mix, proper spacing, and consistent care, you can grow a bountiful crop even in limited spaces like balconies or patios. Beyond its culinary uses, garlic is also an attractive and satisfying plant to grow, especially in rustic woven baskets that double as charming garden decor.
Whether you’re new to gardening or simply short on space, garlic basket planting is a rewarding project that delivers both beauty and flavor straight to your kitchen.


