Starting tomato plants from seeds is a rewarding process, and using plastic bottles as seed-starting cells is an affordable, space-saving, and eco-friendly solution. Whether you’re gardening on a balcony or preparing for a backyard harvest, this method allows you to propagate strong, healthy seedlings while reducing plastic waste. Bottle cells act like mini greenhouses, offering ideal warmth and moisture for germination, and they’re easy to manage even in small spaces.
Here’s a step-by-step guide to starting tomato plants from seed using recycled plastic bottles.
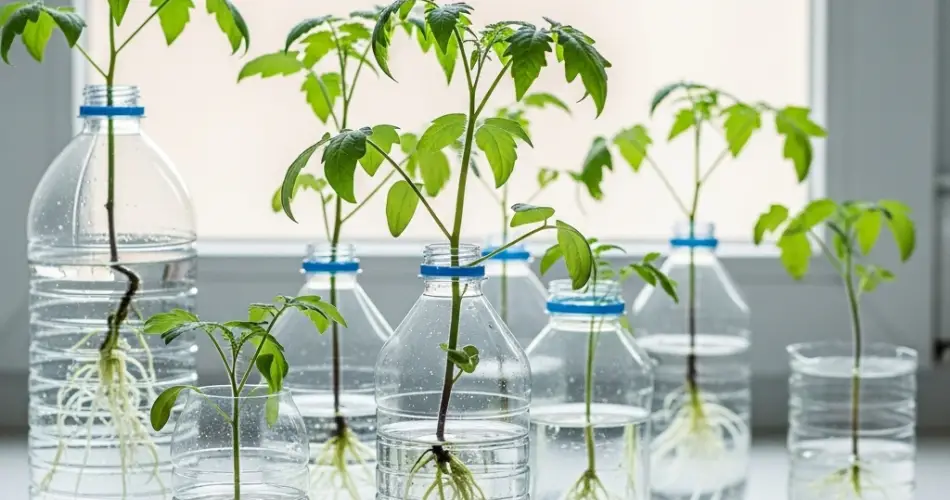
Why Use Bottle Cells for Starting Tomato Seeds?
Plastic bottles make excellent seed-starting containers. Their clear sides allow light to pass through, and when used with a top cover, they help retain heat and humidity—perfect conditions for tomato seed germination. They also help reduce the cost of gardening and repurpose waste materials, making them ideal for sustainable home gardening.
Using bottle cells means you can start seeds indoors early, giving your tomato plants a head start before transplanting them into garden beds or larger pots.
Materials You’ll Need
-
Clear plastic bottles (preferably 1.5 to 2 liters in size)
-
Tomato seeds (choose a variety suited to your climate and space)
-
Seed-starting mix (light, well-draining, and rich in organic matter)
-
Scissors or craft knife
-
Spray bottle or small watering can
-
Marker (for labeling varieties)
-
Tray or plate (to catch excess water)
Optional:
-
Small pebbles (for added drainage)
-
Humidity dome (can be the top of the bottle)
Step 1: Prepare the Bottles
Wash the bottles thoroughly and remove labels. Use scissors or a craft knife to cut each bottle horizontally—about one-third from the top. You’ll be using the bottom section as your seed cell. If you want a humidity dome, save the top section to place back over the cell after planting.
Poke 3–5 small holes in the bottom of each bottle to ensure proper drainage. If you’re placing the cells on a tray, the holes will also help excess water drain easily without pooling around the roots.
Step 2: Add Soil and Moisten
Fill the bottom part of the bottle with seed-starting mix, leaving about half an inch of space from the top. You can place a few small pebbles at the bottom before adding soil to further improve drainage.
Lightly mist the soil with water until it’s evenly moist but not soaked. The soil should feel damp to the touch and crumbly.
Step 3: Sow the Tomato Seeds
Tomato seeds are small and need to be planted just below the surface. Use your finger or a stick to make shallow holes about ¼ inch deep. Drop one or two seeds into each hole and cover lightly with soil.
Mist the top again gently to moisten the seed area without disturbing the seeds. If you’re using the bottle top as a dome, place it back over the base to create a humid, greenhouse-like environment.
Label each bottle with the tomato variety and sowing date using a marker.
Step 4: Provide Heat and Light
Place the bottle cells in a warm location with indirect sunlight. Tomato seeds germinate best at temperatures between 70–80°F (21–27°C). A windowsill, warm shelf, or top of a refrigerator are good spots for early germination.
If you’re growing in a cooler climate, use a heat mat to keep the soil warm. Once the seeds germinate—typically within 5 to 10 days—remove the dome and move the seedlings to a bright area with at least 6–8 hours of light daily. Grow lights can be used if natural sunlight is limited.
Step 5: Care for the Seedlings
Keep the soil moist by misting or gently watering when the top feels dry. Avoid overwatering, which can cause damping-off—a fungal disease that kills young seedlings.
When the seedlings develop their first set of true leaves (the second set after the initial sprouting leaves), thin them by snipping the weaker one if two seedlings are growing in the same cell. This helps the strongest plant grow without competition.
Once the seedlings are a few inches tall, you can begin feeding them every 10–14 days with a diluted organic liquid fertilizer to promote healthy growth.
Step 6: Prepare for Transplanting
After 4–6 weeks, your tomato seedlings should be 4–6 inches tall and ready for transplanting. Before moving them outdoors, they need to be hardened off—gradually exposed to outdoor conditions.
Start by placing the seedlings outside in a shaded, protected area for a few hours each day, gradually increasing sunlight and exposure to wind over 5–7 days.
Once hardened, transplant the seedlings into larger pots or directly into the garden, burying the stem slightly deeper to encourage strong root development.
Final Thoughts
Using plastic bottles to start tomato seeds is a smart, sustainable gardening practice that makes it easy to grow healthy, vigorous plants at home. It saves money, reduces plastic waste, and works well in any small space. With the right care and setup, your bottle-grown seedlings will thrive and reward you with a lush harvest of fresh, flavorful tomatoes in the growing season ahead.


