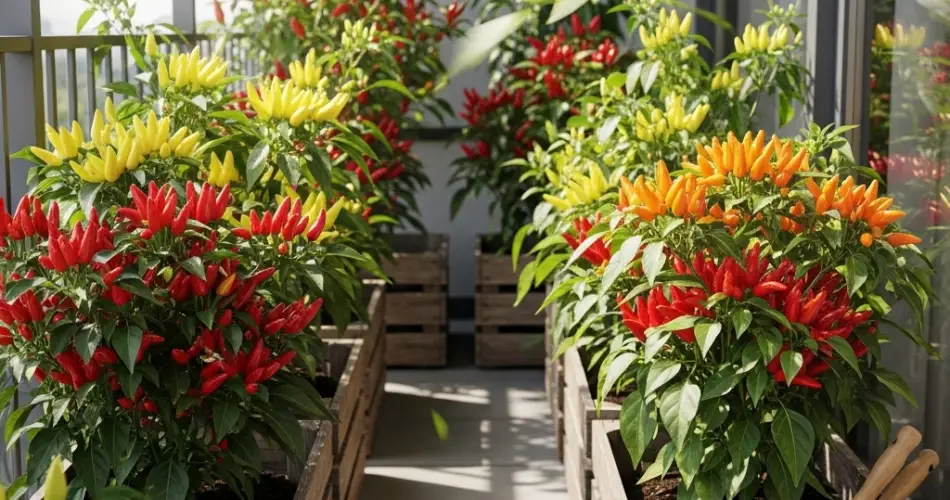
If you’ve always wanted to grow your own chili peppers but are limited by space, balcony gardening is the perfect solution. With a few wooden crates and the right care, you can enjoy a steady supply of fresh, spicy chilies right outside your kitchen. This method is practical, space-saving, and perfect for urban gardeners.
Choosing the Right Crate
Start by selecting a sturdy wooden crate that allows enough depth for the chili plants to grow strong roots. The crate should be at least 30–40 cm deep and have drainage holes at the bottom to prevent waterlogging. Line the inside with landscape fabric or an old sack to hold the soil in while still allowing excess water to drain out.
Soil Mix for Strong Growth
Chilies prefer well-draining, fertile soil. Create your own potting mix using equal parts garden soil, compost, and coco peat or rice hulls. This mixture retains moisture while offering good drainage and aeration. Add a handful of crushed eggshells or wood ash to enrich the soil with calcium and potassium—two nutrients chilies thrive on.
Selecting Chili Varieties
For a compact balcony garden, choose chili varieties that are known for container growth. Some good options include:
-
Bird’s Eye Chili (Thai Chili): Compact and extremely productive.
-
Cayenne Peppers: Long, slim, and moderately spicy.
-
Jalapeños: A favorite for stuffing or pickling.
-
Tabasco or Habanero: For a bolder heat profile.
You can start chilies from seeds, seedlings, or stem cuttings. If using seeds, start them in small cups or trays indoors and transplant once they have 4–6 leaves.
Planting in the Crate
Fill the crate with your prepared soil mix, leaving about 2–3 cm from the top. Plant one or two chili seedlings per crate to avoid overcrowding and ensure proper airflow. Water thoroughly after transplanting, and place the crate where it gets 6–8 hours of sunlight daily.
If you’re using stem cuttings, choose a healthy branch from an existing plant, remove the lower leaves, and dip the cut end in rooting hormone or honey. Plant the cutting directly into moist soil and cover it with a plastic bag to create a greenhouse effect. In 1–2 weeks, roots should start to form.
Watering and Fertilizing
Chili plants don’t like overly wet soil. Water them only when the top inch of the soil feels dry. During hot months, you may need to water daily, especially if your balcony gets full sun. In cooler or rainy seasons, reduce watering frequency.
Feed your chili plants every two weeks with a liquid organic fertilizer like compost tea, fermented fruit juice, or diluted fish emulsion. A banana peel buried in the soil also releases potassium slowly and encourages flowering and fruiting.
Pruning and Supporting the Plant
Pruning helps encourage bushier growth and more fruit production. Once your plant reaches about 30 cm tall, pinch off the topmost growing tip. This will trigger the growth of side branches and increase yield.
As your chili plants grow taller and start to fruit, they may need support. Use bamboo sticks, chopsticks, or recycled straws to stake them. Tie them gently using soft ties or twine to avoid damaging the stems.
Managing Pests and Diseases
Balcony gardens are less prone to pests than ground gardens, but it’s still important to check regularly for signs of trouble. Common chili pests include aphids, whiteflies, and spider mites. Spray plants with a mix of neem oil and water if infestations appear.
Avoid overwatering to reduce the risk of fungal diseases. Also, make sure your crates are spaced well apart to allow air to circulate and prevent mold or mildew from forming.
Harvesting Your Chilies
Depending on the variety, chilies can take 60 to 90 days from transplanting to start producing fruit. You can harvest them green or wait until they ripen to red, yellow, or orange, depending on the variety. Use scissors or pruners to clip them off, as pulling them may damage the plant.
Harvesting regularly will encourage the plant to produce more fruits. Store your chilies fresh, dry them for longer storage, or use them to make sauces, pickles, and oils.
Final Tips
-
Rotate your crates occasionally to ensure all sides of the plant get sunlight evenly.
-
Mulch with dry leaves or rice hulls to retain moisture and reduce weed growth.
-
In extreme heat, provide partial shade during peak afternoon hours.
With minimal investment and space, growing chili peppers in crates on your balcony is a spicy, rewarding experience. Whether you use them in your dishes or gift them to friends, homegrown chilies add flavor and a personal touch to your meals.


