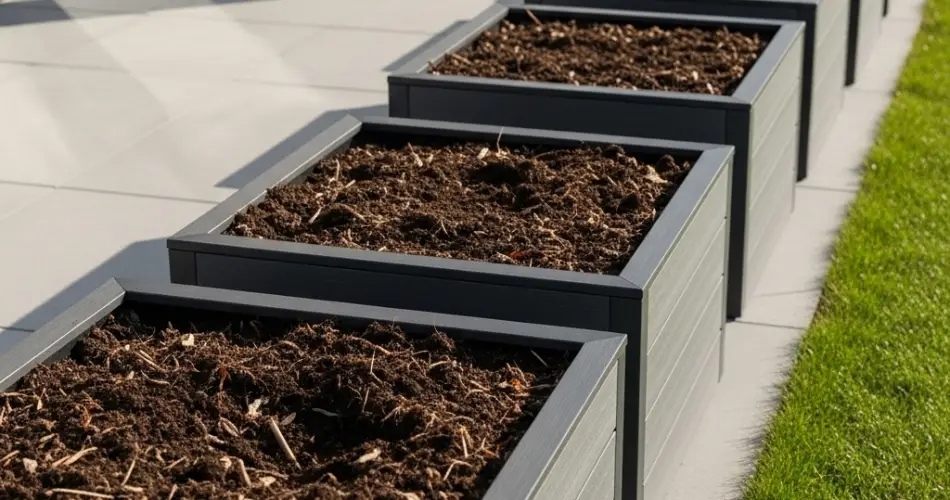
Plant boxes are a practical and attractive way to grow vegetables, herbs, or flowers, especially in small spaces like patios, balconies, or urban gardens. However, simply filling a plant box with soil isn’t enough for healthy plant growth. To make your plants thrive, it’s important to understand the concept of soil layering.
Proper soil layering ensures good drainage, promotes strong root development, and helps retain moisture and nutrients where plants need them most. Here’s a complete guide to building the perfect soil layers in your DIY plant box.
Why Soil Layering Matters
Soil layering is more than just piling dirt into a box. Different materials, when layered properly, help manage water flow, air circulation, and nutrient availability in container systems. In plant boxes, where space is limited and water can accumulate quickly, layering helps mimic the benefits of natural soil systems while avoiding common issues like compaction, poor drainage, or nutrient loss.
Ideal Soil Layering Structure for Plant Boxes
A well-built plant box soil system typically includes four key layers:
1. Base Layer – Drainage (3–5 inches)
This bottom layer prevents water from pooling at the roots and helps with drainage.
What to use:
-
Gravel
-
Crushed stone
-
Broken clay pots
-
Coarse sand
-
Recycled plastic bottles (as a lightweight option)
Tip: If your plant box has drainage holes, this layer adds an extra buffer to protect roots. If there are no holes, it’s even more essential.
2. Barrier Layer – Separation (1 inch or less)
This optional but useful layer prevents soil from mixing with the drainage material below.
What to use:
-
Garden fabric or landscape fabric
-
A sheet of burlap or mesh screen
-
A thin layer of newspaper or cardboard (biodegradable)
This layer allows water to pass through while keeping soil from clogging the drainage base.
3. Middle Layer – Organic Matter (4–6 inches)
This is the nutrient-rich zone that will slowly break down and feed your plants over time.
What to use:
-
Compost
-
Aged manure
-
Kitchen scraps (if using a “lasagna” layering method)
-
Dried leaves, grass clippings, or straw
Tip: Avoid placing fresh food scraps near plant roots. If using kitchen waste, layer it beneath the main growing soil and cover with a carbon-rich material like leaves or shredded newspaper.
4. Top Layer – Growing Soil (6–10 inches or more)
This is where your plants’ roots will grow. It should be a light, well-aerated, and nutrient-rich soil mix.
What to use:
-
High-quality potting mix
-
A blend of garden soil, compost, and perlite or vermiculite
-
Coconut coir or peat moss for moisture retention
DIY soil mix idea:
-
40% compost
-
30% coco coir or peat moss
-
20% perlite or coarse sand
-
10% garden soil (optional)
Make sure this top layer is deep enough for the types of plants you’re growing—root crops will need more depth than leafy greens or herbs.
Layering Tips Based on Plant Type
For leafy greens (lettuce, spinach, kale):
-
Use a slightly shallower organic layer and a richer topsoil mix.
-
Keep the top layer consistently moist.
For root crops (carrots, beets, radishes):
-
Ensure loose, deep soil in the top layer—at least 10–12 inches.
-
Avoid rocks or compacted materials that can obstruct root growth.
For fruiting plants (tomatoes, peppers):
-
Add extra compost or slow-release fertilizer in the middle and top layers.
-
Consider adding crushed eggshells for calcium to prevent blossom-end rot.
Additional Tips for Success
-
Water deeply and evenly. Don’t just sprinkle the surface—soak through to encourage strong root systems.
-
Mulch the surface. Use straw, shredded leaves, or coconut husk to reduce evaporation and maintain consistent moisture.
-
Top up over time. Organic matter breaks down and soil settles, so refresh with compost or potting mix each season.
-
Rotate crops or mix plant types. Prevent nutrient depletion and pest issues by varying what you grow.
-
Check drainage regularly. Water should not pool at the surface or take too long to drain. Adjust the base or organic layers if needed.
What to Avoid
-
Using only topsoil or garden soil: It’s too heavy for containers and lacks proper drainage.
-
Skipping the organic layer: Without this, your soil mix may lack the long-term nutrition plants need.
-
Overloading with fresh waste: Uncomposted scraps can attract pests or produce excess heat during decomposition.
-
Neglecting drainage holes: Always include at least a few holes at the bottom of your plant box for water escape.
Final Thoughts
Layering your soil the right way can transform a simple DIY plant box into a productive, low-maintenance growing system. By combining drainage, organic matter, and rich topsoil, you create an environment where plants can thrive naturally and sustainably. Whether you’re growing herbs, vegetables, or flowers, thoughtful soil layering is one of the best investments you can make in your garden’s long-term success.


