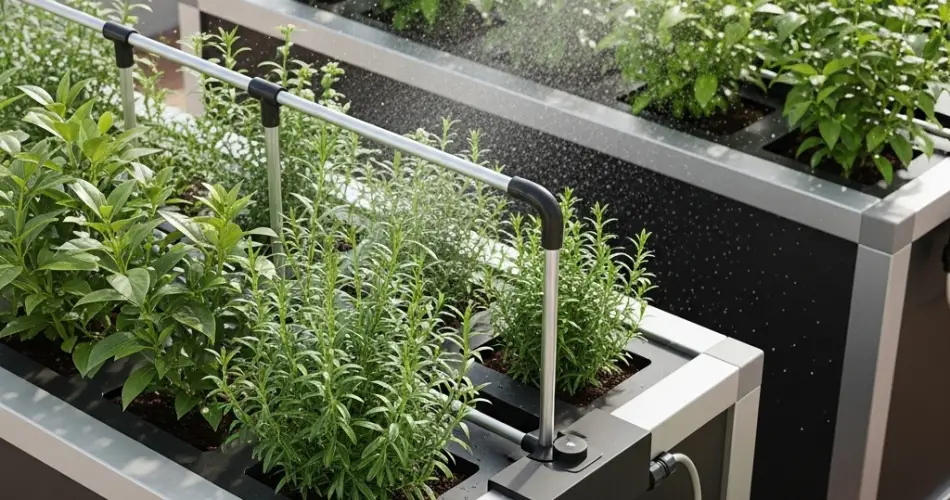
Watering plants regularly can be a challenge, especially for busy gardeners or those living in hot climates. That’s where self-watering plant boxes come in. These clever systems deliver water directly to plant roots as needed, helping maintain consistent moisture levels and encouraging healthier growth. Best of all, they’re simple to build with basic materials and a bit of DIY spirit.
Whether you’re growing vegetables on your balcony or herbs in your kitchen, self-watering plant boxes reduce the need for daily watering while improving efficiency and reducing water waste.
Here’s a step-by-step guide to building your own self-watering plant box at home.
What Is a Self-Watering Plant Box?
A self-watering plant box features a built-in water reservoir that supplies moisture to the soil above it through capillary action. This allows the roots to draw up water as needed, reducing overwatering or underwatering and creating an ideal environment for healthy plant growth.
Benefits of Self-Watering Boxes
-
Conserves water by reducing evaporation and runoff
-
Improves plant health with consistent moisture at the root zone
-
Reduces maintenance, ideal for people with busy schedules or for use during vacations
-
Prevents overwatering and root rot from standing water
-
Great for balconies, patios, or small gardens
Materials You’ll Need
To build a basic self-watering plant box, gather the following materials:
-
A large plastic storage bin or wooden planter with a liner
-
A secondary smaller container (to act as the water reservoir, if not integrated)
-
PVC pipe (1–1.5 inches in diameter, about 18–24 inches long)
-
Plastic cup, basket, or net pot with holes (for the wicking chamber)
-
Potting mix
-
Water
-
Drill and hole saw or spade bit
-
Utility knife or saw
-
Marker and measuring tape
Step-by-Step Instructions
1. Prepare the Reservoir and Wick
If you’re using a single container:
-
Create a false bottom inside your box using a plastic platform or a section of perforated plastic to separate the soil from the water reservoir below.
-
Insert a plastic cup or net pot through a hole in this false bottom—this will act as the wick that draws water up to the soil.
Alternatively, if you’re using two containers:
-
Place the smaller container upside down inside the larger one. Drill holes through the smaller container so water can flow around it and place your wicking pot inside a cut-out hole in the top.
Make sure the wick reaches into the water reservoir and can hold soil to maintain contact with moisture.
2. Drill a Drainage Hole
Using a drill with a 1/4″ or 3/8″ bit, drill a drainage hole in the side of the box, just above the reservoir level. This will act as an overflow hole to prevent water from rising too high and soaking the entire soil bed.
Position this hole about 1/2 to 1 inch below the false bottom.
3. Install the Fill Tube
Cut the PVC pipe to size, then cut one end at a 45-degree angle. This angled cut prevents blockage when filling with water. Insert the pipe vertically through the top of the box, next to the wick or reservoir chamber. This is where you’ll pour water to fill the system.
Make sure the pipe reaches the bottom of the container so it can fill the reservoir directly.
4. Add Soil and Plants
Use a high-quality potting mix—not garden soil, which is too dense for container gardening. Mix in perlite or coconut coir to improve drainage and aeration.
-
Fill the wicking chamber first with damp soil and pack it firmly.
-
Then fill the rest of the box, layering the potting mix loosely.
-
Plant seeds or seedlings as desired.
5. Fill the Reservoir
Pour water into the fill tube until it begins to drain from the overflow hole. This ensures the reservoir is full without over-saturating the soil.
Check the water level every few days, depending on weather and plant needs. In hot climates, you may need to refill every 2–3 days. In cooler areas, once a week may be enough.
6. Maintenance Tips
-
Use mulch on top of the soil to reduce evaporation.
-
Clean the fill tube occasionally to prevent clogging.
-
At the end of the growing season, empty and rinse out the container to prevent mold or algae buildup.
-
Monitor plant roots—over time, some roots may reach into the reservoir, which is perfectly fine.
Great Plants for Self-Watering Boxes
These systems are ideal for:
-
Tomatoes
-
Peppers
-
Lettuce and leafy greens
-
Herbs like basil, parsley, and cilantro
-
Strawberries
-
Radishes and carrots (use deep containers)
Final Thoughts
Building a self-watering plant box is a smart solution for gardeners looking to simplify their routine while keeping plants healthy and hydrated. With basic tools and materials, you can set up an efficient watering system that saves time, conserves water, and produces better-growing results.
Whether you’re an apartment dweller, a busy gardener, or just curious about water-wise gardening, this DIY project is an easy and effective way to level up your plant care. Once you’ve built your first one, you may never go back to traditional pots again!


