Sage is a hardy, aromatic herb known for its gray-green leaves and earthy flavor. It’s a staple in Mediterranean and holiday cooking, and it’s just as valued for its medicinal and ornamental uses. If you’re short on space or want to try a sustainable approach to herb gardening, plastic bottles offer a surprisingly efficient solution. With just a few simple steps, you can start a flourishing sage garden using recycled containers right on your balcony, windowsill, or patio.
Here’s how to grow sage in reused plastic bottles and enjoy fresh, flavorful leaves throughout the year.
Why Sage Works Well in Bottles
Sage is an adaptable herb that thrives in containers, especially when given good drainage and plenty of sunlight. Its compact size and drought-tolerant nature make it perfect for small-scale or vertical gardening. When grown in bottles, sage develops a neat, bushy structure, making it both attractive and practical for tight spaces.
Using plastic bottles not only reduces waste but also makes herb gardening affordable and accessible. This DIY method is ideal for apartment dwellers, beginner gardeners, or anyone looking to repurpose everyday materials.
Choosing and Preparing Bottles
To start, pick clean plastic bottles—1.5-liter or 2-liter soda bottles are ideal. Make sure they’re thoroughly rinsed and label-free. There are two common styles for bottle planters:
-
Vertical cut: Cut off the top third of the bottle and use the bottom as a planting container.
-
Horizontal cut: Lay the bottle on its side and cut a large window in the upper part, leaving the cap on.
Whichever design you choose, poke several small holes in the bottom for drainage. Proper drainage is especially important for sage, which doesn’t tolerate soggy soil.
If using clear bottles, consider wrapping them in fabric, burlap, or painting the outside. This blocks light from reaching the roots and gives your container a rustic, finished look.
Preparing the Soil Mix
Sage prefers well-draining, slightly sandy soil. A heavy or compacted mix may retain too much moisture and cause root rot. For optimal growth, mix:
-
2 parts potting soil
-
1 part coarse sand or perlite
-
1 part compost or aged manure
This combination provides aeration, nutrients, and prevents water retention—all critical for healthy sage in a plastic container.
Fill the bottle with your mix, leaving an inch of space at the top.
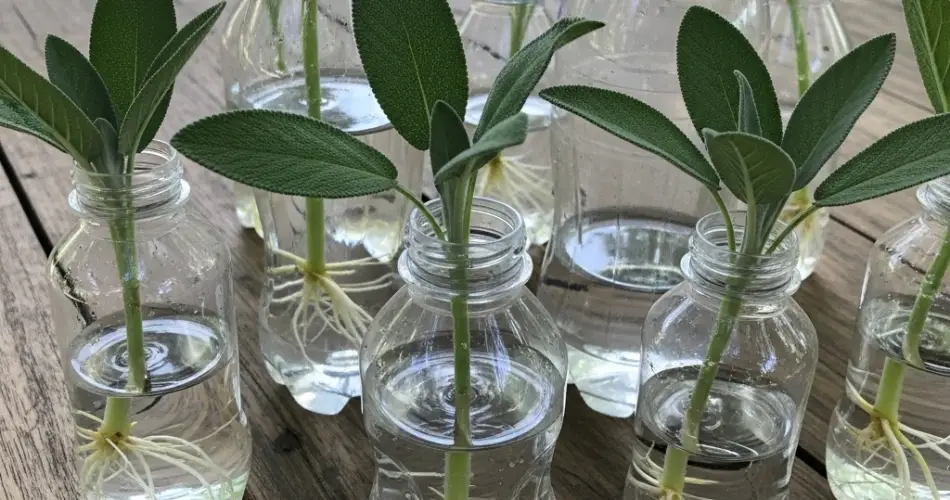
Planting Sage: Seed, Cutting, or Seedling?
Sage can be started from seeds, but it takes time and may be unpredictable. If you want faster results, begin with a nursery-grown seedling or propagate from a cutting.
To plant a seedling, gently remove it from its original container and place it into your prepared bottle planter. Fill in the gaps with soil and firm it gently around the base.
If starting from seed, sow 2–3 seeds about ¼ inch deep in the center of the bottle. Keep the soil moist and warm until germination, which usually takes 10–14 days.
Place the container in a location where it will receive at least 6 hours of sunlight per day—balconies, sunny windows, or outdoor shelves work well.
Watering and Feeding
Sage doesn’t need frequent watering. Let the top inch of soil dry out between waterings, and be especially careful not to overwater in bottle containers, where moisture builds up easily.
During the growing season (spring through early fall), feed your sage every 4 to 6 weeks with a diluted organic liquid fertilizer or compost tea. Avoid over-fertilizing, as this can reduce the herb’s flavor intensity.
Pruning and Harvesting
To encourage bushy growth, start pruning your sage when the plant is about 6–8 inches tall. Pinch off the tips of new shoots to promote branching.
Regular harvesting helps keep the plant compact and healthy. Snip off outer leaves or stems with scissors, being careful not to remove more than a third of the plant at one time.
Sage leaves are most flavorful before the plant flowers, so harvest regularly during the growing season. The leaves can be used fresh or dried for long-term storage.
Drying and Storing Sage
To dry sage, tie small bundles of cut stems together and hang them upside down in a warm, dry, well-ventilated area out of direct sunlight. Once dry, remove the leaves from the stems and store them in airtight jars.
Properly dried sage can retain its flavor for up to a year, ready for seasoning meats, stews, sauces, or herbal teas.
Creative Display Ideas
Arrange several bottle planters in a vertical rack or hang them along a balcony railing. You can also mount horizontal bottles on a wall or wooden pallet to create an eye-catching vertical herb garden.
Label each bottle with the herb name using waterproof markers or painted tags for a personalized touch. Sage pairs beautifully with other Mediterranean herbs like thyme, rosemary, and oregano—all of which can also be grown in bottle gardens.
Conclusion
Starting a sage herb garden in reused plastic bottles is a rewarding and eco-friendly way to grow your own herbs, even without traditional garden space. With a sunny spot, the right soil, and a little care, you’ll be harvesting fragrant, flavorful sage straight from your balcony or windowsill. Whether you’re seasoning dinner or enjoying the scent of your herb corner, sage in a bottle is a sustainable success story you can grow at home.


