Geraniums are classic garden favorites known for their colorful blooms, pleasant scent, and ease of care. One of the best things about growing geraniums is how simple they are to propagate. With just a few healthy cuttings, you can grow new plants without the need for seeds or special equipment. Whether you’re expanding your garden or saving your favorite plant over the winter, stem cuttings are a fast, reliable method. This guide walks you through everything you need to know to successfully propagate geraniums from stem cuttings.
Why Propagate Geraniums from Cuttings?
Propagating geraniums from cuttings is a quick and cost-effective way to grow more plants. Here’s why it’s a popular method:
-
Faster growth than seeds: Cuttings develop roots quickly and often bloom within a few months.
-
Clones of the parent plant: You’ll get identical flowers, growth habits, and leaf shapes.
-
Preserves favorite varieties: Great for saving heirloom or specialty types.
-
Ideal for overwintering: You can take cuttings in fall and grow them indoors until spring.
When to Take Geranium Cuttings
The best time to take cuttings is during the growing season—late spring to early summer is ideal. However, you can also take cuttings in late summer or early fall before the first frost if you plan to overwinter them indoors.
Avoid taking cuttings when the plant is stressed or in full bloom. Young, healthy growth produces the best results.
What You’ll Need
Before you begin, gather the following materials:
-
A healthy parent geranium plant
-
Sharp, clean scissors or pruning shears
-
Small pots or seedling trays
-
Well-draining potting mix (such as perlite and peat or cactus mix)
-
Rooting hormone (optional, but helpful)
-
A spray bottle or watering can
-
Clear plastic bag or humidity dome (optional)
Step-by-Step Guide to Propagating Geraniums
Step 1: Choose a Healthy Stem
Select a non-flowering stem with at least 4–6 inches of length. It should be firm, green, and free from disease or damage. Avoid stems with buds or flowers, as these can take energy away from root development.
Step 2: Make the Cut
Using clean scissors or pruning shears, cut the stem just below a leaf node (the area where a leaf attaches to the stem). This is where new roots will form. Remove any leaves from the lower half of the cutting, leaving only a couple of leaves at the top.
Step 3: Optional—Dip in Rooting Hormone
Dip the cut end of the stem in rooting hormone powder or gel. While not strictly necessary, it can help stimulate faster and more reliable root growth.
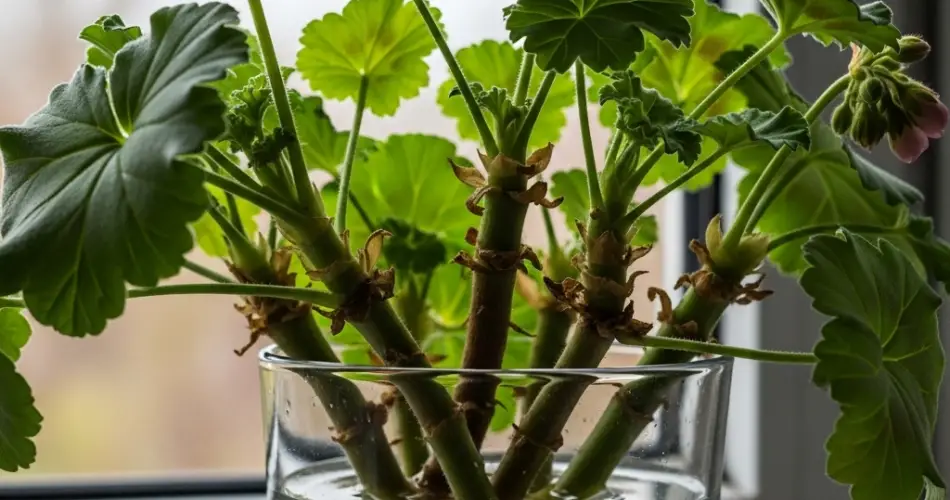
Step 4: Plant the Cutting
Fill a small pot or seedling tray with well-draining potting mix. Moisten the soil slightly, then insert the cutting about 1–2 inches deep into the soil. Press gently around the base to hold the stem upright.
Step 5: Provide Humidity and Light
Place the pot in a warm, bright area with indirect sunlight. You can cover the cutting with a clear plastic bag or a humidity dome to help retain moisture—but make sure there’s ventilation to prevent mold or rot.
Avoid direct sun, which can dry out the cutting too quickly.
Step 6: Water Lightly
Water gently to keep the soil moist but not soggy. Overwatering can lead to rot before roots develop. Use a spray bottle or watering can with a fine spout.
How Long Does Rooting Take?
Geranium cuttings typically root within 2–4 weeks. You’ll know the cutting has rooted when:
-
You feel resistance when tugging lightly on the stem
-
New leaf growth appears at the top
-
Roots become visible at the bottom of the pot (if using a transparent container)
Once roots are established, you can transplant the new geranium into a larger container or directly into your garden.
Tips for Success
-
Use clean tools: Always sterilize scissors or pruners before cutting to prevent disease.
-
Choose the right soil: Avoid heavy garden soil. A light, well-draining mix gives better results.
-
Don’t crowd cuttings: Allow air to circulate between cuttings to reduce the risk of fungal issues.
-
Label your cuttings: If you’re propagating more than one variety, label each pot to track which is which.
Overwintering Propagated Cuttings
If you’ve taken cuttings in late summer or fall, keep them indoors in a sunny window or under grow lights. Water sparingly during winter dormancy, and begin feeding with a balanced fertilizer in early spring to encourage vigorous growth.
Final Thoughts
Propagating geraniums from stem cuttings is a simple yet rewarding process that any gardener can master. With a sharp pair of scissors, a bit of patience, and the right conditions, you can enjoy a continuous supply of vibrant, healthy geraniums season after season. Whether you’re filling out flower beds or keeping your favorite variety going, stem cuttings make it easy to grow your garden without breaking the bank.


