Garlic is a kitchen essential known for its bold flavor and health benefits, and the great news is—you don’t need a sprawling garden to grow it. Garlic thrives in containers, making it an ideal crop for small-space gardeners working with balconies, patios, rooftops, or windowsills. With a bit of planning and patience, growing garlic in pots can reward you with plump, aromatic bulbs and flavorful green shoots.
This guide covers everything you need to know to grow garlic in containers—from planting to harvest—so you can enjoy your own fresh garlic even without a garden bed.
Why Grow Garlic in Pots?
Garlic is surprisingly easy to grow and adapts well to container life. While it does take a few months to mature, garlic requires little maintenance and is less vulnerable to pests and disease in pots. Growing it in containers allows for better control over soil conditions, moisture, and sunlight exposure.
Benefits of growing garlic in pots:
-
Ideal for patios, balconies, and small yards
-
Less risk of soil-borne diseases
-
Easier to manage and monitor moisture
-
Can be moved to optimize light or protect from extreme weather
-
Produces both garlic bulbs and edible greens (garlic scapes or shoots)
Choosing the Right Container
Garlic develops a shallow but wide root system, so choosing a container with enough depth and drainage is essential.
Container guidelines:
-
Depth: At least 8–10 inches
-
Width: A 12-inch diameter pot can hold 4–6 cloves
-
Drainage: Ensure drainage holes at the bottom
-
Material: Terracotta, plastic, or fabric grow bags all work well
If growing multiple bulbs, use a rectangular planter or a deep window box with at least 4–5 inches between cloves.
Selecting Garlic for Planting
The type of garlic you plant matters. Avoid using grocery store garlic, which may be treated to prevent sprouting. Instead, buy organic or seed garlic from a local nursery or reputable supplier.
Types of garlic:
-
Softneck: Best for mild climates; stores well and produces many cloves
-
Hardneck: Ideal for colder regions; produces fewer but larger cloves and edible flower stalks (scapes)
Choose large, healthy cloves for planting and avoid any that are soft or moldy. Leave the papery skin on each clove.
Preparing the Soil
Garlic prefers loose, well-draining soil that’s rich in organic matter. In containers, the right soil mix will support healthy root development and prevent waterlogging.
Best soil mix:
-
Organic potting mix
-
Mixed with compost or aged manure
-
Add perlite or sand to improve drainage
Fill your pot to within an inch of the rim. Moisten the soil lightly before planting.
How to Plant Garlic in Pots
Garlic is typically planted in the fall for summer harvest, but in mild climates or with the right care, you can also plant it in early spring.
Planting steps:
-
Separate cloves from the garlic bulb (but don’t peel them).
-
Plant each clove pointy side up, about 2 inches deep.
-
Space cloves 4–5 inches apart.
-
Cover with soil and water gently.
-
Optionally, mulch with straw or dried leaves to retain moisture.
After planting, place the pot in a sunny location where it can receive at least 6 hours of direct sunlight per day.
Watering and Sunlight Needs
Garlic enjoys steady moisture but does not tolerate soggy soil. Containers tend to dry out quickly, so regular monitoring is important.
Watering tips:
-
Water when the top inch of soil feels dry
-
Avoid overwatering; ensure good drainage
-
Reduce watering slightly as the bulbs mature (about 2 weeks before harvest)
Sunlight:
-
Garlic needs 6–8 hours of full sun daily
-
If growing indoors, place near a south-facing window or use grow lights
Fertilizing and General Care
Garlic benefits from periodic feeding during its long growing season.
Fertilizer tips:
-
Use a balanced organic fertilizer or compost tea every 3–4 weeks
-
Avoid nitrogen-heavy feeds late in the season, as they may delay bulb development
-
Remove weeds or competing plants from the container
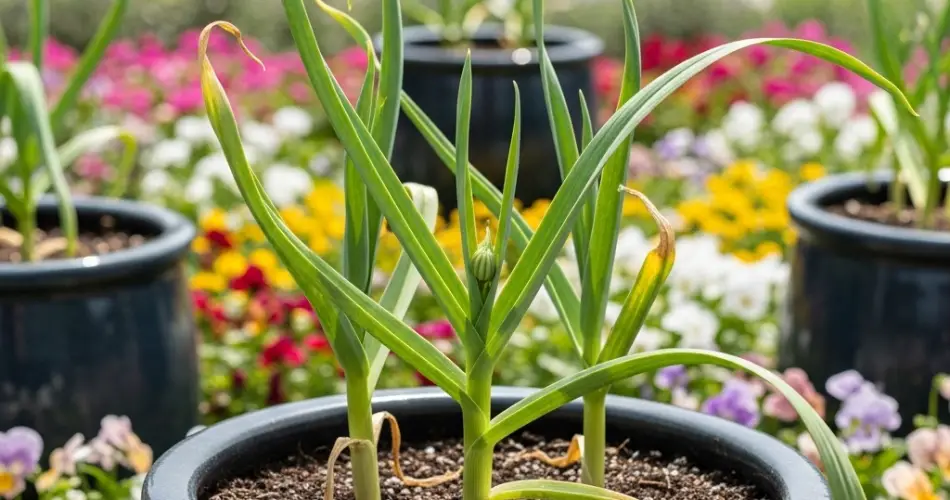
In spring, if you’re growing hardneck varieties, you may see curly flower stalks known as garlic scapes. These should be snipped off to encourage larger bulb growth and can be used in cooking like green garlic.
Harvesting Garlic
Garlic is ready to harvest when the lower leaves start to brown and dry, but the top few leaves are still green. This typically occurs 8–9 months after planting for fall-planted garlic, or late summer for spring planting.
Harvesting steps:
-
Gently loosen the soil and pull up the bulbs.
-
Brush off excess soil (don’t wash).
-
Cure garlic by hanging or laying it out in a warm, dry place with good air circulation for 2–3 weeks.
-
Once cured, trim the roots and tops and store in a cool, dry place.
Well-cured garlic can last for several months when stored properly.
Final Thoughts
Garlic is one of the most rewarding crops for small-space gardeners. It doesn’t require much space or attention, and it delivers a flavorful harvest that enhances countless dishes. Growing garlic in pots allows even those with no yard to enjoy homegrown bulbs and greens, all from a few cloves and a container.
With the right soil, good sun exposure, and a little patience, you can turn a small corner of your home into a productive garlic patch—making this allium the best-kept secret for flavor-loving container gardeners.


