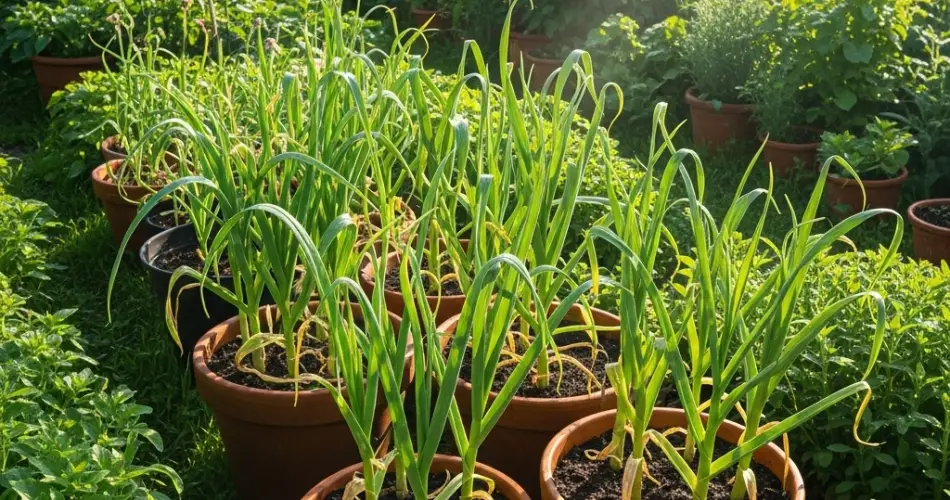
If you love cooking with garlic, why not grow it at home—even without a backyard? Garlic is a hardy, low-maintenance crop that thrives in containers, making it perfect for small spaces like balconies, patios, decks, or sunny windowsills. With just a pot, some soil, and a little patience, you can grow your own flavorful garlic from a single clove.
Whether you’re a beginner or an experienced home gardener, this guide will walk you through the entire process of growing garlic in containers—from choosing cloves to harvesting full heads.
Why Grow Garlic in Containers?
Container gardening offers a flexible and efficient way to grow garlic. It allows for better control over soil conditions, drainage, and pests, while also making it easier to move your plants if needed.
Benefits of growing garlic in containers include:
-
Great for small or urban spaces
-
Easier management of soil health and drainage
-
Reduced risk of soil-borne diseases
-
Portability to protect from extreme weather
-
Ideal for both bulbs and edible garlic greens
Softneck vs. Hardneck: Which Garlic Should You Grow?
Before you start, decide between softneck and hardneck garlic types:
-
Softneck Garlic: Stores well, does best in mild climates, and has a flexible stem—ideal for braiding.
-
Hardneck Garlic: Better suited to colder regions and produces edible scapes (flower stalks) with a strong flavor.
You can buy garlic seed bulbs from garden centers or use untreated, organic grocery store garlic. Avoid chemically treated garlic, as it may not sprout.
What You’ll Need
To start growing garlic in containers, gather the following:
-
A flower pot or container at least 8–10 inches deep with drainage holes
-
Garlic cloves (from healthy bulbs)
-
Lightweight, well-draining potting mix enriched with compost
-
A hand trowel or small garden shovel
-
Access to full sunlight (minimum of 6 hours daily)
-
Optional: mulch (straw, shredded leaves), liquid organic fertilizer
Step-by-Step: How to Grow Garlic in Containers
1. Choose a Suitable Container
Select a pot or planter that is deep enough for root development and wide enough to space out the cloves. Make sure it has several drainage holes to prevent waterlogging.
2. Prepare the Soil
Use a loose, fertile potting mix that drains well. Enrich it with organic compost or worm castings to provide essential nutrients. Avoid using garden soil, which may compact in pots and retain too much moisture.
3. Planting the Cloves
-
Break the bulb into individual cloves just before planting.
-
Choose the largest cloves and leave the papery skin on.
-
Plant each clove with the pointed end up, about 2 inches deep and 4–6 inches apart.
-
Gently water the soil after planting.
4. Provide Proper Sunlight
Place the container in a sunny location where the garlic can get 6–8 hours of sunlight daily. Garlic grows best in full sun but can tolerate some partial shade.
Garlic Plant Care
Garlic has a long growing season—typically 7 to 9 months—but requires little upkeep. Here’s how to keep your container garlic healthy:
-
Watering: Keep the soil evenly moist but never soggy. Water when the top inch of soil feels dry. Overwatering can cause root rot.
-
Feeding: Apply a balanced, water-soluble fertilizer every 3–4 weeks or side-dress with compost.
-
Mulching: A layer of straw, dried leaves, or shredded bark helps retain moisture and regulate soil temperature.
In colder climates, move pots to a sheltered area or insulate them with extra mulch during winter.
Harvesting Garlic
Garlic is ready to harvest when the leaves begin to yellow and dry—usually in mid to late summer if planted in fall.
To harvest:
-
Use a trowel to gently loosen the soil around the bulbs.
-
Pull the garlic from the base—avoid tugging the stems, which can break.
-
Brush off excess soil but don’t wash the bulbs yet.
-
Cure the garlic by laying it out in a dry, airy place away from direct sunlight for 2–3 weeks.
-
After curing, trim the roots and tops and store in a cool, dry location.
Bonus Harvest: Garlic Greens
While you wait for bulbs to mature, you can enjoy fresh garlic greens. These shoots can be harvested like scallions and used in cooking for a mild garlic flavor.
To harvest greens:
-
Snip the leaves when they reach 6–8 inches in height.
-
Cut only a few at a time, and avoid removing all leaves to ensure healthy bulb development.
Garlic greens make a flavorful addition to omelets, stir-fries, and soups.
Common Issues and Solutions
Yellowing leaves
-
Often due to overwatering or compacted soil. Check drainage and reduce watering.
No bulbs forming
-
Caused by lack of sunlight or overcrowding. Make sure your container is in a sunny spot and cloves are well spaced.
Mildew or fungal issues
-
Improve airflow, avoid wetting the leaves, and remove infected foliage promptly.
Final Thoughts
Growing garlic in containers is a simple, rewarding project that requires minimal effort but offers big rewards. Whether you’re aiming for large bulbs, flavorful greens, or both, all you need is a pot, a few cloves, and some patience.
From the moment you press a clove into soil to the day you harvest your own fragrant bulbs, garlic is one of the most satisfying crops to grow at home—no garden required.


