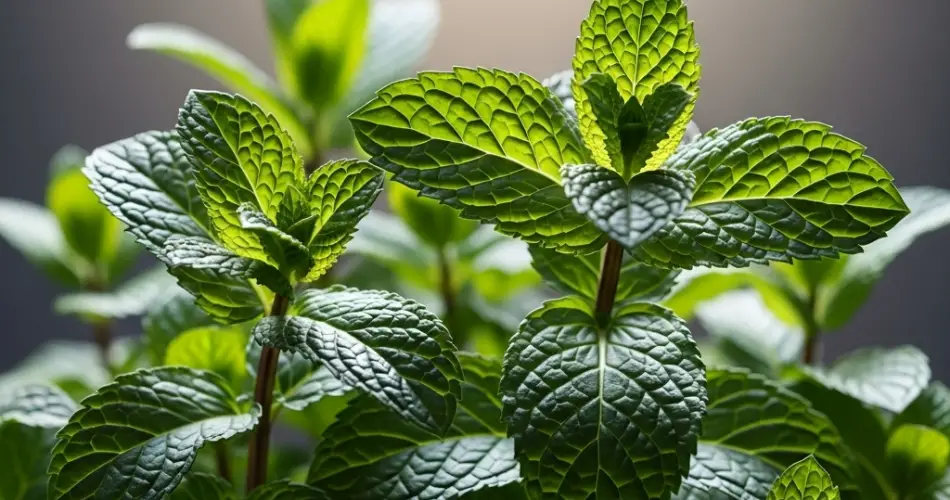
If you’re looking for a fun and sustainable way to grow your own herbs, turning plastic bottles into mini mint gardens is a great place to start. Mint is one of the easiest herbs to cultivate, and repurposing bottles gives you a creative and eco-friendly way to grow it—even if you live in a small apartment or have no outdoor garden space.
In this guide, you’ll learn how to transform used plastic bottles into compact herb planters and grow fragrant mint indoors or on a balcony. The process is simple, affordable, and perfect for anyone looking to add a touch of greenery to their living space.
Why Grow Mint in Bottles?
Mint is a vigorous herb that thrives in containers. When planted in the ground, it can spread aggressively, so growing it in bottles gives you control while also making use of plastic waste. Bottle gardening is ideal for urban homes with limited space and allows you to grow herbs vertically, on shelves, or along railings.
Plus, mint grows quickly from cuttings, and within weeks, you’ll have a fresh supply ready for teas, cooking, or refreshing garnishes.
What You’ll Need:
-
Clear plastic bottles (1.5 or 2-liter size)
-
Mint cuttings or rooted seedlings
-
Light, well-draining potting soil
-
Scissors or utility knife
-
Nail or screwdriver for poking holes
-
Stones or gravel (for drainage, optional)
-
Watering can or spray bottle
-
Sunny windowsill or balcony space
Step 1: Cut and Prepare the Bottles
Start by washing and drying the plastic bottles thoroughly. Use scissors or a utility knife to cut a rectangular opening on one side—this will serve as the planting area. Leave enough space at the bottom to hold soil.
Poke several small holes in the bottom of the bottle for drainage. This prevents water buildup, which can lead to root rot. If your container will sit indoors on a windowsill, place a small tray underneath to catch excess water.
You can also try hanging bottle planters by making holes on both sides near the top and threading string or wire through to hang them on a hook or railing.
Step 2: Prepare the Soil
Mint prefers moist but well-draining soil. A mix of potting soil with compost, perlite, or coco coir works well. If your plastic bottle doesn’t allow for drainage, add a small layer of stones or pebbles before adding soil to prevent water from pooling at the bottom.
Fill the container two-thirds full with the prepared soil.
Step 3: Plant the Mint
If you’re starting from cuttings, choose a healthy mint stem that’s 4–6 inches long. Remove the lower leaves and place the stem in a glass of water for about a week until roots appear. Once the roots are about an inch long, it’s ready to be planted.
Place the cutting or seedling into the bottle planter and gently firm the soil around it. Water the soil lightly to settle the roots and ensure the plant is hydrated.
Step 4: Give It the Right Conditions
Mint thrives in bright, indirect light. Place your bottle planter on a windowsill that gets a few hours of morning sun or in a partially shaded balcony space. Avoid hot afternoon sun, which can dry out the soil too quickly in a plastic container.
Water the plant regularly, keeping the soil evenly moist but not soggy. A spray bottle can help you avoid overwatering, especially in small containers.
Step 5: Care and Maintenance
To encourage a bushy, healthy plant, pinch off the top leaves once your mint starts growing. This promotes branching and fuller growth. Remove any flowers that start forming to keep the plant focused on producing leaves.
Every 2–3 weeks, you can feed your mint plant with diluted organic fertilizer or compost tea for a nutrient boost.
If the leaves start turning yellow or the growth slows down, check for drainage issues or overcrowded roots. You can trim back the plant and refresh the soil if needed.
Step 6: Harvest and Enjoy
You can begin harvesting mint once the plant has at least 4–6 inches of growth. Use scissors to snip leaves or stems just above a leaf node. This will encourage new growth and ensure your plant keeps producing.
Fresh mint can be used in tea, smoothies, sauces, desserts, and even as a natural breath freshener.
Creative Ideas for Your Mint Bottle Garden
-
Vertical herb wall: Attach several bottle planters to a wooden board or wall rack to create a vertical mint garden.
-
Hanging herb garden: Use twine or recycled string to hang bottles along a balcony railing or kitchen window.
-
Personalized planters: Decorate your bottles with paint or markers to add a fun and artistic touch.
Final Thoughts
Transforming plastic bottles into mint planters is a smart and sustainable way to garden in small spaces. It reduces plastic waste while providing you with a continuous supply of fragrant, edible greenery. Whether you grow one plant or a wall full of herbs, this method is a great starting point for anyone interested in urban gardening and eco-conscious living.


