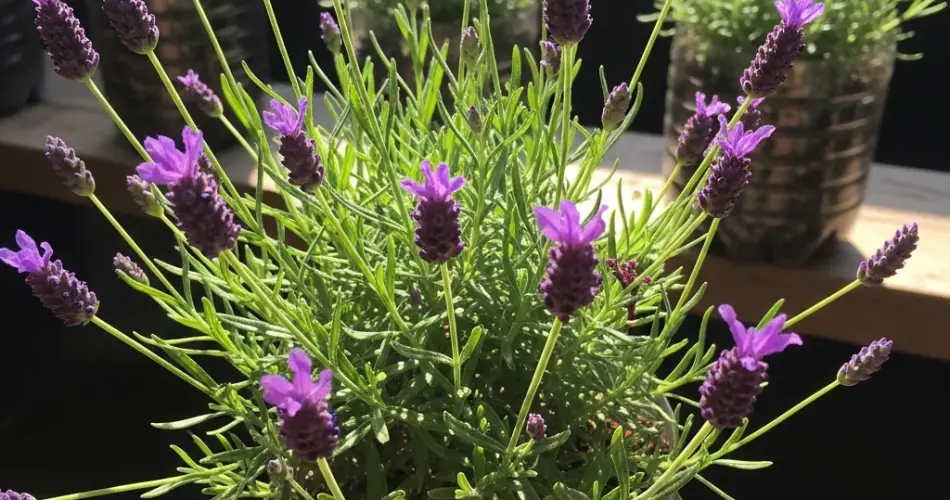
Lavender is a charming and fragrant herb known for its soothing aroma and beautiful purple blossoms. It’s widely used in cooking, aromatherapy, and home decor. Fortunately, you don’t need a large backyard or fancy containers to enjoy growing lavender at home. With a little creativity and a plastic bottle, beginners can create a thriving lavender plant using simple, sustainable materials.
This project is perfect for small spaces like balconies, sunny windowsills, or patios. Even better, it’s beginner-friendly, cost-effective, and an excellent way to reuse plastic bottles that would otherwise go to waste. By the end of this DIY gardening journey, you’ll have a healthy lavender plant and a rewarding gardening experience.
Why Lavender?
Lavender is a Mediterranean herb that thrives in warm, dry conditions. It’s drought-tolerant, low-maintenance, and grows well in containers, making it a fantastic choice for first-time gardeners. The plant’s calming scent can help relieve stress, repel insects, and freshen up indoor spaces.
Since lavender enjoys sunny spots and doesn’t require frequent watering, it adapts well to plastic bottle planters when proper drainage is provided. Whether you start from seeds or cuttings, lavender can flourish with just a little attention and care.
What You’ll Need
To begin your lavender-in-a-bottle project, gather the following materials:
-
A clean 1.5- or 2-liter plastic bottle
-
Scissors or a craft knife
-
A heated nail or needle (for drainage holes)
-
Potting mix (preferably for herbs or cactus)
-
Coarse sand or perlite (for better drainage)
-
Small pebbles or gravel (optional)
-
Lavender seeds or stem cuttings
-
A sunny windowsill or outdoor space
-
Spray bottle or small watering can
Step 1: Prepare the Plastic Bottle
-
Clean the Bottle
Rinse the bottle thoroughly to remove any residue, and let it dry. Remove any labels so sunlight can reach the plant roots and to give your project a neater appearance. -
Cut the Bottle
Use scissors or a sharp blade to cut the bottle about one-third from the top. The bottom portion will serve as the planter. If you want, you can keep the top half to act as a humidity dome for seeds. -
Make Drainage Holes
Use a hot needle or nail to poke small holes in the base of the bottle. Proper drainage is essential to prevent water from sitting at the bottom and causing root rot. -
Add Drainage Material
Place a layer of small stones or gravel in the bottom to improve airflow and drainage.
Step 2: Mix the Soil
Lavender needs well-drained soil. Prepare a mix of two parts potting soil and one part coarse sand or perlite. This mimics the dry, rocky soil lavender grows in naturally. Fill the bottle with this mix, leaving about an inch of space at the top.
Step 3: Plant the Lavender
If Using Seeds:
-
Sprinkle a few lavender seeds evenly on the soil surface.
-
Cover with a very thin layer of soil or sand—lavender seeds need light to germinate.
-
Lightly mist the surface with water.
-
Cover loosely with the top of the bottle to create a greenhouse effect and place in a bright, warm spot.
If Using Cuttings:
-
Take a 4–6 inch softwood cutting from an existing lavender plant.
-
Remove the leaves from the lower half.
-
Optionally, dip the cut end in rooting hormone.
-
Insert the cutting into the soil and water lightly.
-
Keep the soil slightly moist until roots form in 2–3 weeks.
Step 4: Caring for Your Lavender
-
Sunlight:
Lavender loves the sun. Place your bottle planter in a spot that gets 6–8 hours of sunlight daily. A sunny windowsill or balcony is ideal. -
Watering:
Let the soil dry out between waterings. Lavender is drought-tolerant and prefers slightly dry conditions. Overwatering can be harmful. -
Air Circulation:
Good airflow is important to keep the plant healthy. Don’t place it in cramped or damp spots. -
Fertilizer:
Lavender doesn’t need much feeding. You can add diluted compost tea or a mild organic fertilizer once every 6–8 weeks.
Step 5: Harvesting and Maintenance
Once your lavender plant matures and blooms, you can begin harvesting. Cut the flower stems early in the morning after the dew dries, just before the buds fully open for maximum fragrance.
-
Drying:
Bundle the cut stems and hang them upside down in a cool, dark place. Once dry, you can store the flowers in jars or use them in sachets, tea, or homemade bath products. -
Pruning:
Trim the plant back after blooming to encourage new growth and keep it bushy. In spring, remove any woody or dead stems to rejuvenate the plant.
Final Tips
-
Start with cuttings if you want faster results. Seeds are slower and can be tricky to germinate.
-
Reuse several bottles to create a multi-level lavender garden.
-
Avoid placing the plant in areas with frequent humidity or rain—too much moisture can lead to mold or root problems.
Conclusion
This plastic bottle lavender project is perfect for beginners looking to explore gardening in a sustainable, space-saving way. With minimal materials and a sunny spot, you can grow your own fragrant lavender to enjoy indoors or out. It’s a small step toward greener living—and a big reward in color, scent, and satisfaction.


