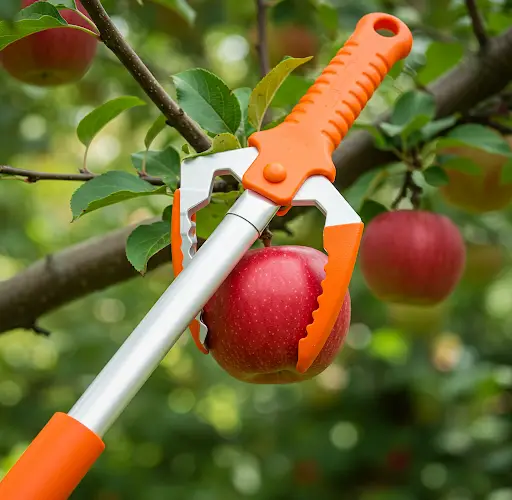
How to Make a Simple DIY Fruit Picker Using a Plastic Bottle
Harvesting fruits from tall trees can often be a challenge, but with this simple do-it-yourself (DIY) fruit picker, you can easily reach and collect fruits without needing a ladder. This guide will walk you through creating a functional fruit picker using a repurposed plastic bottle, a wooden pole, and some sturdy string.
Materials Needed:
- A 1.5-liter plastic bottle
- A sharp knife or heated blade
- A wooden pole (such as a broomstick or similar sturdy rod)
- A strong string (e.g., nylon cord, fishing line, or masonry string)
- A drill or a heated nail for making holes
Step-by-Step Instructions:
Step 1: Prepare the Plastic Bottle
- Start with a clean, dry 1.5-liter plastic bottle.
- Using a heated knife or sharp blade, cut the top of the bottle, leaving about one finger’s width below the bottle’s neck. This creates the open section where the fruit will be collected.
- Make vertical cuts from the bottle’s rim downwards, forming several evenly spaced “teeth.” These will help grab the fruit and make picking easier.
Step 2: Create Holes for the String
- Use a heated nail or drill to make small holes in the lower section of each “tooth.” These holes will be used to thread the string, which acts as a tightening mechanism for gripping fruits.
- Make an additional hole on the sturdier part of the bottle, about 10 cm below the cut area. This will serve as a guide hole to align with the string mechanism.
- At the base of the bottle, drill two more holes that will help secure it to the wooden pole.
Step 3: Thread the String
- Cut a 50 cm long piece of strong string and tie a knot at one end to prevent it from slipping through the holes.
- Thread the string through the holes in the bottle’s teeth, ensuring it runs smoothly through each hole.
- Align the string with the additional guiding hole and secure it with another knot. This will ensure the string remains taut and allows for easy control when picking fruits.
Step 4: Attach the Wooden Pole
- Take a sturdy wooden pole, such as a broomstick, and insert one end into the base of the plastic bottle.
- Secure it using additional string or screws through the two pre-made holes at the bottom of the bottle.
- Ensure the bottle is firmly attached so it doesn’t wobble during use.
Step 5: Create the Pull Mechanism
- Take a 3.3-meter-long piece of string and fold it into three equal parts.
- Tie a small knot in the center to make it easier to grip.
- Secure one end of this string to the handle of the bottle, making sure it aligns with the guiding holes.
- Test the mechanism by pulling the string—it should tighten the teeth around any fruit placed inside the bottle’s opening.
How to Use the DIY Fruit Picker
- Position the plastic bottle around the fruit you want to pick.
- Gently pull on the string to close the “teeth” around the fruit.
- Give the fruit a slight tug, and it should easily detach from the branch and fall into the bottle.
- Lower the pole to retrieve your fruit safely.
Benefits of This DIY Fruit Picker
- Eco-friendly: Made from recycled materials.
- Cost-effective: Requires only common household items.
- Safe to use: Eliminates the need for ladders, reducing the risk of falls.
- Versatile: Can be used for various fruits like apples, pears, pomegranates, and citrus fruits.
With this easy-to-make DIY fruit picker, harvesting fruits becomes an effortless and enjoyable task. Try making one today and enjoy a more efficient way to pick fresh fruits from your trees!
Show Comments


