Lemongrass (Cymbopogon citratus) is a wonderfully fragrant herb used in teas, soups, curries, and a wide variety of Asian dishes. Not only does it add a citrusy zing to meals, but it’s also known for its natural insect-repelling properties and calming aroma. While often grown in garden beds or pots, lemongrass is surprisingly easy to cultivate in upcycled plastic bottles, making it a perfect candidate for sustainable, space-saving gardening.
This DIY method is ideal for gardeners with limited space or those who want to minimize waste. With just a recycled bottle and a few essential supplies, you can grow fresh lemongrass right on your balcony, windowsill, or patio.
Why Grow Lemongrass in Plastic Bottles?
Repurposing plastic bottles as garden containers is a smart way to reduce household waste while creating a productive herb garden. Lemongrass is well-suited for this kind of setup because:
-
It grows vertically, making it perfect for compact spaces.
-
It thrives in containers, as long as there is enough drainage.
-
It roots easily from stalks, requiring no seeds or complex propagation.
-
It loves the sun, and bottles can be moved easily to sunny spots.
-
It adds greenery and aroma, enhancing indoor and outdoor spaces.
With the right care, lemongrass in bottles can grow lush, tall, and ready to harvest year-round.
Materials You’ll Need
To begin your lemongrass-in-a-bottle project, gather these basic items:
-
A clean plastic bottle (1.5 to 2 liters in size)
-
Sharp scissors or a craft knife
-
Lemongrass stalks with intact bases (from the store or garden)
-
Potting soil with good drainage
-
Perlite or coarse sand (optional, to improve soil texture)
-
Nail or skewer (for making drainage holes)
-
Mesh, coffee filter, or scrap fabric (to line the bottom)
-
Marker (to mark cutting lines)
-
Spray bottle or watering can
Step-by-Step Instructions
Step 1: Prepare the Bottle
Start by washing the plastic bottle thoroughly and removing any labels. Let it dry completely.
Mark a line about one-third of the way from the bottom and cut along this line. The bottom section will serve as your planter. Alternatively, you can cut a window on the side of the bottle if you prefer a horizontal layout.
Step 2: Make Drainage Holes
Using a nail, skewer, or heated metal tool, poke 5–7 small holes in the bottom of the bottle. Proper drainage is crucial, as lemongrass roots don’t tolerate soggy conditions.
Line the bottom with a piece of mesh or a coffee filter to keep soil from escaping through the holes while still allowing water to drain.
Step 3: Prepare and Plant the Lemongrass
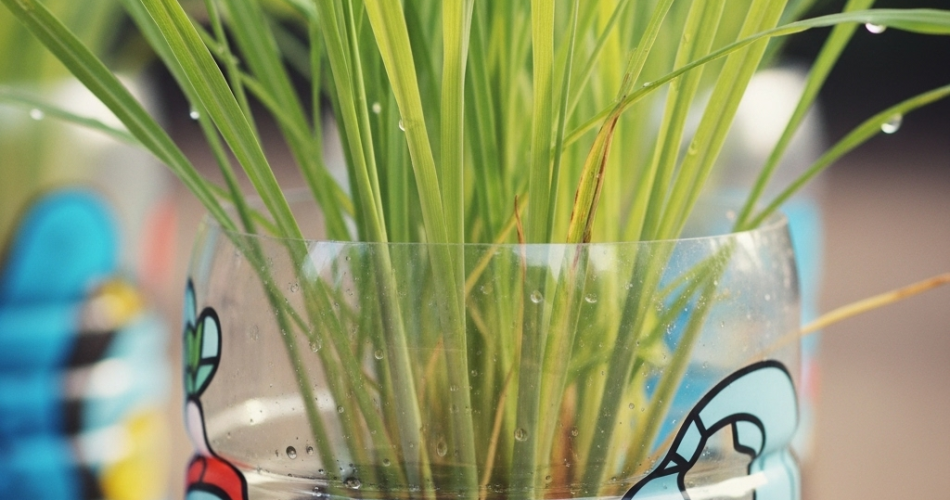
If you’re using store-bought lemongrass stalks, place them in a glass of water with the base submerged. Within 5–10 days, small roots will begin to emerge from the base of the stalks. Once the roots are 1–2 inches long, they’re ready for planting.
Fill the prepared bottle planter with well-draining potting soil mixed with a bit of perlite or coarse sand. Insert the rooted stalks into the soil, ensuring the roots are fully covered and the base is just above the surface.
Gently press the soil around the stalks to secure them, then water lightly.
Step 4: Provide Ideal Growing Conditions
Lemongrass is a sun-loving herb. Place the bottle planter in a location that receives at least 6–8 hours of direct sunlight per day. A sunny windowsill, porch, or balcony is ideal.
Water the plant when the top inch of soil feels dry. Lemongrass prefers moist (but not waterlogged) soil, especially in warm weather.
Ongoing Care and Maintenance
-
Watering: During the growing season, water regularly to keep the soil slightly moist. In cooler months, reduce watering frequency.
-
Feeding: Fertilize once a month with a balanced, all-purpose liquid fertilizer to support healthy foliage.
-
Pruning: Trim any dry or brown leaves to keep the plant tidy and to encourage new growth.
-
Pest control: Lemongrass is generally pest-resistant due to its aromatic oils, but check occasionally for aphids or spider mites.
Harvesting Lemongrass
You can begin harvesting lemongrass once the stalks are at least 12 inches tall and about half an inch thick.
To harvest:
-
Select an outer stalk.
-
Use a knife or scissors to cut it off at the soil line.
-
Peel away the tough outer layers to reveal the tender white core, which is the most flavorful part.
You can use harvested stalks fresh, freeze them for later, or dry them for teas and spice blends.
Tips for Decorating and Display
Plastic bottle planters don’t have to look plain. Consider:
-
Painting the outside with colorful or earthy tones.
-
Wrapping the bottle in jute or burlap for a rustic appearance.
-
Adding plant labels or chalkboard tags.
-
Hanging the planter with twine to create a vertical herb garden.
These decorative touches can turn a simple DIY project into a stylish part of your home décor.
Final Thoughts
Growing lemongrass in upcycled plastic bottles is a creative and environmentally friendly way to enjoy fresh herbs year-round. With just a bit of effort, you can transform waste into a useful container garden that brings fragrance, flavor, and greenery into your space.
Whether you’re an experienced gardener or just starting out, this sustainable approach proves that you don’t need a big garden—or even a traditional pot—to grow something fresh and beautiful. Lemongrass in a bottle is practical, pretty, and perfect for the eco-minded home gardener.


