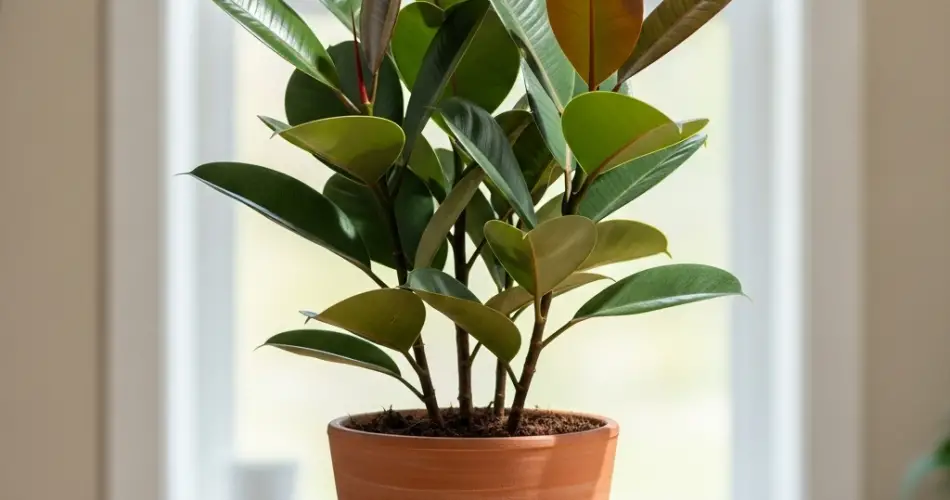
The rubber plant (Ficus elastica) is a striking houseplant known for its broad, glossy leaves and its ability to grow into a bold indoor statement piece. While it’s generally easy to care for, one of the most important factors for keeping it healthy is choosing the right pot and potting approach. The correct container and soil setup ensure strong roots, balanced growth, and long-term vitality.
This guide covers everything you need to know about potting a rubber plant for lasting success.
Choosing the Right Pot Size
A rubber plant grows steadily, and its pot size plays a big role in its health:
-
Start Small and Gradually Upsize: When purchasing a young plant, it’s best to choose a pot that is only 2–4 inches wider than the root ball. Too large of a pot holds excess water, which can lead to root rot.
-
Repot Every 1–2 Years: As the plant matures, repot into a container 1–2 sizes larger when you see roots emerging from the drainage holes or when growth slows despite proper care.
-
Balance Stability and Space: Since rubber plants can become top-heavy, ensure the pot is heavy enough to support the plant and prevent tipping.
Best Pot Materials for Rubber Plants
Different pot materials offer different benefits:
-
Terracotta: Provides good airflow to the roots and helps the soil dry faster, reducing the risk of overwatering. However, it may require more frequent watering.
-
Ceramic with Drainage: Decorative and sturdy, ceramic pots with drainage holes offer style and function.
-
Plastic: Lightweight and good for retaining moisture, making it useful in dry environments, but ensure proper drainage to avoid soggy soil.
Drainage is Non-Negotiable
Rubber plants dislike sitting in water. Always choose a container with one or more drainage holes to allow excess water to escape. If using a decorative pot without holes, place your plant in a smaller nursery pot with drainage and then set it inside the decorative container. Remove the inner pot when watering to let excess moisture drain fully before returning it.
The Ideal Potting Mix
The right soil is essential for healthy root development:
-
Well-Draining Mix: A blend of two parts all-purpose houseplant soil, one part perlite or pumice for aeration, and one part coconut coir or peat moss for moisture balance works well.
-
Avoid Heavy Garden Soil: Dense soils trap water and restrict root oxygen, increasing the risk of rot.
-
Optional Organic Matter: Adding a small amount of compost can improve nutrient content, but use sparingly to avoid overly rich soil.
When and How to Repot
Repotting keeps your rubber plant’s roots healthy and supports continued growth:
-
Check for Signs: Roots growing through drainage holes, circling around the top of the soil, or a noticeable slowdown in growth signal the need for repotting.
-
Water Before Repotting: Lightly water a day before to make the root ball easier to work with.
-
Gently Loosen Roots: If roots are tightly wound, carefully untangle them to encourage outward growth in the new pot.
-
Set at the Same Depth: Place the plant so the base of the stem sits at the same soil level as before.
-
Fill and Water: Add fresh soil around the sides, press gently to remove air pockets, and water thoroughly to settle the mix.
Ongoing Potting Maintenance
Even when not repotting, there are ways to keep the potting environment healthy:
-
Top Dressing: Replace the top 1–2 inches of old soil with fresh mix annually to replenish nutrients.
-
Check Drainage Holes: Ensure they remain unobstructed to prevent water buildup.
-
Stabilize Large Plants: If your plant grows tall, a heavier pot or layer of stones at the bottom can add stability.
Watering and Pot Choice Work Together
Pot material, size, and drainage all influence how often your rubber plant needs water:
-
In a terracotta pot, the soil will dry more quickly, so you may need to water more often.
-
In a plastic pot, moisture lasts longer, so be careful not to overwater.
-
Always check the top 2 inches of soil—if they’re dry, it’s time to water.
Fertilizing for Long-Term Growth
Proper potting is just one part of rubber plant care. During the growing season (spring and summer), feed every 4–6 weeks with a balanced liquid houseplant fertilizer to replenish nutrients that leach out through watering. Reduce feeding in fall and winter when growth slows.
Final Thoughts
Keeping your rubber plant thriving starts at the roots—literally. By selecting the right pot size, using a well-draining mix, and ensuring proper repotting practices, you’ll create the foundation for a healthy, vibrant plant. Combine these potting techniques with consistent watering and light care, and your rubber plant will reward you with strong, glossy leaves and steady growth for years to come.


