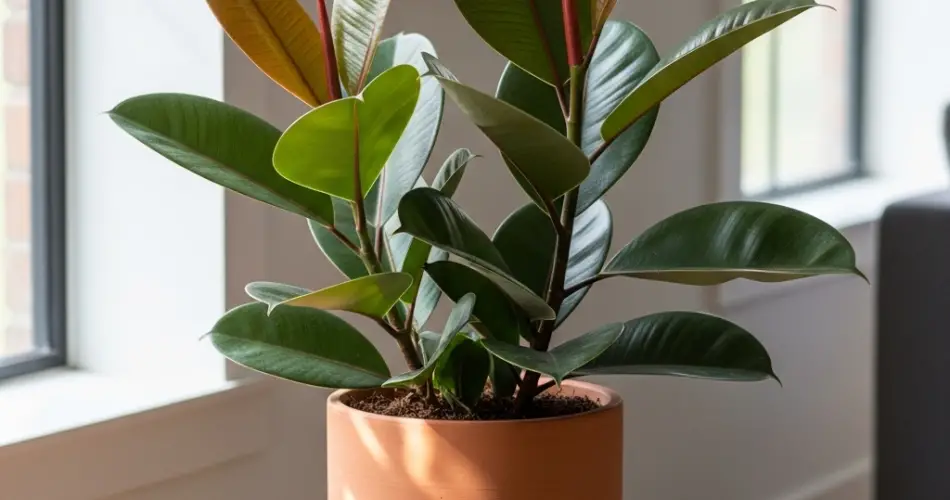
The rubber plant (Ficus elastica) is a bold, low-maintenance houseplant with glossy leaves and a strong vertical presence, making it a favorite for modern interiors. While it often comes in a plain nursery pot from the garden center, upgrading it to a stylish container can instantly elevate its appearance and complement your home décor. However, moving your plant isn’t just about looks—it’s also about giving it the right environment to thrive.
Here’s a complete guide on how to transition your rubber plant from a simple plastic pot to a beautiful, functional container while keeping it healthy and happy.
Step 1: Choosing the Perfect Container
A container should be as functional as it is beautiful. Your rubber plant needs a pot with:
-
Drainage holes – These allow excess water to escape, preventing root rot.
-
Sufficient size – Choose a pot 2–4 inches wider than the current one to give roots room to grow without overwhelming the plant with too much soil.
-
Sturdy build – Rubber plants can grow tall, so a stable, heavy pot helps prevent tipping.
Popular choices include ceramic planters for elegance, terracotta pots for breathability, and decorative fiberstone or concrete planters for a sleek, modern look.
Step 2: Preparing the Plant for Transfer
Repotting is best done in spring or early summer when your rubber plant is actively growing. This gives it the energy to adjust to its new environment.
-
Water lightly a day before repotting to make the root ball easier to remove without being soggy.
-
Gently slide out the plant from its nursery pot, supporting the base of the stem.
-
Loosen compacted roots by gently teasing them apart. If the plant is root-bound, you can make small vertical cuts in the root ball to encourage outward growth.
Step 3: Selecting the Right Soil
Rubber plants prefer a well-draining potting mix that still retains enough moisture for healthy growth. A good mix is:
-
2 parts all-purpose potting soil
-
1 part perlite or coarse sand for drainage
-
Optional: 1 part peat moss or coco coir for balanced moisture retention
The goal is a soil blend that prevents water from sitting around the roots while still nourishing the plant.
Step 4: Repotting into the Stylish Container
-
Add a base layer of fresh potting mix to the new container.
-
Position the plant in the center, making sure the top of the root ball sits about an inch below the pot’s rim. This space makes watering easier.
-
Fill around the sides with soil, gently pressing to remove air pockets but avoiding compacting too tightly.
-
Water thoroughly to help the soil settle, allowing excess water to drain out.
Step 5: Watering and Light After Repotting
After transferring your rubber plant, it will need a period of adjustment. Place it in bright, indirect light—near an east or south-facing window is ideal. Avoid direct midday sun at first, as the plant can be sensitive right after repotting.
For watering:
-
Let the top 1–2 inches of soil dry out before watering again.
-
Deeply soak the soil until water runs out of the drainage holes, then empty the saucer.
Step 6: Styling Your Rubber Plant
The right container can transform your rubber plant into a design feature. Consider:
-
Minimalist white or matte black ceramic pots for modern interiors.
-
Textured baskets or woven planters for a cozy, natural look.
-
Bold-colored planters to make the deep green leaves pop.
You can also pair the pot with a plant stand to add height and create a layered look with other plants.
Step 7: Ongoing Care for Long-Term Health
A stylish pot is just the start—consistent care will keep your rubber plant thriving:
-
Pruning: Remove yellow or damaged leaves and trim the top if you want to control height.
-
Cleaning leaves: Wipe them regularly with a damp cloth to remove dust and allow for better photosynthesis.
-
Fertilizing: During spring and summer, feed monthly with a balanced, diluted liquid fertilizer. Reduce feeding in autumn and winter.
-
Monitoring growth: If the plant becomes root-bound again after a couple of years, repeat the repotting process into a slightly larger container.
Step 8: Avoiding Common Mistakes
When upgrading your rubber plant’s container, be mindful of these pitfalls:
-
No drainage holes – Even a beautiful pot can cause root problems if water has nowhere to go.
-
Too large a pot – Excess soil can hold too much moisture, leading to root rot.
-
Poor placement – Rubber plants dislike cold drafts and sudden temperature changes, so avoid placing them near doors or vents.
Final Thoughts
Moving your rubber plant from a plain nursery pot into a stylish container isn’t just a visual upgrade—it’s a chance to give it a better environment for healthy growth. With the right pot, soil, and care, your rubber plant can become a striking statement piece that thrives for years.
By balancing aesthetics with plant health needs, you can enjoy the best of both worlds: a beautiful indoor space and a happy, vigorous rubber plant that continues to grow and impress.


