Ferns are among the most cherished plants for indoor and shaded outdoor spaces. With their soft, arching fronds and rich green foliage, ferns bring life and movement to any setting. But for all their charm, these plants thrive best when their potting setup mimics the moist, airy conditions of their native forest habitats. Proper potting is essential to keep your ferns looking lush, green, and healthy year-round.
From choosing the right container to preparing a suitable soil mix and understanding watering habits, each step of the potting process contributes to the overall success of your fern care. This guide covers the essentials of potting ferns to help you maintain vibrant, thriving plants whether on a windowsill, balcony, or shaded patio.
Why Proper Potting Matters for Ferns
Ferns grow naturally in forest understories where the soil is light, rich in organic material, and consistently moist. When grown in containers, replicating those conditions ensures your fern’s root system stays healthy and your plant continues to produce lush, green fronds.
Improper potting, such as using dense or dry soil, overcrowded containers, or poorly draining pots, often leads to common fern issues like browning, yellowing, or stunted growth. A well-prepared pot provides stability, airflow, moisture regulation, and room for the roots to grow.
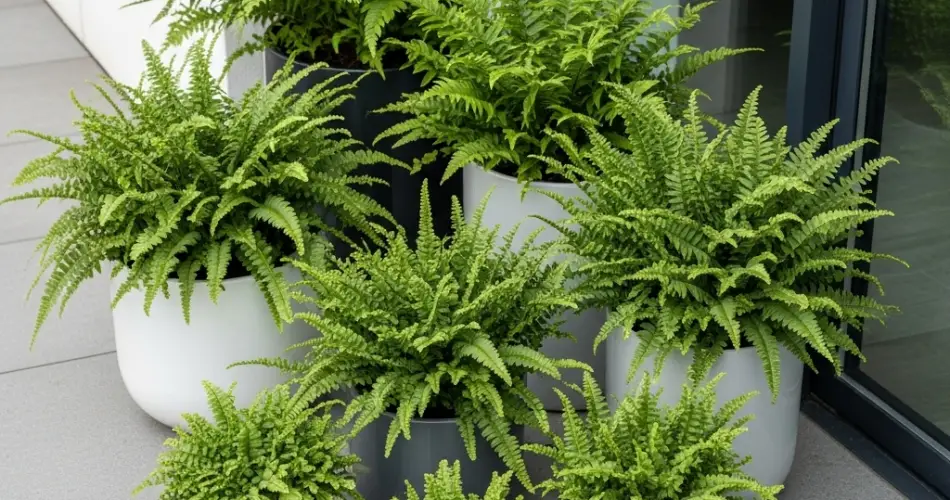
Choosing the Right Pot for Ferns
The container you select plays a significant role in managing moisture and root health. Ferns don’t like waterlogged conditions, but they also dislike drying out completely. A breathable container with proper drainage helps maintain that balance.
Ideal container features:
-
Drainage holes: Essential to prevent root rot
-
Medium depth: Provides space for the shallow but wide root systems
-
Stable base: Prevents tipping as the plant grows
-
Material: Terracotta is breathable and dries quickly (great for high humidity areas), while plastic and glazed ceramic retain moisture longer
You can use decorative outer pots if desired, but always keep the fern in a breathable inner pot with drainage holes to allow proper water flow.
Best Soil Mix for Healthy Ferns
Soil is the foundation of fern health. It should be rich in organic matter, capable of holding moisture, yet airy enough to prevent compaction and encourage oxygen flow to the roots.
Recommended fern potting mix:
-
2 parts peat moss or coco coir (for moisture retention)
-
1 part perlite or pumice (for drainage and aeration)
-
1 part compost or leaf mold (for nutrients and organic texture)
You can also add a small amount of pine bark or orchid bark to increase airflow in the soil. This mix mirrors the forest floor where ferns naturally grow and helps roots breathe while staying moist.
Potting and Repotting Steps
1. Choose your container and mix
Prepare your soil blend and choose a pot just slightly larger than the root ball. Avoid over-potting, as too much soil can retain excess water.
2. Remove the fern from its current pot
Gently lift the plant, loosen any compacted roots, and shake off old soil. Trim away any dead or overly long roots using clean scissors.
3. Position the plant
Place the fern in the new pot, ensuring the crown (where fronds emerge) sits just above the soil level.
4. Fill and press lightly
Backfill with your prepared mix, pressing gently to eliminate air pockets without compacting the soil.
5. Water thoroughly
After potting, water until excess runs from the drainage holes. Allow the soil to settle and adjust the plant if needed.
Repot your fern every 1–2 years or when roots begin to crowd the container or soil loses its texture and drainage capacity.
Watering Tips to Keep Ferns Happy
Ferns love moisture but hate soggy roots. The key is consistency.
Watering guidelines:
-
Keep the soil evenly moist but never soaked
-
Check the top inch of soil; water when it feels slightly dry
-
Use room-temperature water to avoid shocking the plant
-
Mist frequently or use a humidity tray, especially in dry indoor environments
Avoid letting your fern dry out completely—crispy, brown fronds are often a sign of dehydration. Likewise, droopy or yellowing leaves may indicate overwatering or poor drainage.
Light and Placement Considerations
Ferns prefer bright, indirect light or dappled shade—similar to the filtered sunlight they’d receive in a forest. Place them near east-facing windows, under a sheer curtain, or in a shaded corner that still gets ambient light.
Avoid direct sunlight, which can scorch the leaves, and don’t place ferns near air conditioners or heaters that create dry conditions.
Signs It’s Time to Refresh the Pot or Soil
-
Soil becomes compacted and drains poorly
-
Fern dries out quickly after watering
-
Roots are circling the inside of the pot
-
New growth is sparse or stunted
-
Lower fronds yellow or die off regularly
Refreshing the soil or repotting helps maintain proper moisture and nutrient availability and gives the roots space to spread out.
Final Thoughts
Ferns may seem delicate, but with the right potting setup, they are surprisingly resilient and rewarding. By choosing a breathable container, preparing a moisture-retentive and well-aerated soil mix, and maintaining consistent care, you can keep your ferns green, lush, and full of life. Whether indoors or on a shaded patio, properly potted ferns can bring a beautiful, natural elegance to any space.


