Spider plants (Chlorophytum comosum) are beloved for their arching green-and-white leaves and the charming “spiderettes” they produce. These offshoots dangle from long stems, creating a cascading effect that looks beautiful in hanging baskets and pots. While spider plants are naturally prolific, encouraging healthy and abundant offshoots indoors requires some attention to potting methods, soil choice, and ongoing care.
Why Offshoots Matter
The offshoots, or “pups,” serve as both decorative features and a way to propagate new plants. A spider plant in peak health can produce dozens of these baby plants in a single year, making it easy to expand your indoor garden or share plants with friends. Ensuring your potting approach supports vigorous offshoot growth is key to keeping the plant lush and lively.
Choosing the Right Container
The type of pot you use can influence root health, which directly affects offshoot production.
-
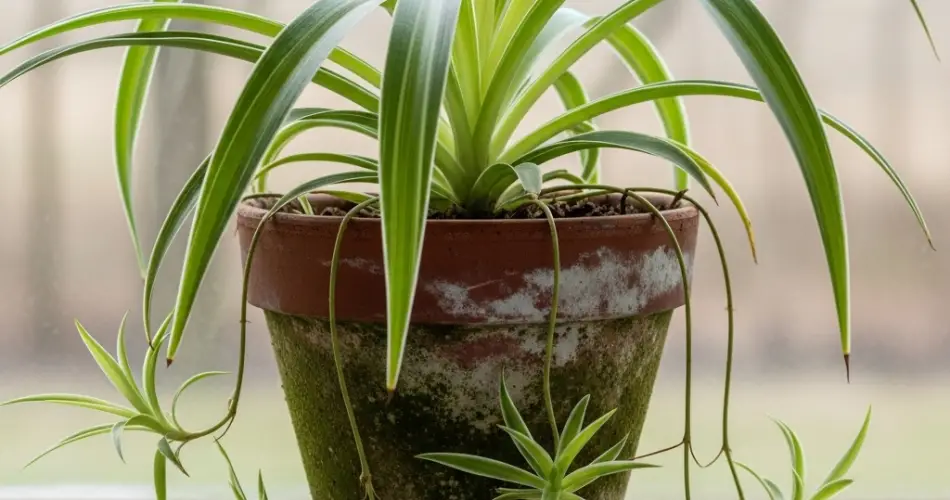
Size: Spider plants enjoy being slightly root-bound, which can actually encourage more pups. Choose a container only 2–3 cm (about an inch) wider than the root ball.
-
Material: Terra cotta pots allow excess moisture to evaporate, reducing the risk of root rot. Ceramic and plastic pots retain moisture longer, which can be beneficial in dry climates.
-
Drainage: Adequate drainage holes are essential. Standing water at the bottom of the pot will damage roots and hinder plant growth.
The Ideal Potting Mix
Spider plants prefer a light, well-draining soil blend that retains some moisture without becoming soggy.
-
Base mix: Use a general-purpose houseplant mix as the foundation.
-
Drainage boosters: Add perlite, coarse sand, or small bark chips to improve aeration.
-
Organic matter: A small amount of compost or coco coir helps retain balanced moisture and provides nutrients for steady growth.
A mix that allows roots to breathe will keep the plant vigorous and better able to produce healthy offshoots.
Proper Potting Technique
-
Prepare the pot: Add a thin layer of fresh potting mix to the bottom.
-
Position the plant: Place the spider plant in the center, ensuring the crown sits slightly above the soil line.
-
Fill in: Gently add soil around the roots, pressing lightly to remove air pockets but avoiding over-compaction.
-
Water thoroughly: Let excess water drain out completely before returning the pot to its saucer.
Watering for Offshoot Success
Consistent watering is crucial for strong, healthy foliage and frequent pup production.
-
Frequency: Water when the top inch of soil feels dry. Overwatering can drown the roots, while underwatering slows growth and reduces offshoot production.
-
Method: Water evenly until moisture runs out of the drainage holes, ensuring roots get a full soak.
-
Water quality: If possible, use rainwater or filtered water to avoid fluoride and chlorine buildup, which can cause leaf tip burn.
Light Placement Indoors
Lighting has a significant impact on offshoot production.
-
Best exposure: Bright, indirect sunlight near an east- or west-facing window is ideal.
-
Avoid harsh rays: Direct midday sun can scorch the leaves.
-
Low-light caution: While spider plants can survive in lower light, they may produce fewer or smaller offshoots.
If natural light is limited, a full-spectrum grow light placed about 12 inches above the plant for 10–12 hours a day can help maintain steady growth.
Fertilizing for Vigorous Growth
Feeding your spider plant encourages lush leaves and more pups.
-
Schedule: Fertilize every four to six weeks during the growing season (spring to early autumn).
-
Type: Use a balanced, water-soluble fertilizer diluted to half the recommended strength.
-
Caution: Overfertilizing can burn roots and leaf tips, so err on the side of less rather than more.
Pruning and Maintenance
Regular pruning can improve air circulation around the plant and redirect energy toward offshoot production. Remove any yellowing or damaged leaves at the base. If the plant is overcrowded, divide it into smaller sections during repotting, giving each a fresh start in its own container.
Propagation from Offshoots
Healthy pups can be rooted easily in soil or water.
-
Identify mature pups: Look for spiderettes with small root nubs.
-
Cut carefully: Use clean scissors to detach them from the mother plant.
-
Root in water or soil: Place in a jar of water until roots are a few centimeters long, or plant directly into a moist potting mix.
-
Transition to pots: Once established, move them into their own container and care for them as you would a mature spider plant.
Troubleshooting Growth Issues
-
Few or no offshoots: Increase light exposure and ensure the plant is slightly root-bound.
-
Brown leaf tips: Switch to filtered water and check for overfertilization.
-
Slow growth: Refresh the top layer of soil and verify the plant is getting enough nutrients and light.
Final Thoughts
Indoor spider plants are resilient, but their ability to produce abundant, healthy offshoots depends on thoughtful potting, proper watering, and the right indoor placement. By keeping the plant slightly root-bound, using a breathable potting mix, providing bright indirect light, and maintaining a balanced watering schedule, you can enjoy a steady stream of spiderettes ready for propagation. With these potting secrets, your spider plant will remain a vibrant, ever-expanding centerpiece in your indoor garden.


