Growing your own carrots at home is one of the most rewarding and easiest gardening experiences, and you don’t need to break the bank or have a large garden to do it. Whether you have a small backyard, a balcony, or even a windowsill, you can successfully grow carrots with just a few simple supplies. The process is affordable, and with a little effort, you’ll be enjoying fresh, homegrown carrots in no time.
In this article, I’ll share how I grew carrots at home in a simple, low-cost way, and how you can do it too, even as a beginner gardener.
Step 1: Choose the Right Containers
One of the first things you need for growing carrots is the right container. Carrots grow deep into the soil, so it’s essential to have a container that’s deep enough to allow the roots to stretch out. You don’t need anything fancy—just use plastic containers, old buckets, or even recycled wooden boxes. The depth of the container should be at least 8-12 inches, depending on the variety of carrot you’re growing.
The key is to ensure that the container has proper drainage holes at the bottom. Without proper drainage, water can build up and cause root rot. If you’re using a container without drainage holes, simply drill a few small ones to ensure excess water can escape.
Step 2: Prepare the Soil
Carrots thrive in loose, well-draining soil that is free of rocks or heavy clay. It’s important that the soil is light and airy, so the carrot roots can grow without obstruction. If you’re growing carrots in a container, you’ll want to use a high-quality potting mix. Avoid using regular garden soil, as it can become too compacted in containers.
To make the soil even better for carrots, mix in some compost or organic matter to improve soil structure and add nutrients. You can also mix in some sand if you’re using heavy soil, as it will help with drainage. A good mix would be 60% potting soil and 40% compost. For smaller containers, you can also mix in a little perlite or vermiculite to help aerate the soil.
Step 3: Select the Right Carrot Varieties
Not all carrot varieties are the same, and some are better suited to container gardening than others. For smaller containers, consider growing baby carrots or short-root varieties, as these don’t require as much depth. Some great varieties for containers include:
-
Thumbelina: A small, round carrot that grows well in containers.
-
Paris Market: Another compact variety, perfect for small spaces.
-
Little Finger: A tiny, sweet variety that matures quickly.
If you’re using a larger container, you can also grow regular carrots like Danvers or Nantes. These varieties have longer roots but still grow well in deep containers.
Step 4: Planting the Carrot Seeds
Carrots are best grown directly from seeds, as transplanting them can disturb their delicate roots. Start by sowing the carrot seeds directly into the container. You don’t need to bury them deeply—just plant the seeds about 1/4 inch deep in the soil. Space the seeds about 1 inch apart, as carrots don’t need much space while germinating but will need room to grow as they mature.
Carrot seeds are small, so be careful when scattering them in the container. It’s also a good idea to mix the seeds with a small amount of sand before planting to help distribute them evenly.
Once planted, gently water the soil with a fine mist to avoid displacing the seeds. Keep the soil moist, but not soaking wet, as carrots don’t like waterlogged conditions.
Step 5: Providing the Right Growing Conditions
Carrots grow best in cool weather. If you’re growing them outdoors, plant them in early spring or fall when temperatures are mild (around 50-70°F). If you live in a hot climate, consider growing your carrots in the cooler months to avoid heat stress.
If you’re growing carrots indoors, make sure to place them in a bright spot that gets plenty of indirect sunlight. You can also use grow lights to supplement sunlight if you don’t have a sunny windowsill. Aim for 6 hours of light per day for the best results.
Step 6: Watering and Maintenance
Carrots require consistent moisture to grow properly, but they don’t like soggy soil. Water the container regularly, but make sure the soil has time to dry out between watering sessions. The key is to keep the soil moist but not soaking wet.
If the soil dries out too much, it can cause the carrot roots to become tough or misshapen. However, too much water can lead to root rot. A good way to maintain proper moisture is to water when the top layer of soil feels dry to the touch.
Step 7: Thinning and Supporting Growth
Once your carrot seedlings have grown to about 2 inches tall, you may notice that they are a little crowded. It’s important to thin out the plants to give the remaining carrots enough room to grow. Thin the seedlings by removing the weaker plants, leaving the strongest ones spaced about 1-2 inches apart.
Thinning ensures that your carrots have the space they need to grow properly and develop healthy, straight roots.
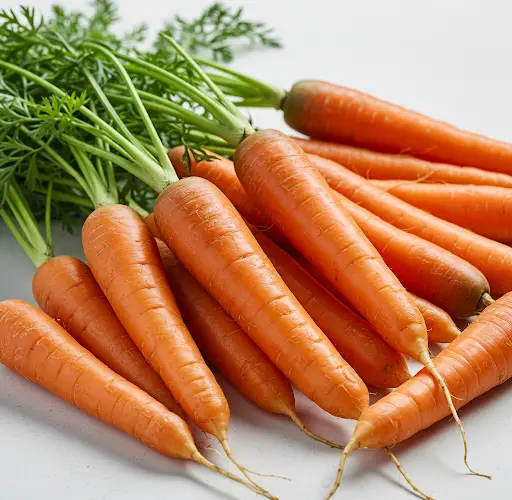
Step 8: Harvesting the Carrots
Carrots can take anywhere from 60 to 80 days to mature, depending on the variety and growing conditions. You’ll know your carrots are ready to harvest when the tops of the roots start to show above the soil line, and the carrots are about the size you want them to be.
To harvest, gently pull the carrots out of the soil, being careful not to damage the roots. If you’re harvesting carrots from a container, you can simply tip the container over and carefully shake out the carrots.
If you’ve planted several carrots, harvest them one by one, starting with the largest ones. Leave any smaller carrots to continue growing until they reach full size.
Final Thoughts
Growing carrots at home is a simple, low-cost gardening project that anyone can try. By recycling plastic containers, you can create a perfect growing environment for your carrots, even if you don’t have a traditional garden space. Whether you’re an experienced gardener or a complete beginner, growing carrots is a great way to enjoy fresh, homegrown produce right from your own home.
With the right soil, containers, and care, you can enjoy a plentiful harvest of sweet, crunchy carrots that will taste far better than store-bought ones. All it takes is a little patience and attention to detail. Give it a try, and soon you’ll be enjoying the satisfaction of growing your own food at home.


