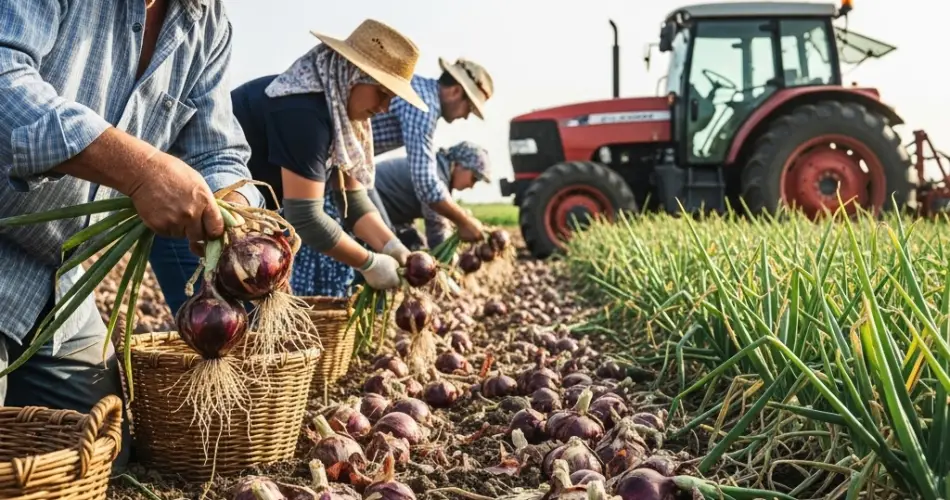
Onions are a staple in many kitchens and a satisfying crop for home gardeners. Knowing the right time to harvest them is crucial for flavor, size, and long-term storage. While onions are relatively easy to grow, timing the harvest correctly ensures they don’t rot prematurely or become too strong in flavor. Here’s how to identify the perfect moment to pull your onions from the ground, plus some helpful tips to cure and store them for months of use.
Understanding Onion Growth Stages
Onions typically take 90 to 120 days to mature from seed, depending on the variety. They go through several distinct stages: germination, leaf and bulb development, and maturation. Early in the season, energy is directed toward leaf growth. As the growing season progresses, the bulbs begin to swell, storing the nutrients that the leaves have gathered.
The leaves are your best indicators of what’s happening below the soil. Observing them closely will help you gauge when the onion is entering its final growth phase.
Signs That Onions Are Ready to Harvest
The clearest signal that onions are ready to harvest is when their tops — the green leaves — begin to yellow and flop over. This typically occurs in late summer and indicates that the plant has stopped actively growing and is focusing on maturing the bulb.
Here are key signs to watch for:
-
Tops Falling Over: When around 50% to 80% of the onion tops have bent over and turned yellow or brown, the bulbs are reaching maturity. At this stage, stop watering to help the onions dry out in the ground.
-
Bulb Size and Neck Softness: Gently dig around the base of a few onions. Mature bulbs should be large and have papery skins. The neck, where the leaves meet the bulb, should be soft and shriveled.
-
Dry Soil: If the soil is wet, it’s best to wait a few dry days before harvesting. Excess moisture can lead to rot or make curing more difficult.
How to Harvest Onions
Once you’re confident that your onions are ready, choose a dry, sunny day for harvesting. Gently loosen the soil around the onions with a garden fork or trowel. Avoid piercing or bruising the bulbs, as damaged onions won’t store well.
Carefully lift the onions and lay them on the soil surface, allowing them to dry for a day or two under the sun if weather permits. This helps toughen the skins and start the curing process.
Curing Onions for Long-Term Storage
Curing is an essential step for extending the shelf life of your onions. After the initial drying in the garden, move the onions to a warm, dry, and well-ventilated space, such as a shed, garage, or covered porch.
Spread them out in a single layer with the tops still attached, making sure they don’t touch each other. Allow the onions to cure for two to three weeks. During this time, the outer layers will become papery, and the necks will dry and tighten.
Once fully cured:
Best Storage Methods
After curing, store onions in a cool, dark, and dry place with good air circulation. Ideal storage temperatures are between 32°F and 40°F (0°C to 4°C). Mesh bags, slatted crates, or pantyhose can work well to keep air flowing.
Avoid storing onions in plastic bags, as lack of air circulation can lead to mold and rot. Keep onions away from potatoes, as the moisture and gases released by potatoes can reduce onion shelf life.
Properly cured and stored onions can last for several months — some varieties even up to a year.
Bonus Tip: Harvesting Green Onions
If you’re growing onions for green tops rather than bulbs, you can start harvesting much earlier. Once the greens are 6–8 inches tall, feel free to snip them for cooking. You can even harvest young onions with small bulbs for a mild flavor, similar to scallions.
Final Thoughts
Harvesting onions at the right time is key to achieving sweet, flavorful bulbs that store well into the colder months. Pay close attention to the condition of the tops, necks, and bulbs, and don’t skip the curing process. With a bit of patience and the right storage conditions, you can enjoy your homegrown onions long after the growing season ends.