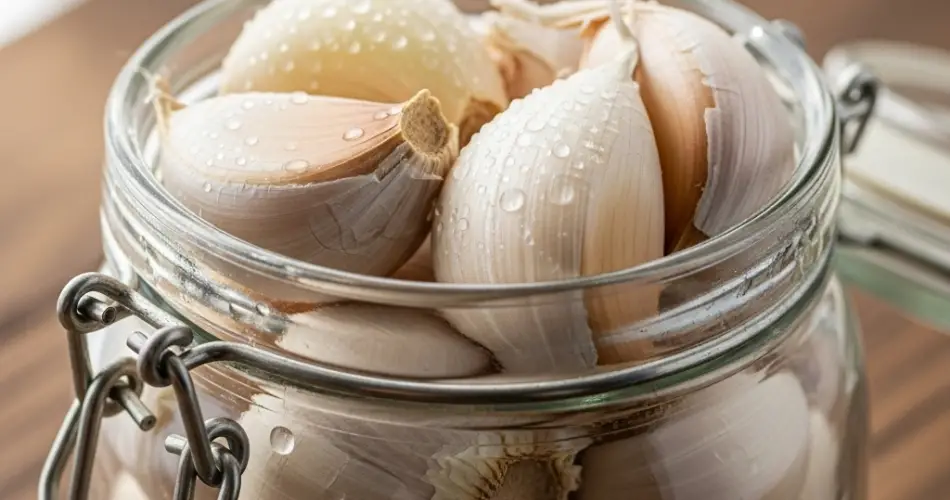
Garlic is a staple in kitchens around the world, and growing it at home is surprisingly simple. But if you want your homegrown garlic to last through the seasons and retain its flavor, the real magic happens after the harvest. Curing and storing garlic properly ensures it stays fresh, mold-free, and full of its distinctive punch for months.
Curing garlic is the process of drying it slowly so that it stores well without rotting. Done right, your bulbs can last six months or more. Here’s everything you need to know to cure and store garlic like a pro.
Step 1: Harvesting at the Right Time
Proper curing begins with proper harvesting. Timing is essential: harvest garlic when about two-thirds of the leaves have turned yellow or brown, but before all the leaves dry out. This typically occurs in mid to late summer, depending on your planting time.
Don’t wait too long—overripe garlic can split open in the ground, exposing cloves to moisture and rot. If you harvest too early, the bulbs may be immature and won’t store well.
-
Tip: Use a garden fork to gently loosen the soil around each bulb before pulling it out to avoid damaging the head.
Step 2: Handle Garlic Gently After Harvest
Once harvested, handle the garlic with care. The bulbs are still tender and easily bruised at this stage. Do not wash them with water. Instead, gently brush off excess soil while keeping the outer layers of skin intact.
Leave the roots and stalks attached for now—these will dry naturally during the curing process and help the garlic store longer.
Step 3: Curing the Garlic
Curing is the slow drying process that prepares garlic for long-term storage. The goal is to remove excess moisture while preserving the flavor and protective outer layers.
How to Cure Garlic:
-
Choose the Right Location: Cure garlic in a dry, warm, and well-ventilated space out of direct sunlight. A shaded porch, shed, barn, or even a garage with good airflow works well.
-
Hang or Spread Out: Tie garlic in bundles of 5–10 bulbs and hang them upside down. Alternatively, lay bulbs in a single layer on drying racks, mesh trays, or newspapers.
-
Allow 2–4 Weeks: Curing usually takes between two and four weeks. The garlic is ready when the wrappers are dry and papery, roots are brittle, and the necks are fully dry.
-
Important: Avoid humid areas and don’t rush the process by exposing garlic to direct sun or heat sources. This can damage the bulbs and reduce shelf life.
Step 4: Cleaning and Trimming
Once the garlic is fully cured, it’s time to clean and prepare it for storage.
-
Trim the roots with scissors or pruners, leaving about ¼ inch.
-
Cut the stems to about 1 inch above the bulb, unless you’re planning to braid softneck varieties.
-
Peel away one or two layers of the outer papery skin if dirty, but leave enough layers to protect the cloves.
Avoid removing too many wrappers or over-cleaning, as this can expose cloves to moisture and air, reducing their storage potential.
Step 5: Storing Garlic for Maximum Shelf Life
After curing and cleaning, your garlic is ready to store. The ideal storage conditions are cool, dry, and dark. Avoid refrigeration, which adds moisture and encourages sprouting.
Best Storage Options:
-
Mesh bags or baskets: Allow good airflow and prevent mold.
-
Paper bags or cardboard boxes: Great for storing in a pantry or cool cupboard.
-
Hanging braids: Ideal for softneck garlic, decorative and functional.
Ideal Storage Conditions:
-
Temperature: 60°F (15°C) or cooler
-
Humidity: 50–60%
-
Light: Keep bulbs out of direct sunlight
Properly cured and stored garlic can last 6–8 months—or even longer for some varieties.
Checking for Spoilage
Inspect your garlic every few weeks. Remove any bulbs that show signs of mold, softness, or sprouting. This prevents one bad bulb from spoiling the rest.
-
If bulbs sprout: You can still use them, but the flavor may be milder. Consider planting sprouted cloves to start the next season’s crop.
Bonus Tips
-
Hardneck vs. Softneck Garlic: Softneck varieties store longer and are better for braiding. Hardneck types typically have stronger flavor but shorter shelf life.
-
Don’t Refrigerate: Unless you plan to use it within a week, garlic should stay in a dry, ventilated area. Refrigeration promotes sprouting.
-
Label Your Harvest: If you grow more than one variety, label bulbs after curing to keep track of which types store best or have your preferred flavor.
Final Thoughts
Curing and storing garlic is easy once you understand the process. Harvest at the right time, cure in a dry and ventilated space, trim and clean carefully, and store in cool, dry conditions. These steps will keep your garlic flavorful and firm for many months, giving you a steady supply for cooking, planting, and sharing. By following these practices, you’ll not only extend the life of your harvest—you’ll elevate the quality of your garlic just like a seasoned grower.


