Ferns are prized for their lush, delicate fronds and ability to add a touch of greenery to indoor and shaded garden spaces. However, over time, even the healthiest potted fern can become rootbound or show signs of decline. Repotting is an essential part of fern care—it refreshes the soil, allows the roots more room to grow, and revives the overall health of the plant. Whether you’re growing Boston ferns, maidenhair ferns, or bird’s nest ferns, learning how to properly repot and refresh them will keep them looking vibrant year-round.
This guide walks you through the steps of repotting your fern, choosing the right pot and soil, and offering tips to ensure a smooth transition for your plant.
When to Repot a Fern
Knowing the right time to repot is key to successful fern care. Most ferns benefit from repotting every 1 to 2 years.
Signs your fern needs repotting:
-
Roots are growing out of the drainage holes
-
The soil dries out too quickly
-
The plant appears top-heavy or wobbly
-
Fronds are smaller or less vibrant than before
-
Soil has become compacted or depleted
Spring or early summer is the ideal time to repot, as the plant is entering its active growing season and can recover more easily.
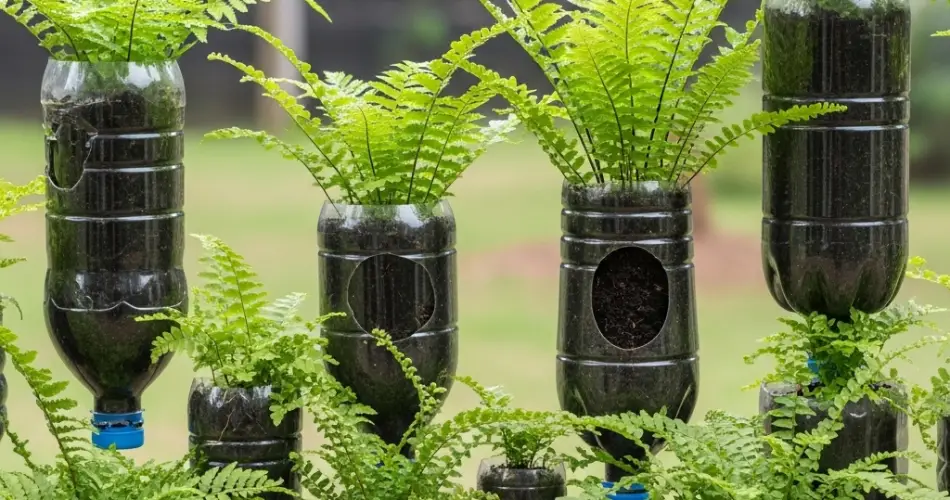
Choosing the Right Pot
Ferns don’t require deep pots, but they do need containers with enough room for roots to expand and with proper drainage.
What to consider:
-
Size: Select a pot one size larger than the current one (1–2 inches wider in diameter). Avoid oversized pots that may retain too much moisture.
-
Material: Terracotta is a good option as it allows excess moisture to evaporate, but plastic or ceramic containers also work well if they have drainage holes.
-
Drainage: Ensure the new pot has adequate holes to prevent root rot.
For hanging varieties like Boston ferns, lightweight pots or hanging baskets with coconut coir liners are also popular choices.
Preparing the Potting Mix
Ferns thrive in loose, rich, and moisture-retentive soil with good aeration.
Ideal soil mix:
-
2 parts peat moss or coco coir
-
1 part perlite or pumice
-
1 part high-quality potting soil or compost
This blend ensures a good balance between moisture retention and drainage. You can also add a bit of worm castings or slow-release organic fertilizer to boost soil nutrients.
Step-by-Step Repotting Process
1. Water Before Repotting:
Water your fern thoroughly a few hours before repotting. Moist soil is easier to work with and less stressful for the plant.
2. Gently Remove the Plant:
Hold the base of the plant and carefully ease it out of the pot. If it’s rootbound, gently loosen the root ball using your fingers. Remove any compacted or spent soil.
3. Trim Dead Roots or Fronds:
Use sterilized scissors to snip off brown, mushy, or overly long roots. Also remove yellowed or dead fronds to tidy up the plant.
4. Place in the New Pot:
Add a layer of fresh soil mix to the bottom of the new pot. Set the fern in the center, ensuring it’s at the same height it was in the previous container. Fill in around the sides with more soil, gently pressing it down to eliminate air pockets.
5. Water Thoroughly:
Water the plant well until it drains from the bottom. This helps settle the soil and hydrates the roots.
6. Let it Rest:
Place the fern in a shaded, warm area for a few days to reduce transplant shock. Avoid direct sun or heavy fertilizing during this time.
Post-Repotting Care Tips
-
Watering: Keep the soil evenly moist but not soggy. Ferns dislike drying out completely or sitting in water.
-
Humidity: Most ferns love humidity. Mist the fronds regularly or place the pot on a humidity tray filled with water and pebbles.
-
Lighting: Place in indirect or filtered light. Avoid strong sunlight that can scorch delicate fronds.
-
Feeding: After 4–6 weeks, begin feeding with a diluted liquid houseplant fertilizer every 4–6 weeks during the growing season.
Refreshing Without Full Repotting
If your fern isn’t rootbound but seems tired or the soil looks old, refreshing the top layer of soil may be enough.
How to refresh without repotting:
-
Remove the top 2–3 inches of old soil.
-
Replace with fresh potting mix.
-
Water deeply after refreshing.
-
Trim dead or yellowing fronds to encourage new growth.
This method helps revive your plant without the stress of a full transplant.
Conclusion
Repotting and refreshing your fern is one of the best ways to support its long-term health and beauty. With the right pot, rich soil, and attentive care, your fern will reward you with full, vibrant fronds that enhance the natural ambiance of any indoor or shaded outdoor space. By understanding your fern’s signals and giving it the occasional refresh, you’ll enjoy a healthier, more resilient plant that continues to thrive for seasons to come.


