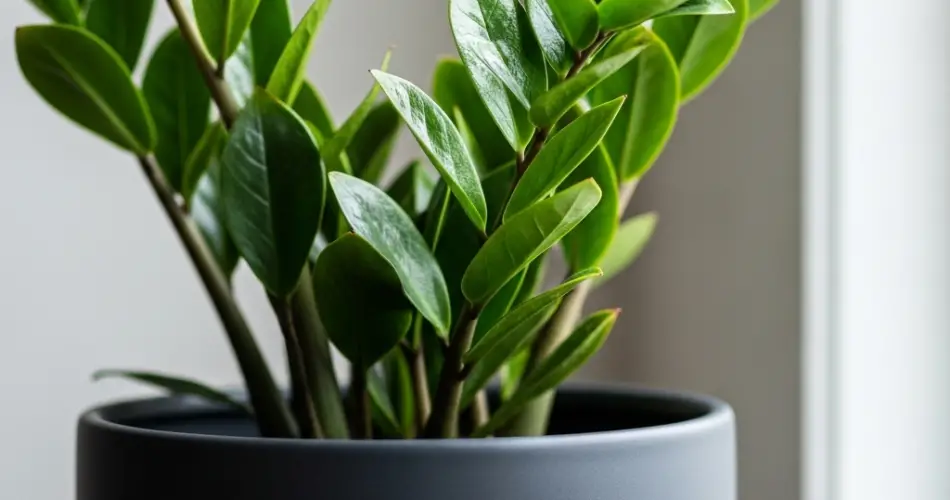
If you’ve tried growing houseplants before and failed, don’t worry—you’re not alone. Many beginners struggle with watering routines, light conditions, and finicky plants that seem to give up without warning. Fortunately, the ZZ plant (Zamioculcas zamiifolia) is here to change that.
Known for its glossy green leaves and nearly indestructible nature, the ZZ plant is a top choice for those who claim they can’t keep anything alive. With minimal needs and a forgiving personality, this plant is perfect for forgetful waterers, low-light apartments, and anyone who wants a lush, green companion without the stress.
Here’s how to successfully raise a ZZ plant—even if you’ve never kept a plant alive before.
What Makes the ZZ Plant So Beginner-Friendly?
The ZZ plant is one of the most low-maintenance houseplants you can own. Native to arid regions of Eastern Africa, it’s evolved to survive dry conditions and poor soil, making it remarkably adaptable to typical indoor environments.
Key features that make it ideal for beginners:
-
Thrives in low to medium light
-
Tolerates infrequent watering
-
Resistant to most pests and diseases
-
Grows slowly, requiring minimal pruning
-
Can survive neglect and bounce back
Even if you forget about it for weeks, the ZZ plant will likely still be thriving.
Step 1: Choose the Right Pot and Soil
Start with a pot that has good drainage. The biggest mistake beginners make is overwatering, so a pot with drainage holes is essential. You can use a decorative outer pot, but make sure the inner container lets excess water escape.
Use a well-draining potting mix. You can opt for a cactus or succulent soil mix or create your own blend with:
-
2 parts regular potting soil
-
1 part perlite or coarse sand
This keeps the roots dry and prevents rot—one of the only things that can actually harm a ZZ plant.
Step 2: Place It in the Right Spot
The ZZ plant isn’t picky about light, making it great for spaces that don’t get direct sun. Ideally, place it in a spot with bright, indirect light, but it can also survive in low-light corners or under artificial lighting.
Avoid prolonged exposure to direct sunlight, as this can scorch the leaves. A windowsill with filtered light or a spot a few feet from a window is perfect.
Step 3: Learn to Water the Right Way
Watering is where most plant-killers go wrong—but with the ZZ plant, less is more.
Here’s the rule: Don’t water until the soil is completely dry.
Test the soil by sticking your finger a few inches deep:
-
If it’s dry, go ahead and water.
-
If it’s still damp, wait a few more days.
In average indoor conditions, this usually means watering every 2 to 3 weeks. In cooler months, even less.
When you water:
-
Pour until it drains out the bottom.
-
Discard any water that collects in the saucer.
-
Never let the plant sit in water—this causes root rot.
Step 4: Minimal Feeding and Care
The ZZ plant isn’t a heavy feeder. If you want to give it a boost, apply a diluted liquid fertilizer once every 4–6 weeks during spring and summer. Avoid feeding in fall or winter when the plant’s growth naturally slows down.
No need to prune unless a stalk turns yellow or damaged. Simply cut it at the base using clean scissors.
You can also dust the leaves occasionally with a soft, damp cloth to keep them shiny and allow better light absorption.
Step 5: Know When to Repot
ZZ plants grow slowly, so they won’t outgrow their pot quickly. However, if you notice:
-
Roots pushing out of the drainage holes
-
The plant seems top-heavy or crowded
-
Soil dries out extremely fast
…it might be time to repot, typically every 2–3 years. Choose a pot one size larger and refresh the soil mix for optimal growth.
Step 6: Propagate if You Want More
If you’re feeling adventurous, ZZ plants are easy to propagate:
-
Division: Separate rhizomes (bulb-like root structures) during repotting and place them in new pots.
-
Leaf cuttings: Snip a healthy leaf with its small stem, let it callous, and plant it in moist soil. Roots may take several weeks to months to develop.
Propagation is slow but fun and a great way to multiply your plant collection without buying more.
Troubleshooting: Common Mistakes and Fixes
Yellow leaves? Usually caused by overwatering. Let the soil dry fully before watering again.
Wrinkled or curling leaves? Likely underwatering. Give it a thorough drink and adjust your routine.
Stunted growth? Check for poor lighting or compacted soil. Move the plant to a brighter location and refresh the soil if needed.
Pests? Rare, but if you see spider mites or mealybugs, wipe the leaves with neem oil or insecticidal soap.
Final Thoughts
If you’ve given up on houseplants in the past, the ZZ plant might just change your mind. With its elegant appearance and almost indestructible nature, it’s the perfect companion for beginners who want greenery without stress.
Just follow a simple routine—good light, occasional watering, and minimal fuss—and you’ll find that the ZZ plant practically takes care of itself. It’s more than just a houseplant—it’s a confidence booster for anyone who wants to turn a black thumb into a green one.


