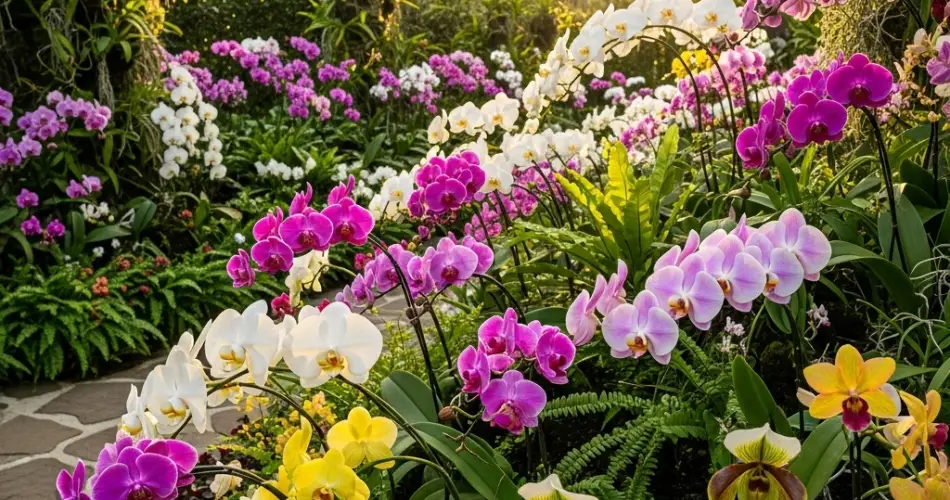
Orchids are one of the most elegant and diverse families of flowering plants. With their exotic appearance and unique growing habits, they can seem intimidating—especially when it comes to germination. But with the right techniques, patience, and conditions, even beginners can learn how to germinate orchids successfully.
Germinating orchids is different from growing other common plants. It requires a bit more precision, but the reward—watching an orchid develop from a tiny seed into a stunning flowering plant—is well worth the effort. Here’s how to approach orchid germination like an experienced gardener, whether you’re working in a small apartment or a home greenhouse.
Understanding Orchid Seeds
Orchid seeds are unlike typical plant seeds. They are incredibly small—almost dust-like—and contain no food reserves (endosperm). This means they can’t germinate on their own in soil. In nature, orchid seeds rely on a symbiotic relationship with a specific type of fungus to provide nutrients during the early stages of development.
When germinating at home, you’ll typically use a technique known as asymbiotic germination, which replaces the natural fungus with a nutrient-rich medium. This method gives you much greater control and a higher success rate.
What You’ll Need
Before you begin, gather these essentials:
-
Sterile glass jars or plastic containers with tight lids
-
Nutrient agar medium (can be purchased as a kit or mixed at home)
-
Orchid seeds (from a trusted source)
-
Pressure cooker or autoclave (for sterilization)
-
Tweezers, scalpel, and gloves
-
Bleach solution (10%) or hydrogen peroxide (3%) for seed sterilization
-
Clean workspace or still-air box (a homemade alternative to a lab glove box)
Orchid germination requires strict cleanliness. Even small traces of bacteria or mold can ruin the entire batch.
Step-by-Step Germination Process
1. Prepare the Medium
Start by preparing your nutrient medium according to the instructions provided. It typically includes sugars, vitamins, and minerals that mimic the natural nutrients provided by fungi. Pour the medium into your jars or containers and seal them.
Sterilize the filled containers using a pressure cooker for at least 30 minutes. Allow them to cool completely before introducing seeds.
2. Sterilize the Seeds
Since orchid seeds are so fine, you’ll need to handle them carefully. Mix the seeds with a small amount of 10% bleach or 3% hydrogen peroxide solution and let them soak for about 10 minutes, gently swirling the container. This kills bacteria and fungi that could infect the growth medium.
Strain the seeds using a sterile coffee filter or mesh and rinse them with sterile water.
3. Inoculate the Containers
In a clean, sterile environment (preferably in a still-air box), use sterile tweezers or a pipette to gently transfer the sterilized seeds onto the surface of the nutrient medium in your containers. Avoid opening the jars for too long, and reseal them tightly after inoculation.
Label each container with the date and seed variety.
4. Incubation
Place the jars in a warm, bright area with indirect sunlight or under grow lights. The ideal temperature for germination is between 70°F and 80°F (21°C–27°C). Avoid direct sun, as it can overheat the containers.
Depending on the orchid species, germination can take from a few weeks to several months. You’ll first see the seeds swell, then form small green blobs called protocorms—this is the first visible stage of growth.
Caring for the Seedlings
Once the protocorms develop small leaves and roots (typically after 3–6 months), they are ready for transplanting into a flask with fresh medium or a community pot with fine orchid bark.
At this stage, the seedlings are delicate. Acclimate them gradually to ambient conditions:
-
Open containers slightly over a few days to adjust humidity.
-
Keep them in high humidity (a covered tray works well) until roots establish.
As they grow stronger, you can begin watering with diluted orchid fertilizer and slowly transition them to standard orchid care.
Tips for Success
-
Cleanliness is critical. Sterilize everything—tools, surfaces, and even your hands—to prevent contamination.
-
Patience is key. Orchid germination is a slow process, often taking a year or more to reach transplanting size.
-
Keep notes. Track dates, seed types, and conditions to improve future attempts.
-
Start small. Germinating one or two jars at first lets you learn the process before scaling up.
Alternative: Purchase Young Orchid Seedlings
If this process feels too complex, you can still enjoy the beauty of orchid growing by purchasing flasked seedlings or young plants, which are already past the critical early stages. This skips the most sterile, scientific steps while still allowing you to nurture your orchids into bloom.
Final Thoughts
Germinating orchids at home might seem like a project for professional growers, but with a sterile setup, the right medium, and some perseverance, anyone can master this rewarding skill. It’s a unique way to connect more deeply with these captivating plants and witness firsthand how they grow from nearly invisible seeds into exotic, flowering wonders.
Whether you’re looking to expand your orchid collection or just enjoy a botanical challenge, germinating orchids like a seasoned expert is absolutely within your reach—with the right preparation and a little patience.


