Succulents have become one of the most beloved plants for indoor gardeners and minimalists alike, thanks to their sculptural forms, easy-care nature, and remarkable resilience. While many people buy young plants or propagate from leaves, growing succulents from seed offers a more affordable and rewarding way to build a diverse collection. Though slower than other propagation methods, it’s entirely possible to raise succulents from seed to beautiful, healthy plants in less time than you might expect—if you follow a few key steps.
Whether you’re a beginner or looking to expand your plant-growing skills, this guide will walk you through raising succulents from seed and nurturing them into stunning specimens.
Why Start Succulents from Seed?
Growing succulents from seed allows for a broader variety of species that aren’t always available in nurseries. It’s also more economical and a deeply satisfying process to witness your plants develop from tiny sprouts into mature forms.
However, unlike traditional vegetables or fast-growing herbs, succulents are slow to germinate and mature. That said, with proper lighting, temperature, moisture, and patience, you can fast-track their growth and establish a thriving indoor collection.
Choosing and Sourcing Quality Seeds
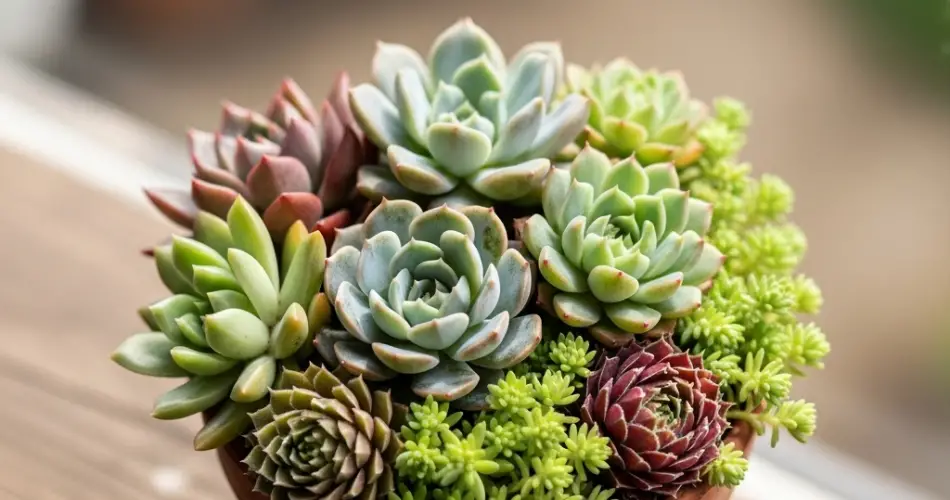
The first and most important step is sourcing high-quality seeds from reputable sellers. Choose species known for quicker growth, such as:
-
Echeveria
-
Sedum
-
Graptopetalum
-
Crassula
-
Sempervivum
Make sure the seeds are fresh, as older seeds tend to have a lower germination rate. Avoid bulk sellers who don’t specialize in succulents, and always check reviews to verify quality.
Supplies You’ll Need
-
Succulent or cactus potting mix (well-draining)
-
Shallow seedling trays or small containers
-
Clear plastic dome or plastic wrap
-
Spray bottle with distilled water
-
Grow lights or a bright, sunny windowsill
-
Labels (optional but useful for tracking species)
Preparing the Soil and Tray
Succulent seeds are tiny, so your planting setup should be clean and well-organized.
-
Sterilize your soil by microwaving it or baking it in the oven to kill bacteria and pests. This step helps reduce mold or fungus issues.
-
Fill your tray or container with the soil mix, leaving about ½ inch from the top.
-
Moisten the soil using a spray bottle—damp, not soggy.
Avoid compacting the soil too tightly. A light, airy surface helps tiny roots establish quickly.
Sowing the Seeds
-
Carefully sprinkle the seeds on the soil surface. Do not bury them—succulent seeds need light to germinate.
-
Lightly mist again to settle the seeds onto the soil.
-
Cover the container with a plastic dome or wrap to maintain humidity and warmth.
Label your containers if you’re growing multiple varieties.
Creating the Ideal Environment
Light: Place the tray on a warm windowsill with indirect light, or use a grow light for 12–14 hours a day. Avoid direct sun at this stage, as it can overheat or dry out the soil.
Temperature: Succulent seeds germinate best between 70°F and 80°F (21°C–27°C).
Humidity: The plastic cover will help retain moisture, creating a greenhouse effect. Open it once a day for air circulation to prevent mold.
Watering: Use a spray bottle to mist daily or as needed to keep the surface moist until germination occurs—typically within 1 to 3 weeks, depending on the variety.
Post-Germination Care
Once the seeds have sprouted:
-
Remove the plastic cover gradually over several days to acclimate seedlings to drier air.
-
Reduce misting frequency but keep the soil lightly moist.
-
As the seedlings grow, introduce more light and space them out if needed.
When the seedlings are about the size of a pencil eraser and show several “true” leaves, they can be transplanted into individual pots with a well-draining mix.
Speeding Up Growth Safely
To accelerate development without stressing the plants:
-
Use a grow light to provide consistent light, especially in winter or low-light conditions.
-
Maintain a warm environment with gentle airflow to reduce fungal risk.
-
Apply a diluted cactus fertilizer (quarter strength) once seedlings are about 2 months old.
Avoid over-fertilizing, which can cause leggy or weak growth.
Common Problems and How to Fix Them
-
Mold or fungus: Improve ventilation and sterilize your tools and soil.
-
Damping off (sudden seedling collapse): Usually due to overly wet conditions. Allow the top layer of soil to dry slightly between waterings.
-
Poor germination: Likely caused by old seeds or insufficient warmth and light.
With the right balance of moisture, light, and patience, most of these issues can be easily avoided or corrected.
When to Expect Stunning Results
While you won’t get mature rosettes overnight, some fast-growing species can become transplant-ready in just 3–4 months. Within 6–12 months, you’ll begin to see signature shapes, colors, and structures forming—making all the waiting worthwhile.
Final Thoughts
Growing succulents from seed is a blend of art and science. With a bit of preparation and consistent care, you can take a tiny speck of life and transform it into a breathtaking plant that will thrive for years. Whether for gifting, personal enjoyment, or expanding your collection, raising succulents from seed offers a unique and satisfying gardening experience—no greenhouse required.


