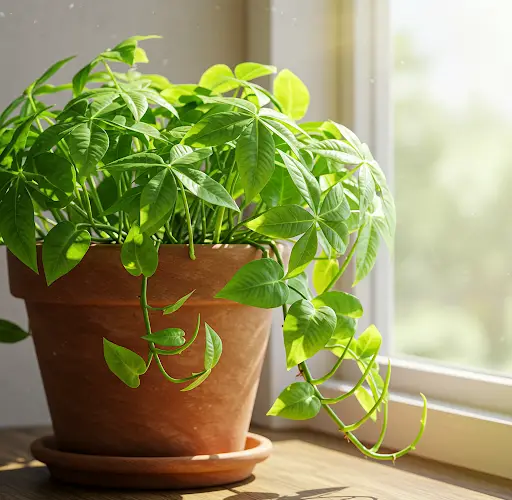
How to Propagate Leaves in Sand to Produce Many Roots at Home
Leaf propagation is a simple yet effective technique for growing new plants from leaves. One of the best mediums for propagating leaves is sand, as it provides excellent aeration, drains well, and promotes healthy root development. Whether you are a gardening enthusiast or a beginner, learning how to propagate leaves in sand can help you expand your plant collection effortlessly. This guide will walk you through the step-by-step process of propagating leaves in sand to produce a strong root system at home.
Why Use Sand for Propagation?
- Excellent Drainage – Sand does not retain excess moisture, preventing root rot.
- Prevents Fungal Infections – Its airy structure reduces the chances of fungal infections common in soil.
- Encourages Root Growth – The loose structure of sand allows roots to grow easily without resistance.
- Cost-Effective and Readily Available – Sand is inexpensive and widely available in garden centers or hardware stores.
Best Plants for Leaf Propagation in Sand
While not all plants can be propagated through leaves, several houseplants, succulents, and some ornamentals thrive with this method. Some of the best candidates include:
- Succulents (Aloe Vera, Jade Plant, Echeveria, and Sedum)
- Begonias
- Snake Plant (Sansevieria)
- African Violets
- Peperomia
- Ficus Elastica (Rubber Plant)
Materials Needed
- Clean, coarse sand (horticultural sand is best)
- Shallow trays or small pots
- Sharp, sterilized scissors or a knife
- Watering can or spray bottle
- Rooting hormone (optional)
- Transparent plastic bag or plastic wrap (for humidity control)
- Healthy leaves from a mature plant
Step-by-Step Guide to Propagating Leaves in Sand
Step 1: Selecting and Preparing Leaves
Choose healthy, mature leaves from a plant that is well-established. Avoid leaves that are yellowing, damaged, or diseased. Using a sharp, sterilized knife or scissors, cut the leaf at its base or along the leaf margin, depending on the plant type.
For succulents like Echeveria and Jade plants, gently twist off a healthy leaf from the stem. For plants like Snake Plant, cut a leaf into sections, ensuring each piece is at least 2-3 inches long.
Step 2: Allowing the Cuttings to Callous (For Succulents)
If propagating succulents, let the cut leaves sit in a dry, shaded area for 24-48 hours. This allows the cut ends to callous over, reducing the risk of rot once planted in sand.
Step 3: Preparing the Sand Medium
Fill a shallow tray or small pots with clean, coarse sand. Ensure the container has drainage holes to prevent waterlogging. Slightly moisten the sand before planting the leaves, but avoid making it too wet.
Step 4: Planting the Leaves
- For whole leaves (Begonias, African Violets): Insert the petiole (leaf stem) into the sand, about ½ to 1 inch deep.
- For succulents: Lay the leaves flat on the surface of the sand or bury just the cut end slightly.
- For cut sections (Snake Plant, Rubber Plant): Place the cut edge about 1 inch deep in the sand, ensuring the correct side is facing down.
Applying a rooting hormone to the cut ends before planting can boost the chances of root development, but it is optional.
Step 5: Creating the Right Environment
Cover the tray or pot with a transparent plastic bag or plastic wrap to create a greenhouse effect. This helps maintain humidity, which is essential for root development. Ensure the plastic does not directly touch the leaves by propping it up with small sticks or a wire frame.
Place the container in a warm, bright area with indirect sunlight. Avoid placing it in direct sunlight, as this can dry out the sand too quickly and scorch the leaves.
Step 6: Watering and Care
- Mist the sand lightly with water every few days to keep it slightly moist but not soggy.
- Avoid overwatering, as excessive moisture can lead to rot.
- Remove any leaves that start to rot to prevent the spread of fungal infections.
Step 7: Root Development and Transplanting
Roots typically begin to form within 2-6 weeks, depending on the plant type. You can check root development by gently tugging on the leaf; resistance indicates root growth.
Once the roots are about an inch long, you can transplant the young plantlets into a more nutrient-rich potting mix to continue growing. Handle them carefully to avoid damaging the delicate roots.
Tips for Successful Leaf Propagation in Sand
- Use Fresh, Healthy Leaves – The success of propagation depends largely on the quality of the leaves.
- Maintain Optimal Humidity – Too dry or too humid conditions can slow root development.
- Be Patient – Some plants take longer than others to root, so don’t rush the process.
- Monitor for Mold or Rot – If mold appears, increase air circulation and reduce moisture.
Conclusion
Propagating leaves in sand is an easy and effective way to grow new plants at home. With proper care, patience, and the right conditions, you can successfully root many plant varieties and expand your garden naturally. This method is not only cost-effective but also a sustainable approach to plant propagation. Try it today and watch your plants multiply with ease!


