Azaleas are one of the most admired and beautiful plants to have in a garden, but unfortunately, they often face problems after blooming, such as stunted growth or poor flowering the following season. If you’ve ever tried propagating azaleas and had difficulty, you’re not alone. Many people struggle to successfully propagate this beautiful shrub. However, with the right technique, you can easily create healthy azalea cuttings, allowing you to expand your garden without having to buy new plants. Here’s how to propagate azaleas using simple and effective methods.
Step 1: Selecting the Right Time and Plant Material
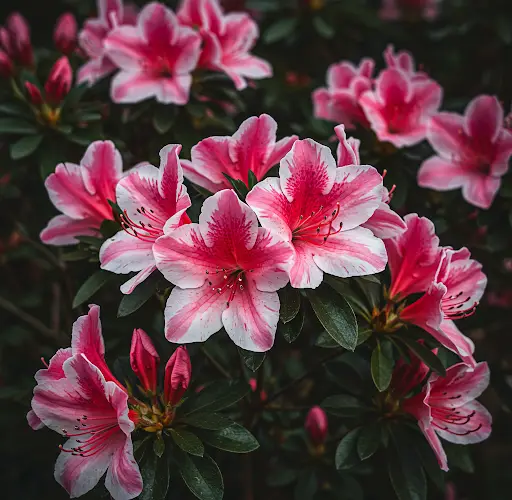
Azaleas bloom beautifully, but once the flowering season ends, the plant begins to lose its blooms and starts to look like it’s fading. This is the best time to take cuttings. Once the blooms begin to fall, the plant will have new branches that can be used for propagation. The key is to select the right type of stem for cuttings. Look for branches that have already become somewhat woody and turned into a trunk-like structure. Avoid green, soft stems, as they will not root properly.
Step 2: Preparing the Cutting
To prepare the cutting, use a sharp pair of pruning shears to remove several of these woody branches. It’s important to ensure each cutting is around 4-6 inches long and has a bit of bark on it, which will make the rooting process easier.
Once you have your cuttings, it’s time to prepare them for rooting. The next step involves using a rooting agent, which helps stimulate root growth. One effective homemade rooting hormone can be made using potato peelings. Soak the cut ends of the cuttings in the potato water for about 10 minutes. This step will give the cuttings the best chance of forming roots.
Step 3: Preparing the Potting Mix
Next, it’s essential to prepare the right soil mix to help the cuttings root. Use a small pot or container and add a layer of gravel or small stones at the bottom for drainage. This will help prevent waterlogging, which can lead to root rot. Fill the rest of the pot with a well-draining soil mix, ideally a mixture of black soil (or garden soil), and make sure to avoid overly fertilized soil. You want the soil to be light, loose, and slightly acidic for the best results.
For extra aeration, mix in a bit of sand. This combination will provide the ideal medium for your azalea cuttings to take root.
Step 4: Planting the Cuttings
Now that the potting mix is ready, it’s time to insert the cuttings. Carefully make small holes in the soil and insert each cutting about 2-3 inches deep. Gently press the soil around the base of each cutting to secure it in place. After planting, water the soil lightly to moisten it, but avoid soaking it.
Step 5: Creating the Right Environment
Azalea cuttings require a controlled environment to root successfully. Keep the pot in a bright area, but not in direct sunlight. Azaleas like light, but direct sun can burn the delicate cuttings. A partially shaded spot or a place where they can receive indirect light works best. You should also maintain a warm, humid environment. Covering the pot with a clear plastic bag or placing it in a mini greenhouse will help create the necessary humidity. Just make sure the cuttings are not exposed to excess moisture that could lead to mold.
Step 6: Monitoring and Care
Over the next 60 to 90 days, the cuttings will gradually develop roots. Keep an eye on the cuttings, and make sure the soil stays moist, but not soggy. If you see any wilting or signs of mold, remove the affected cuttings immediately to prevent the problem from spreading. After 60 to 90 days, the cuttings will have rooted well, and you can check their progress by gently pulling on them to see if roots have formed.
At this point, you should see a healthy root system, and the leaves will begin to turn greener and more vibrant, indicating successful rooting. Once the cuttings are rooted, they can be transferred to larger pots or directly into your garden.
Step 7: Transplanting and Future Care
Once your azalea cuttings have a strong root system, they are ready to be transplanted. If you’re keeping them in pots, choose containers that are large enough to accommodate their growing root systems. Plant them in a location with well-drained soil, preferably one that gets indirect sunlight, as azaleas are sensitive to too much direct sun.
Regular care is necessary to maintain healthy growth. Water your azaleas consistently, but avoid overwatering. Make sure the plants receive at least 3 to 5 hours of sunlight a day. Azaleas also thrive when fed with organic fertilizers like compost or well-aged manure.
With these simple steps, you can successfully propagate azaleas at home, ensuring that your garden is filled with beautiful, healthy plants without having to buy new ones. By following these instructions, you can multiply your azaleas and enjoy their beauty for years to come.