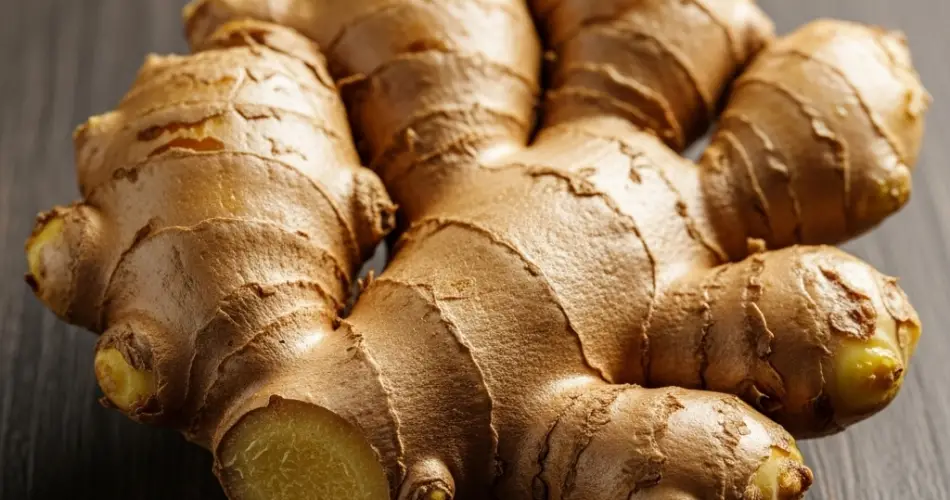
Ginger (Zingiber officinale) is one of the easiest and most rewarding plants to grow at home, even if you’ve never gardened before. Known for its bold flavor, medicinal properties, and striking foliage, ginger is not only a kitchen staple—it’s also an attractive addition to your container garden or backyard.
If you want to grow ginger from seed (technically, rhizome) and harvest it faster than ever, this guide walks you through everything step by step—from selecting your planting material to digging up your very own fresh, fragrant roots.
Why Grow Your Own Ginger?
Fresh ginger from the store often comes with a high price tag and may be treated with chemicals to prevent sprouting. When you grow your own, you get:
-
A fresh, pesticide-free harvest
-
A continuous supply (ginger multiplies)
-
A beautiful plant with lush, tropical leaves
-
A satisfying and fun gardening project
Step 1: Choose the Right Ginger to Plant
Ginger doesn’t grow from seeds in the traditional sense. You grow it from rhizomes, which are the same knobby pieces you use in cooking.
What to look for:
-
Firm, plump pieces with visible “eyes” or buds
-
Organic ginger (conventional ginger may be treated to prevent sprouting)
-
Rhizomes with multiple fingers for more growth points
You can purchase planting ginger from garden centers or use store-bought organic ginger if it’s untreated.
Step 2: Prepare Your Rhizomes for Planting
Before planting, soak your ginger pieces in warm water for 8–12 hours. This helps rehydrate them and kickstarts sprouting.
After soaking:
-
Cut the rhizome into pieces, each with at least one or two healthy buds.
-
Let the cut pieces dry for a day to callous over—this prevents rotting.
Step 3: Choose the Right Container and Soil
Ginger needs loose, rich, well-draining soil and space to spread horizontally.
Container requirements:
-
At least 12 inches deep and wide
-
Wide rather than tall to accommodate spreading rhizomes
-
Drainage holes to prevent waterlogging
Soil mix should include:
-
2 parts potting soil
-
1 part compost or worm castings
-
1 part sand or perlite for drainage
Ginger likes slightly acidic to neutral soil (pH 6.0–6.5).
Step 4: Planting Your Ginger
-
Plant your ginger pieces 1–2 inches deep with buds facing upward.
-
Space pieces 6–8 inches apart if planting multiple.
-
Water lightly but thoroughly.
Place the container in a warm, humid location with filtered sunlight. Ginger does best in temperatures between 70°F–85°F (21°C–29°C).
Step 5: Care for Fast Growth
To help ginger grow quickly and vigorously:
Watering
-
Keep the soil consistently moist but not soggy.
-
Mist leaves occasionally if indoor air is dry.
-
Avoid overwatering—too much moisture leads to rot.
Feeding
-
Use a balanced liquid fertilizer (e.g., 10-10-10) every 3–4 weeks.
-
Organic compost tea or diluted fish emulsion also works well.
-
Avoid over-fertilizing with nitrogen or you’ll get lots of leaves and less rhizome growth.
Light
-
Ginger prefers indirect light or partial shade.
-
Direct sunlight can scorch leaves; indoors, place near a bright window out of full sun.
Step 6: Encouraging Quick Sprouting
You’ll see shoots appear in 3–5 weeks if temperatures and moisture are right. To speed up the process:
-
Cover the container with clear plastic to create a mini greenhouse effect
-
Use a heat mat under the pot if your home is cooler than 70°F (21°C)
-
Keep the soil surface warm and humid
Step 7: When and How to Harvest
Ginger is typically ready to harvest in 8–10 months, but you can begin harvesting “baby ginger” as early as 4–5 months after planting.
Baby ginger is:
-
Juicier and milder in flavor
-
Pale in color with thin, edible skin
-
Great for fresh eating, juicing, or pickling
To harvest:
-
Gently dig at the edge of the pot and remove a section of rhizome.
-
Cover the rest of the plant back up and let it keep growing.
-
Full harvest happens when leaves begin to yellow and die back (usually at 8–10 months).
Step 8: Store or Replant
After harvesting:
-
Wash and dry rhizomes completely.
-
Store in a cool, dry place or freeze for long-term use.
-
Save a few healthy pieces with buds to replant and keep the cycle going.
Bonus Tip: Grow Year-Round Indoors
In colder climates, bring your ginger plant indoors during fall. It will go dormant in winter, then sprout again when temperatures warm. With the right care, you can maintain a year-round container ginger garden right in your kitchen or living room.
Final Thoughts
Growing ginger from seed (rhizome) to harvest in record time isn’t just possible—it’s practical, fun, and incredibly rewarding. With a little warmth, moisture, and patience, you’ll be harvesting your own aromatic, fresh ginger straight from your container garden. Whether you’re an apartment dweller or backyard grower, ginger is a plant that delivers big results in a small space.


