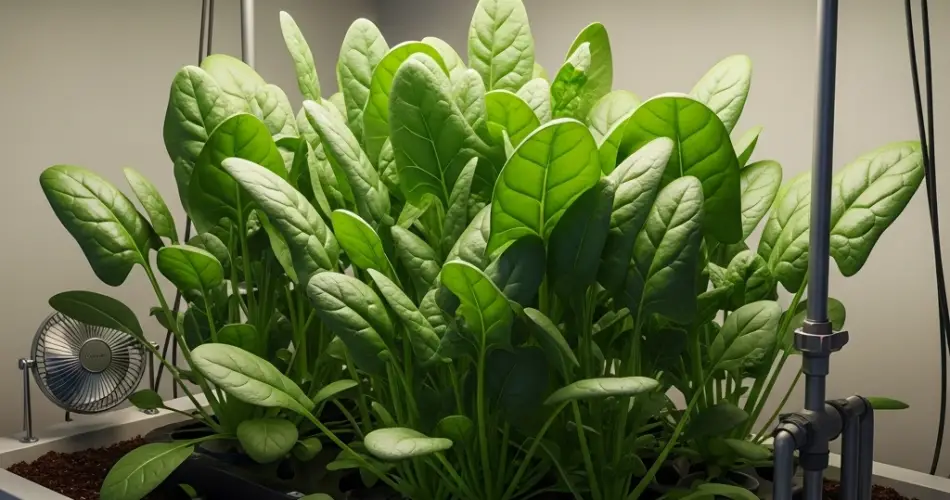
Spinach is one of the healthiest leafy greens you can grow at home. Packed with iron, vitamins A and C, and antioxidants, it’s a superfood that’s surprisingly easy to grow indoors. With a little planning and care, you can have a fresh supply of tender spinach leaves right from your kitchen windowsill or balcony—and make your neighbors jealous of your thriving indoor garden.
Whether you have limited space, unpredictable weather, or just want a reliable source of fresh greens year-round, growing spinach indoors is a smart and satisfying solution.
Why Grow Spinach Indoors?
Indoor gardening offers several benefits, especially for leafy greens like spinach:
-
Year-round harvests, regardless of outdoor conditions
-
Protection from pests and weather extremes
-
Freshness at your fingertips—no need to run to the store
-
Saves money and reduces waste
Plus, growing spinach indoors is ideal for apartments, small homes, or anyone who wants to eat healthier without relying on store-bought produce.
Step 1: Choose the Right Spinach Variety
Not all spinach varieties perform equally well indoors. Look for fast-growing and compact varieties, such as:
-
Baby’s Leaf Hybrid – small, tender leaves, perfect for quick harvests
-
Bloomsdale – a popular heirloom with crinkled, flavorful leaves
-
Space – known for smooth leaves and resistance to disease
-
Matador – a cold-tolerant type that adapts well to container life
Check seed packets for growth time and whether the variety is best for harvesting young or mature leaves.
Step 2: Pick the Right Container
Spinach doesn’t require deep roots, but it does need enough space to spread out. Choose a container that is:
-
At least 6 inches deep
-
12 inches wide or more for multiple plants
-
Equipped with drainage holes to prevent root rot
You can use plastic pots, window boxes, recycled containers, or even seed trays for microgreens.
Step 3: Use Quality Potting Mix
Spinach prefers moist, well-draining soil with a neutral to slightly alkaline pH. Avoid using garden soil, which can be too heavy for indoor containers.
Instead, use a potting mix made for vegetables or make your own blend using:
-
2 parts peat moss or coco coir
-
1 part perlite or vermiculite
-
1 part compost or aged manure for nutrients
Mix thoroughly and pre-moisten the soil before planting.
Step 4: Sowing the Seeds
Sow spinach seeds directly into your containers—they don’t like to be transplanted. Here’s how:
-
Fill the pot with your soil mix, leaving about an inch from the top.
-
Make shallow rows or holes about ½ inch deep.
-
Drop seeds 1 inch apart, and lightly cover with soil.
-
Mist gently to moisten the surface.
-
Place the pot in a warm location (60–70°F / 15–21°C) for germination.
Seeds typically sprout in 5 to 10 days. Thin seedlings once they reach 2 inches tall, spacing them 3–4 inches apart for proper airflow and growth.
Step 5: Provide Adequate Light
Spinach thrives in cool temperatures and bright light. It needs:
-
6–8 hours of light daily—place near a south-facing window
-
Grow lights if natural sunlight is insufficient or inconsistent
Use full-spectrum LED grow lights, positioned 6–12 inches above the plants. Keep them on for 12–14 hours a day for optimal growth.
Step 6: Watering and Humidity
Spinach loves moisture but not soggy conditions. Keep the soil:
-
Evenly moist, watering when the top inch feels dry
-
Avoid overwatering or letting the container sit in standing water
-
Use a tray with pebbles and water underneath the pot to improve humidity, especially in winter
Always water at the base of the plants to avoid leaf disease.
Step 7: Feeding for Better Yields
Spinach is a moderate feeder, and will benefit from occasional fertilization:
-
Use a balanced liquid fertilizer (10-10-10 or similar) every 2–3 weeks
-
Organic options like fish emulsion or compost tea also work well
-
Reduce feeding once the plants are mature or near harvest
Don’t over-fertilize, as it can lead to too much foliage with a bitter taste.
Step 8: Harvesting Your Indoor Spinach
You can begin harvesting baby leaves in as little as 3 to 4 weeks. For full-sized spinach, wait 5 to 6 weeks. Harvesting tips:
-
Use clean scissors to snip the outer leaves, allowing the inner ones to continue growing
-
Don’t remove more than one-third of the plant at a time
-
For a full harvest, cut the whole plant just above the soil line
Regular harvesting encourages new growth and prolongs your harvest season.
Final Thoughts
Growing spinach indoors is an easy and rewarding way to have a steady supply of fresh greens right at your fingertips. With minimal equipment and care, you can create a productive, space-saving indoor garden that not only benefits your health but might also make your neighbors a little envious.
From salads to smoothies, soups to sandwiches, fresh spinach grown in your own home just tastes better—and you’ll always have the bragging rights.


