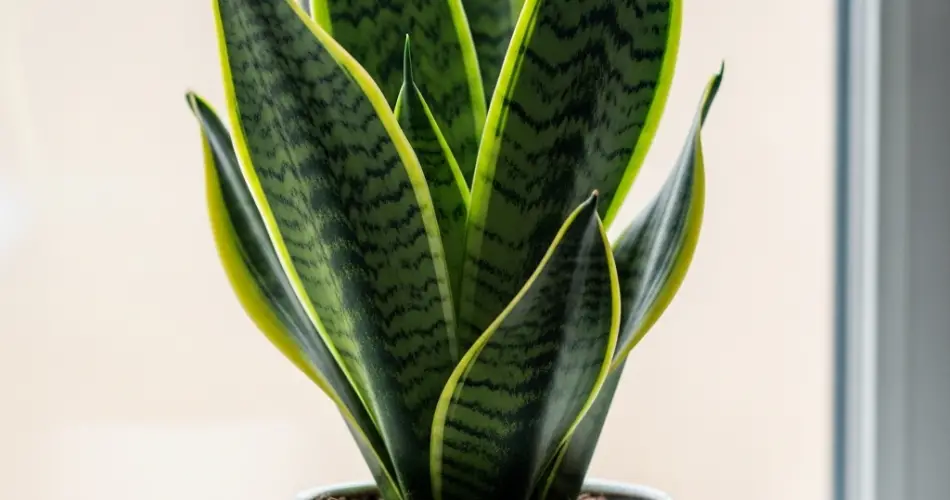
Snake plants (Sansevieria), also known as mother-in-law’s tongue, are among the most popular houseplants—and for good reason. They’re stylish, air-purifying, hardy, and ideal for beginners and busy individuals alike. While most people propagate snake plants by division or leaf cuttings, growing them from seed is also possible, although it takes more patience.
With the right conditions and consistent care, it’s entirely achievable to grow a healthy and beautiful snake plant from seed to eye-catching indoor centerpiece faster than you might expect. Here’s how to do it—step-by-step.
Why Choose Seeds?
While propagation from cuttings or divisions is quicker, growing snake plants from seed allows you to raise many plants at once and enjoy the full journey of growth. It’s a rewarding process for plant lovers who enjoy nurturing their houseplants from scratch.
It’s important to note that germination from seed takes longer than cuttings, and not all seeds will sprout. But with proper conditions and techniques, you can still get great results—especially when speed is a priority.
Step 1: Obtain Quality Seeds
Start with fresh, viable snake plant seeds from a reputable supplier. Since snake plant seeds aren’t always widely available in stores, you may need to order them online.
Check that the seeds are:
-
Recently harvested (for better germination rates),
-
Stored properly (cool, dry conditions),
-
Free from mold or discoloration.
Because germination rates can be low, it’s wise to sow more seeds than you need—this increases your chances of getting healthy seedlings.
Step 2: Prepare the Right Soil Mix
Snake plant seeds require a well-draining growing medium to prevent rot and encourage healthy root development.
For best results, prepare a soil mix using:
-
50% cactus potting mix or loamy soil,
-
30% perlite or pumice,
-
20% coco coir or peat moss.
This blend provides excellent aeration, drainage, and moisture retention without making the soil soggy.
Step 3: Sow the Seeds Properly
Use small seedling trays or shallow containers with drainage holes. Fill them with your prepared soil mix.
Instructions for sowing:
-
Moisten the soil lightly—damp but not wet.
-
Place the seeds on the surface and press them gently into the soil (no more than 1 cm deep).
-
Cover the container with a clear plastic lid or plastic wrap to create a mini greenhouse effect.
-
Place the container in a warm location with indirect light—ideally around 70–85°F (21–29°C).
Germination can take anywhere from 2 to 6 weeks. Be patient and check regularly for sprouts while keeping the soil moist (not soaked).
Step 4: Transplanting the Seedlings
Once seedlings have grown a few inches tall and have at least two strong leaves, they can be transplanted into individual pots.
Tips for transplanting:
-
Use small pots with drainage holes and the same well-draining soil mix.
-
Handle the seedlings carefully to avoid damaging the roots.
-
Water lightly after transplanting and place the pots in bright, indirect light.
At this stage, the growth will gradually accelerate, especially with proper light and warmth.
Step 5: Optimize Conditions for Rapid Growth
To grow snake plants faster, replicate the conditions of their native environment as closely as possible.
Lighting:
Provide at least 6 hours of bright, indirect sunlight daily. Snake plants tolerate low light but grow much faster in well-lit areas. Avoid direct afternoon sun, which can scorch the leaves.
Watering:
Let the soil dry out completely between waterings. Overwatering is the most common mistake—especially with young plants. Water deeply, but infrequently, and never let the pot sit in standing water.
Temperature and Humidity:
Keep the plants in a warm room—ideally above 60°F (16°C). They prefer low to moderate humidity and can tolerate dry indoor air well.
Fertilizing:
Feed monthly during the growing season (spring through early fall) with a diluted, balanced liquid fertilizer or a cactus fertilizer. Avoid fertilizing in winter when growth slows.
Step 6: Maintenance and Styling
Snake plants are low-maintenance, but a few simple tasks will keep them looking vibrant:
-
Wipe dust off the leaves regularly with a damp cloth.
-
Rotate the pots occasionally so they grow evenly.
-
Remove any damaged or yellowing leaves at the base.
As your snake plant matures, you can propagate new plants by leaf cuttings or dividing the root ball to expand your collection or share with friends.
Final Thoughts
Growing a snake plant from seed may require more time and patience than other methods, but it’s incredibly rewarding. With the right setup, you can watch your seedlings grow into bold, architectural plants that thrive with minimal care.
Whether you’re a total beginner or a curious plant enthusiast, this project offers a chance to cultivate something beautiful from the ground up. By following these steps and creating the ideal conditions, you can take your snake plant from seed to stunning in record time—and enjoy its elegant presence in your home for years to come.


