Growing potatoes in your garden is one of the most satisfying and productive gardening experiences you can have. Potatoes are resilient, yield generously, and don’t require fancy tools or skills. With just a bit of preparation and care, even a beginner can harvest a surprising number of potatoes in a small space.
This article walks you through a simple, effective method of growing potatoes right in your garden soil. You’ll be amazed at how easy it is and how much food you can produce.
Why Grow Your Own Potatoes?
Homegrown potatoes taste better than store-bought ones. They’re fresher, more flavorful, and completely free of synthetic chemicals if you grow them organically. Growing your own also gives you the chance to experiment with different varieties that aren’t always available in supermarkets, such as blue potatoes, fingerlings, or heritage types.
Plus, it’s a fun and educational activity for kids and adults alike. Digging up potatoes feels like a treasure hunt!
Best Time to Plant Potatoes
The ideal time to plant potatoes is in early spring, as soon as the soil is workable and the risk of hard frost has passed. In most regions, this is between March and May, but you can also plant a late crop in summer for harvesting in fall.
Potatoes need about 90 to 120 days from planting to harvest, depending on the variety.
Choosing Seed Potatoes
Start with certified seed potatoes from a garden center or seed supplier. These are disease-free and specifically meant for growing, not eating.
Before planting, allow your seed potatoes to sprout. This process is called “chitting.” Simply place the potatoes in a bright, cool location (not direct sun), with the “eyes” facing up. Within 1–2 weeks, you’ll see small green shoots emerge.
Preparing the Garden Bed
Potatoes grow best in loose, well-draining soil rich in organic matter. Choose a sunny spot that receives at least 6 hours of sunlight daily.
-
Clear the Area: Remove weeds, rocks, and debris from the soil.
-
Loosen the Soil: Use a garden fork or tiller to loosen the soil to a depth of at least 12 inches.
-
Add Compost: Mix in compost or well-rotted manure to enrich the soil and improve drainage.
Planting Your Potatoes
-
Cut Large Potatoes: If your seed potatoes are large, cut them into chunks with at least one or two eyes each. Let the cut surfaces dry for a day before planting to prevent rotting.
-
Dig Trenches: Make trenches about 6 inches deep and 12 inches apart. Space the seed potatoes 12–15 inches apart in the trench, with the eyes facing up.
-
Cover Lightly: Cover the seed potatoes with about 4 inches of soil. You’ll add more soil later as the plants grow.
Hilling: The Secret to a Big Harvest
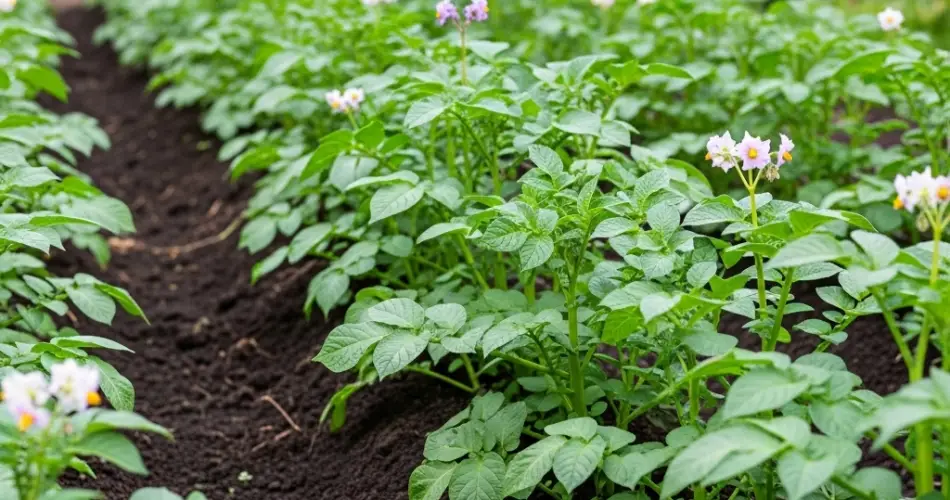
As your potato plants grow, they’ll send up green shoots. When these shoots are about 6–8 inches tall, begin a process called hilling. This involves gently mounding soil up around the base of the plant, burying the lower stems. Hilling protects developing tubers from sunlight (which turns them green and toxic) and encourages more potatoes to form along the stem.
Repeat hilling every 2–3 weeks, or whenever the plants grow another 6 inches. Eventually, your hills should be 8–10 inches high.
Watering and Fertilizing
-
Watering: Potatoes need consistent moisture, especially during flowering (this is when tubers are forming). Water deeply once or twice a week, depending on rainfall.
-
Fertilizing: Use a balanced fertilizer or compost tea every few weeks to support strong growth. Avoid too much nitrogen, which promotes foliage over tuber production.
Pest and Disease Control
Keep an eye out for pests like Colorado potato beetles, aphids, and slugs. Handpick beetles and their larvae, or use organic insecticidal soap if necessary.
To avoid disease, rotate your potato crops each year and avoid planting them in the same spot for at least 2–3 years. Also, do not plant potatoes in soil where other nightshades (like tomatoes or eggplants) were grown recently.
Harvesting Your Potatoes
-
New Potatoes: About 60–70 days after planting, you can gently dig around the base of the plants to harvest a few small “new potatoes.”
-
Main Crop: For full-sized potatoes, wait until the plants begin to yellow and die back—usually 90–120 days after planting. Let the tubers sit in the ground for 1–2 weeks after the tops die back to toughen the skins, which helps them store better.
Use a garden fork to lift the potatoes carefully, starting from the edge of the hill to avoid damaging them.
Storing Your Harvest
Cure the potatoes in a dry, dark, and well-ventilated place for about 1–2 weeks. Once cured, store them in a cool, dark spot with good airflow. Do not store potatoes in the fridge, and avoid plastic bags which trap moisture.
Properly stored, your homegrown potatoes can last for several months.
Final Thoughts
With minimal effort and a little attention, you can grow an abundant supply of potatoes right in your garden. This simple method will surprise you not only with how easy it is but also with the quantity and quality of the harvest. Whether you’re a first-time gardener or a seasoned green thumb, potatoes are a rewarding crop that delivers every time.


