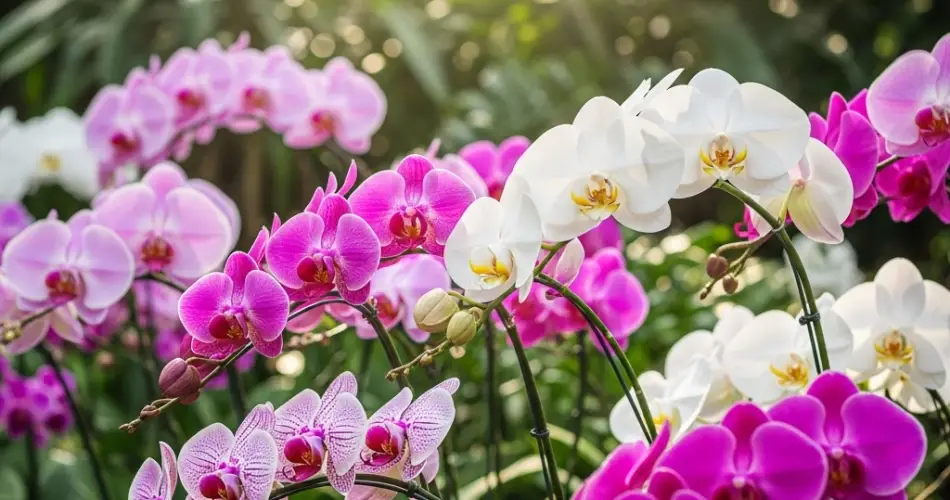
Orchids have a reputation for being exotic, delicate, and difficult to grow—but the truth is, they’re surprisingly adaptable once you understand their needs. With a little guidance, even complete beginners can enjoy the beauty of orchids in full bloom right at home.
Whether you live in an apartment or a house with a sunny windowsill, growing orchids doesn’t require years of gardening know-how. Follow these simple steps, and you’ll be on your way to successfully growing healthy, blooming orchids—no prior experience necessary.
Choosing the Right Orchid
The first step is selecting an orchid variety that’s beginner-friendly and suited for indoor environments. The most recommended type for novices is:
-
Phalaenopsis (Moth Orchid): Known for its long-lasting blooms and tolerance to household conditions. This orchid is forgiving of minor mistakes and thrives indoors.
Other easy-care options include Dendrobium and Cattleya, but if you’re just starting out, Phalaenopsis is your best bet.
Finding the Perfect Spot
Orchids need light to thrive, but not direct, harsh sun. The best location is:
-
A bright room with indirect sunlight, such as an east- or north-facing window.
-
Avoid hot, direct afternoon sun as it can scorch the leaves.
-
If natural light is limited, you can supplement with a grow light.
Keep your orchid in a spot where temperatures range between 60–80°F (16–27°C) and humidity stays above 40%.
Choosing the Right Pot and Medium
Unlike typical houseplants, orchids don’t grow in soil. Instead, they need a well-aerated growing medium such as:
-
Bark chips
-
Coconut husk
-
Sphagnum moss
-
A commercial orchid potting mix (readily available at garden centers)
Use a plastic or clay pot with drainage holes. Clear plastic pots are often preferred because they let you monitor root health and moisture levels.
Watering Made Simple
Orchids are sensitive to overwatering. Here’s how to water correctly:
-
Water once a week during warm months and reduce to every 10–14 days in winter.
-
The best time to water is in the morning, allowing roots to dry out during the day.
-
Use room-temperature water and avoid letting water sit at the bottom of the pot.
-
A simple trick: Insert your finger an inch into the growing medium. If it feels dry, it’s time to water.
Avoid letting the plant sit in water, which can cause root rot. If unsure, it’s better to underwater than overwater.
Humidity and Air Circulation
Orchids appreciate humidity, especially in drier indoor climates. Try these easy methods:
-
Place the orchid pot on a humidity tray (a shallow dish filled with water and pebbles).
-
Mist the leaves lightly every few days, avoiding water in the crown.
-
Keep the room ventilated with gentle air movement from a fan or open window, especially in warmer months.
Feeding for Growth and Blooms
Orchids benefit from regular, balanced feeding. Use a water-soluble orchid fertilizer labeled “20-20-20” or “orchid food” every 2 to 4 weeks during the growing season (spring and summer).
During fall and winter, reduce feeding to once a month. Always water the orchid before applying fertilizer to avoid burning the roots.
Supporting Flowering and Reblooming
Orchids bloom for several weeks, and with care, they can rebloom multiple times a year. After blooming:
-
Cut the spent flower spike just above the second node (small bump on the stem). This may encourage a new bloom spike.
-
If the entire spike turns brown, trim it off at the base.
Patience is key. With proper light, watering, and feeding, most orchids will rebloom in 6–12 months.
Troubleshooting Common Problems
Here are some quick fixes for common orchid issues:
-
Wrinkled or limp leaves: Often caused by underwatering or root damage.
-
Yellowing leaves: May be due to overwatering or low light.
-
Black spots or mushy roots: A sign of fungal infection from excess moisture. Repot in fresh medium and reduce watering.
Check roots occasionally—healthy roots are firm and green or silvery. Brown, mushy roots should be trimmed off.
Repotting Your Orchid
Orchids should be repotted every 1–2 years, or when the growing medium breaks down. Signs that it’s time to repot:
-
Roots are circling the pot tightly or growing over the edge.
-
The potting medium looks soggy, decayed, or smells sour.
-
There’s little room for new growth.
Repot into fresh orchid mix and a slightly larger pot, trimming away dead roots beforehand.
Final Thoughts
Orchids may seem like a luxury plant, but they’re surprisingly low-maintenance when their basic needs are met. With indirect light, controlled watering, and the right growing medium, you can enjoy vibrant orchid blooms without stress—even as a first-time gardener.
Start with a Phalaenopsis, stick to a simple care routine, and you’ll soon discover why orchids are one of the most rewarding plants to grow at home.


