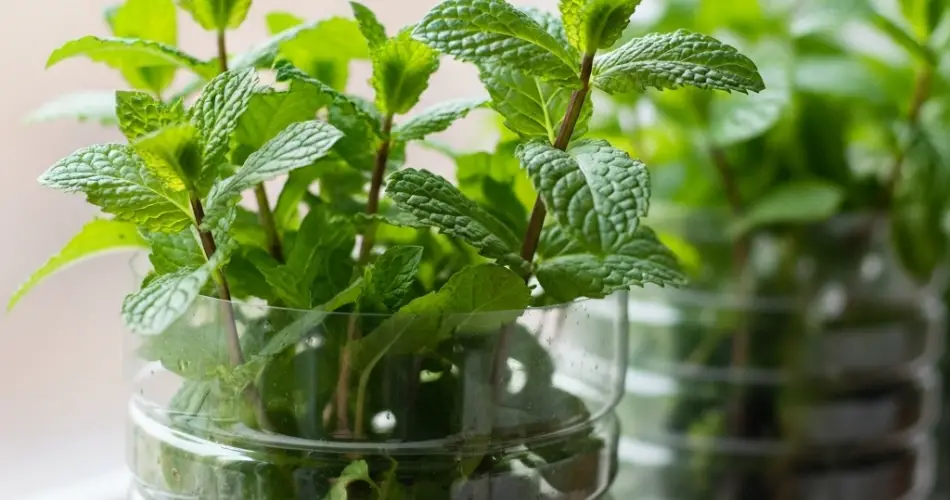
Mint (Mentha spp.) is a fast-growing, aromatic herb that thrives in containers and spreads easily through its runners—those horizontal stems that creep across soil and sprout new plants. Because of its vigorous nature, mint is perfect for a contained growing method like bottle gardening. Using upcycled plastic bottles, you can cultivate lush mint plants right at home, even in the smallest of spaces.
Bottle gardening is a creative, sustainable way to repurpose waste materials and grow your own herbs. Mint, with its spreading habit and resilience, is ideally suited for this compact, eco-friendly setup. Here’s how to successfully grow mint from runners using a plastic bottle garden.
Why Grow Mint from Runners in Bottles?
Growing mint in bottles offers several benefits:
-
Space-saving: Great for balconies, windowsills, or urban gardens.
-
Eco-friendly: Gives plastic bottles a new purpose and reduces waste.
-
Cost-effective: No need to buy planters—just reuse household items.
-
Containment: Keeps mint from overtaking your garden, since it’s a prolific spreader.
-
Fresh supply: Provides easy access to fresh mint for teas, salads, and dishes.
By propagating mint from runners, you also speed up the growing process compared to starting from seeds. Runners already contain nodes that quickly root and develop into new plants.
Materials You’ll Need
To begin your bottle mint garden, gather the following:
-
1 clean plastic bottle (1.5 to 2 liters)
-
Scissors or a craft knife
-
Marker (for cutting guide)
-
Mint runners (with root nodes)
-
Potting soil (preferably rich and well-draining)
-
Perlite or coarse sand (optional, for better drainage)
-
Nail or skewer (for making drainage holes)
-
Mesh, coffee filter, or fabric scrap (to line the bottom)
-
Spray bottle or watering can
Step-by-Step Guide
Step 1: Prepare the Plastic Bottle
Start by thoroughly cleaning the plastic bottle and removing the label. Once dry, use a marker to draw a line about one-third from the bottom and cut carefully along the line. The lower part will serve as the planter.
Alternatively, you can create a horizontal planter by cutting a rectangular opening along the side of the bottle and laying it flat.
Step 2: Add Drainage Holes
Using a heated nail or skewer, poke 5–7 small holes in the bottom of the bottle for drainage. This helps prevent root rot caused by excess moisture.
Line the inside bottom with a coffee filter, mesh, or cloth to keep soil from escaping through the holes.
Step 3: Prepare the Soil
Mint prefers nutrient-rich, moist, but well-draining soil. Create a soil mix by combining:
-
2 parts potting soil
-
1 part perlite or coarse sand
-
Optional: 1 part compost for added nutrients
Fill the bottle planter with this mix, leaving about an inch of space at the top.
Step 4: Select and Prepare the Mint Runners
Look for healthy mint runners—these are horizontal stems with visible nodes or tiny roots. Cut a runner that has at least one node, preferably two or more.
Gently remove any lower leaves and make sure the node is exposed, as this is where new roots will develop.
Step 5: Plant the Runner
-
Lay the runner horizontally across the soil surface or bury the node slightly beneath the surface.
-
Press the soil gently around the base to hold it in place.
-
Mist with water to keep the soil lightly moist.
If you’re planting multiple runners, space them about 2 inches apart to give each plant room to grow.
Ideal Growing Conditions
Sunlight: Mint grows best in partial to full sunlight. Place your bottle garden in a spot that receives 4–6 hours of indirect sunlight daily.
Watering: Keep the soil consistently moist but not waterlogged. Water when the top layer feels dry, and avoid letting the soil completely dry out.
Temperature: Mint is quite hardy and grows well in mild to warm temperatures. Protect it from extreme heat or frost.
Ongoing Maintenance
-
Trimming: Regularly pinch or trim the tips to encourage bushier growth and prevent legginess.
-
Fertilizing: Mint doesn’t require heavy feeding. If needed, apply a diluted liquid fertilizer once a month.
-
Pest control: Mint is naturally resistant to many pests, but check for aphids or spider mites. Rinse the leaves with water if you notice any infestations.
Harvesting Mint
You can start harvesting mint once the plant reaches about 6 inches in height.
-
Use clean scissors to snip off the top leaves or stems, ideally just above a set of leaves.
-
Harvest in the morning for the best flavor and aroma.
-
Regular harvesting encourages fuller growth and delays flowering.
Dry excess mint leaves for later use by hanging bunches upside down in a cool, dry area, or freeze them in ice cube trays for herbal infusions.
Bottle Decoration and Display Ideas
Make your mint bottle garden visually appealing with simple DIY decor:
-
Paint the bottle with natural colors or chalkboard paint.
-
Wrap with jute rope, burlap, or twine for a rustic look.
-
Add a handwritten label or tag for identification.
-
Hang the bottle with string to create vertical herb gardens.
Final Thoughts
Growing mint from runners in a plastic bottle garden is a fun, practical way to cultivate your own fresh herbs while embracing sustainable living. It’s a great project for beginners, families, or anyone looking to bring more greenery into their daily life without needing much space or money.
With just a few mint runners, an old plastic bottle, and a bit of sunlight, you can enjoy an endless supply of fragrant, homegrown mint—perfect for teas, salads, desserts, or simple garnish. This small green effort yields big rewards in freshness, flavor, and eco-conscious gardening.


