Ginger is a fragrant, flavorful root widely used in cooking, baking, and natural remedies. What many people don’t realize is that growing ginger at home is surprisingly easy—and you can do it using kitchen scraps! If you’ve ever wondered how to turn that fresh ginger root sitting in your pantry into a thriving plant, this guide will show you step-by-step how to grow ginger from scraps, even if you have no gardening experience.
Why Grow Ginger at Home?
Growing ginger offers many benefits:
-
Fresh supply: Harvest fresh ginger anytime you want without buying it from the store.
-
Cost-effective: Grow ginger from a piece of root you already have.
-
Aromatic: Ginger plants add a lovely tropical vibe and fragrance to your garden or home.
-
Health benefits: Fresh ginger is packed with antioxidants and natural anti-inflammatory properties.
-
Sustainable: Reuse kitchen scraps and reduce food waste.
What You Need to Get Started
The best part about growing ginger is you don’t need fancy tools or seeds. Here’s what you need:
-
A fresh ginger root (rhizome) with visible “eyes” or growth buds—these look like small knobs or bumps.
-
A wide, shallow pot or container with good drainage holes.
-
Well-draining, rich potting soil.
-
A warm, humid environment with indirect sunlight.
-
Water to keep the soil moist but not soggy.
Step 1: Select and Prepare Your Ginger Root
Look for a healthy ginger root from your kitchen or purchase one with plump, firm flesh and visible growth buds. Avoid pieces that look shriveled or moldy.
To prepare:
-
Cut the ginger root into chunks about 2-3 inches long, making sure each piece has at least one or two growth buds.
-
Allow the cut pieces to dry for a day or two to form a callus over the cut surface. This reduces the chance of rot when planted.
Step 2: Planting the Ginger
Fill your container with loose, rich potting soil. Ginger prefers soil rich in organic matter and well-draining to avoid waterlogging.
-
Plant the ginger chunks about 1-2 inches deep with the buds facing up.
-
Space multiple pieces a few inches apart if you’re planting more than one.
-
Cover lightly with soil and gently water the surface.
Step 3: Provide the Ideal Growing Conditions
Ginger is a tropical plant and thrives in warm, humid environments.
-
Light: Place the pot in a spot with indirect, filtered sunlight. Avoid direct harsh sun that can scorch the leaves.
-
Temperature: Maintain temperatures between 70-85°F (21-29°C) for best growth.
-
Humidity: Ginger loves humidity. If growing indoors, mist the plant occasionally or place a humidity tray nearby.
Step 4: Watering and Care
Keep the soil consistently moist but not soggy.
-
Water when the top inch of soil feels dry.
-
Avoid overwatering, which can cause the rhizome to rot.
-
Fertilize monthly with a balanced, water-soluble fertilizer or add compost to keep the soil nutrient-rich.
Step 5: Watching Your Ginger Grow
Patience is key when growing ginger—it’s a slow grower.
-
Shoots will usually start to appear in 2-4 weeks.
-
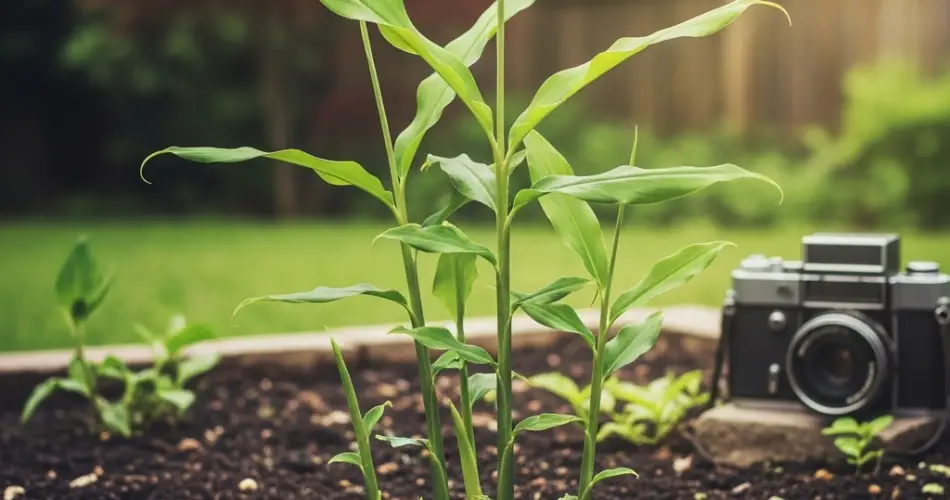
Leaves will grow tall and narrow, resembling bamboo shoots.
-
As the plant grows, you can carefully loosen the soil around the rhizomes to encourage expansion.
Step 6: Harvesting Your Ginger
Ginger typically takes 8-10 months to mature fully, but you can harvest baby ginger earlier if desired.
-
To harvest baby ginger, carefully dig around the edges of the pot after about 3-4 months.
-
For mature ginger, wait until the leaves turn yellow and begin to die back.
-
Use a small fork or your hands to gently lift the rhizomes without damaging the plant if you want it to continue growing.
Tips for Growing Ginger Successfully
-
Avoid cold drafts: Ginger hates cold and frost; keep it indoors or bring it inside during colder months.
-
Use rich soil: Incorporate compost or organic matter for best results.
-
Rotate the pot: Turn your pot every few days to ensure even light exposure.
-
Mulch: Adding mulch helps retain moisture and regulate soil temperature.
-
Pest control: Ginger is relatively pest-free but watch for slugs or aphids; treat naturally with neem oil if needed.
Benefits Beyond the Kitchen
Growing ginger isn’t just about fresh flavor. The plant itself makes an attractive addition to your indoor garden or patio with its lush green foliage. Plus, it can act as a natural air purifier and add humidity to dry indoor environments.
Troubleshooting Common Issues
-
Yellow leaves: Often caused by overwatering or poor drainage.
-
Slow growth: May result from low temperatures or insufficient humidity.
-
Root rot: Caused by soggy soil; improve drainage and reduce watering.
-
Pests: Aphids or spider mites can be controlled with natural insecticides.
Final Thoughts
Growing ginger at home from kitchen scraps is an easy, sustainable, and rewarding gardening project. Even if you have little experience, this tropical herb can flourish with basic care and patience. Soon, you’ll have fresh, homegrown ginger ready to spice up your meals and boost your health—all from a piece of root you might have thrown away.
Try this simple method and enjoy the satisfaction of turning kitchen scraps into a thriving plant!


