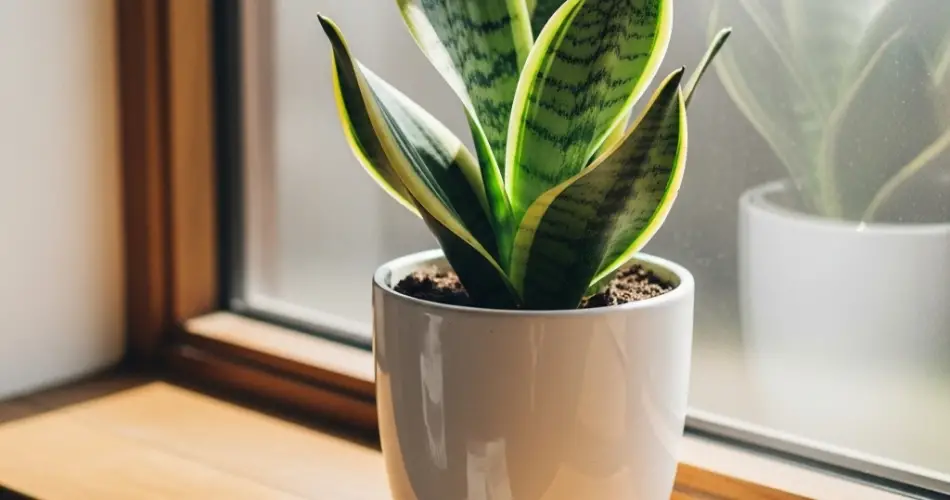
The snake plant (Sansevieria), also known as mother-in-law’s tongue, is a striking and low-maintenance houseplant known for its upright, sword-like leaves and tolerance of neglect. While many people propagate this plant by division or leaf cuttings, it is entirely possible—and rewarding—to germinate snake plant seeds at home. If you have a sunny windowsill and a little patience, you can grow snake plants from seed with minimal effort.
This guide explains everything you need to know to successfully germinate and nurture snake plants in containers on your windowsill.
Why Grow Snake Plant from Seed?
While propagating by leaf cuttings is faster, starting from seed offers unique benefits:
-
Genetic diversity: Seed-grown snake plants may display interesting variations in color and leaf shape.
-
Satisfying: Watching a plant develop from seed to full size is a rewarding experience.
-
Accessible: Seeds are easy to store and ship, making them ideal for indoor gardeners.
Though slower, seed germination is a fascinating process and ideal for curious beginners.
What You’ll Need
To get started, gather the following:
-
Snake plant seeds (fresh is best)
-
Small pots or seed trays
-
A transparent humidity dome or plastic wrap
-
Well-draining potting mix (cactus or succulent mix)
-
Spray bottle or fine-mist watering can
-
Sunny windowsill with at least 6 hours of indirect light
Optional: A heat mat can help maintain optimal soil temperature.
Step 1: Prepare Your Containers and Soil
Use small seedling pots or shallow trays with drainage holes. Fill them with a well-draining soil mix designed for succulents or cacti. Avoid using heavy garden soil, which retains too much moisture and can lead to rot.
Before sowing, slightly moisten the soil with a spray bottle to ensure it’s damp but not soggy.
Step 2: Sow the Seeds
Snake plant seeds are typically oval-shaped and slightly flat. Gently press each seed into the surface of the soil, covering it with a thin layer of mix—no more than 1/4 inch deep.
Lightly mist the top again to ensure good seed-to-soil contact.
Step 3: Create a Mini Greenhouse
To maintain moisture and humidity, cover the container with clear plastic wrap or a humidity dome. Place the container on a bright windowsill that gets indirect sunlight. A warm spot with consistent temperature around 70–80°F (21–27°C) is ideal for germination.
Avoid placing the setup in direct afternoon sun to prevent overheating.
Step 4: Wait for Germination
This is the slowest part of the process. Snake plant seeds can take anywhere from 3 to 6 weeks to germinate. During this time:
-
Keep the soil consistently moist but not wet.
-
Ventilate the cover daily for a few minutes to prevent mold.
-
Be patient—it’s normal for germination to be slow.
If you’re using a heat mat, it can speed up germination by keeping soil temperatures steady.
Step 5: Post-Germination Care
Once seedlings emerge:
-
Remove the plastic cover to improve airflow.
-
Continue to provide bright, indirect light.
-
Water only when the top inch of soil dries out.
As your seedlings grow, you may notice them producing small, pointed leaves similar in shape to mature snake plant foliage. Growth is slow at first, but consistent care will encourage development.
Step 6: Transplant When Ready
When the seedlings reach 2–3 inches in height and begin developing more substantial leaves, they can be carefully transplanted into individual containers.
Choose small pots with drainage holes and use the same succulent-friendly potting mix. Allow a day or two without watering after transplanting to help the roots settle.
Step 7: Maintain Healthy Growth
After transplanting, care for your young snake plants like you would mature ones:
-
Light: Bright, indirect light is ideal. Too much direct sun can scorch young leaves.
-
Water: Water sparingly. Let the soil dry out between waterings.
-
Humidity: Snake plants adapt well to average indoor humidity.
-
Feeding: Use a diluted succulent fertilizer once the plant has matured (after 4–6 months).
Avoid overwatering—it’s the most common cause of seedling failure.
Tips for Success
-
Always use fresh seeds for the highest germination rate.
-
Don’t rush the process—snake plants grow slowly from seed.
-
Avoid fertilizing too early. Seedlings need time to establish roots first.
-
Use a grow light if your windowsill doesn’t get enough sun, especially during winter.
Final Thoughts
Germinating snake plants from seed is a slow but deeply rewarding experience. It allows you to appreciate the full life cycle of a beloved houseplant, from tiny sprout to tall, architectural foliage. With just a small sunny windowsill and a few containers, even beginners can succeed in growing their own snake plants from seed.
Whether you’re a curious gardener or simply want to add more greenery to your indoor space, this project is a great way to develop your plant care skills while enjoying one of the most resilient and elegant houseplants around.


