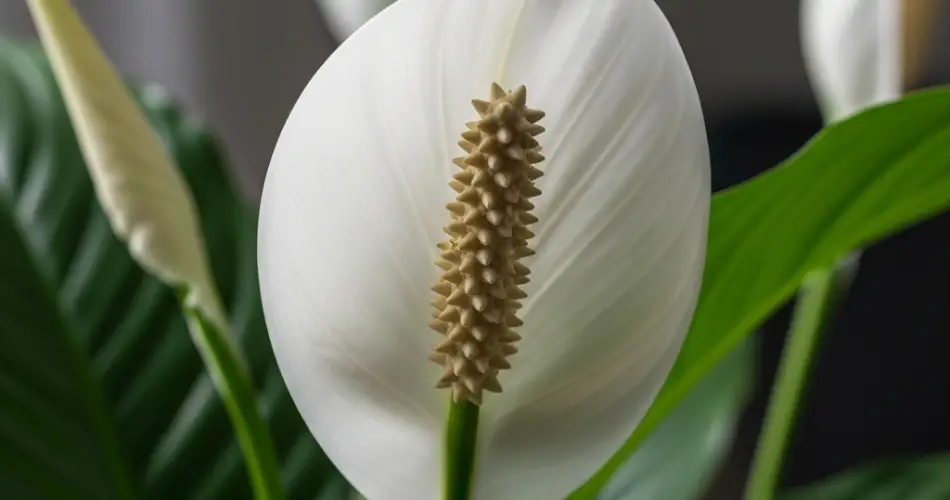
The Peace Lily (Spathiphyllum) is one of the most beloved indoor plants for good reason—it’s beautiful, low-maintenance, and even helps purify indoor air. While most people buy mature Peace Lilies from garden centers, growing one from scratch can be a rewarding and surprisingly simple experience—even for beginners who have never planted a seed in their life.
Though Peace Lilies don’t produce seeds easily indoors, you can still grow new plants through a method called division, which is much more reliable for home growers. This guide will walk you through the entire process, from choosing the right tools to caring for your newly germinated plant—all without any advanced gardening skills.
What You Need to Know Before Getting Started
Peace Lilies are tropical plants that thrive in warm, humid environments. While growing them from seed is possible, they are most commonly propagated by dividing mature plants. This method is not only easier, but also guarantees you’ll get a true copy of the parent plant, including its flowers and foliage characteristics.
If you’re determined to try from seed, know that germination is slow and can be inconsistent. But with division, even total beginners can create several healthy new plants with minimal tools and effort.
Step 1: Choosing the Right Peace Lily
The best time to propagate a Peace Lily is during the spring or early summer, when the plant is actively growing. Choose a mature, healthy plant with plenty of leaves and a well-developed root system. If the plant looks crowded or has multiple leaf clusters, it’s a perfect candidate for division.
You’ll need:
-
A clean, sharp knife or garden shears
-
A few small pots with drainage holes
-
High-quality potting mix (preferably with peat, perlite, or coconut coir)
-
A spray bottle or watering can
-
Gloves (optional, but helpful if you have sensitive skin)
Step 2: Separating the Plant
-
Remove the Peace Lily from its pot: Gently turn the plant sideways and slide it out. You might need to squeeze the sides of the pot or tap it lightly to loosen the root ball.
-
Loosen the roots: Carefully separate the roots with your hands. If the plant is root-bound (meaning the roots are tightly packed), tease them apart gently.
-
Identify natural divisions: Look for separate clumps of stems with their own root systems. These are natural “baby” plants that can live on their own.
-
Divide the plant: Use your hands or a clean knife to separate the clumps. Each division should have at least 3–5 healthy leaves and a strong root system.
Step 3: Planting the Divisions
-
Prepare your pots: Fill small containers with moist potting mix. Don’t compact the soil too much—Peace Lilies like well-aerated soil.
-
Plant the divisions: Place each divided clump into its own pot. Make sure the base of the leaves sits just above the soil surface.
-
Water gently: Give each pot a light watering to settle the soil around the roots. Be careful not to soak the soil; just moisten it evenly.
Step 4: Creating the Ideal Environment
Even if you’ve never gardened before, creating a healthy environment for Peace Lilies is simple:
-
Light: Place the new plants in a bright spot with indirect sunlight. Avoid direct sun, which can scorch the leaves.
-
Humidity: Peace Lilies love humidity. Mist the leaves regularly with water, especially if you live in a dry climate or use indoor heating.
-
Temperature: Keep them in a room with a temperature between 65–80°F (18–27°C). Avoid cold drafts or sudden temperature changes.
-
Watering: Peace Lilies are sensitive to overwatering. Water only when the top inch of soil feels dry to the touch. Empty any excess water from the saucer under the pot.
Step 5: Encouraging Growth and Bloom
Once your Peace Lilies are established in their new pots, they’ll begin putting out new leaves and, eventually, flower spikes.
Here’s how to support growth:
-
Use a balanced liquid fertilizer every 6–8 weeks during the growing season.
-
Keep leaves clean by wiping them with a damp cloth to remove dust.
-
Remove any yellowing or damaged leaves to encourage healthy new growth.
Don’t expect blooms right away. It can take a few months for divided plants to settle in and start flowering. Be patient—healthy, well-cared-for Peace Lilies will reward you with stunning white blooms and lush green leaves.
Common Mistakes to Avoid
-
Overwatering: The most common reason Peace Lilies struggle is soggy soil. Always check moisture before watering.
-
Low light: While they tolerate shade, too little light will result in fewer flowers.
-
Ignoring root health: Make sure roots have enough space to grow. Repot as needed every 1–2 years.
Final Thoughts
Germinating or propagating a Peace Lily doesn’t require any special experience or equipment—just a little patience and gentle care. Whether you’re looking to green up your living room, improve air quality, or gift a beautiful plant to a friend, the Peace Lily is the perfect starting point for anyone new to gardening.
By following these easy steps, you can transform a single plant into a thriving collection—even if you’ve never grown anything before. With time, you’ll enjoy not just a houseplant, but a symbol of freshness, growth, and calm in your home.


