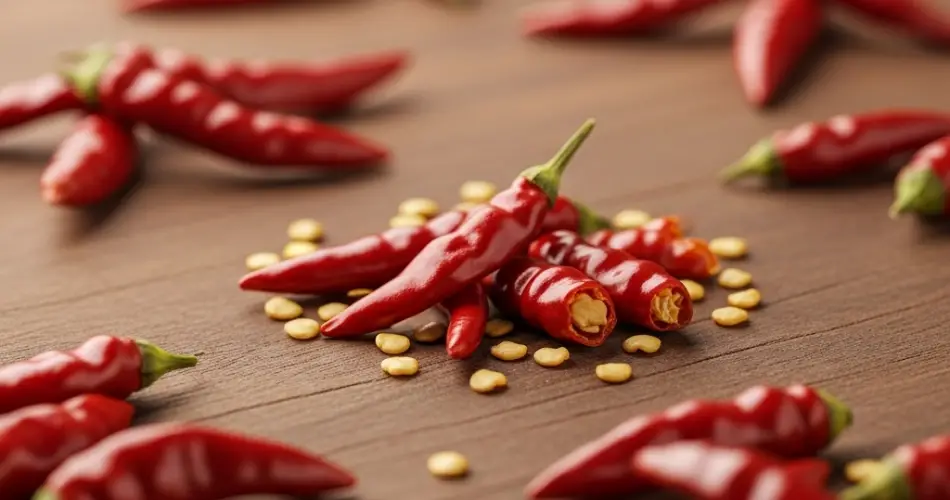
Growing chili peppers (also known as guindillas or pimientos) from seed is a rewarding gardening project that can fill your garden or containers with vibrant, spicy fruits. Whether you prefer mild bell peppers or fiery hot chilis, the germination and cultivation process follows similar steps. This guide will take you through the entire journey—from seed germination to harvesting your homegrown chili peppers.
Choosing the Right Chili Seeds
Before starting, select high-quality seeds from a reliable source. There are countless varieties of chili peppers, each with unique flavors, heat levels, and growth habits. Choose a variety that suits your climate and culinary preferences.
Step 1: Preparing the Seeds for Germination
Chili seeds have a tough outer shell, and soaking them before planting can speed up germination. Here’s how to prepare them:
-
Soak the seeds in warm water for 12 to 24 hours. This softens the seed coat and activates the embryo inside.
-
After soaking, gently pat the seeds dry before sowing.
Step 2: Germination Process
Chili seeds need warmth and moisture to sprout. Follow these tips for successful germination:
-
Soil: Use a light, well-draining seed-starting mix to prevent waterlogging and fungal problems.
-
Containers: Small pots, seed trays, or biodegradable peat pots work well.
-
Planting Depth: Sow the seeds about 0.5 cm (¼ inch) deep.
-
Temperature: Maintain a warm environment between 75°F and 85°F (24°C to 29°C). Using a seedling heat mat can improve germination rates.
-
Moisture: Keep the soil consistently moist but not soggy. Covering the container with a plastic dome or plastic wrap helps retain humidity.
-
Light: Seeds do not require light to germinate but will need bright light once they sprout.
Germination typically takes 7 to 14 days, but it can vary based on the chili variety and conditions.
Step 3: Caring for Seedlings
Once seedlings emerge, it’s important to care for them carefully to ensure strong growth:
-
Light: Place seedlings in a bright location with plenty of indirect sunlight, or use grow lights to provide 12–16 hours of light daily.
-
Temperature: Keep the temperature steady, ideally around 70°F to 75°F (21°C to 24°C).
-
Watering: Water gently to keep the soil moist but avoid overwatering, which can cause damping-off disease.
-
Air Circulation: Good airflow helps prevent fungal issues.
-
Thinning: If multiple seeds sprouted in one pot, thin to the strongest seedling by snipping weaker ones at the soil line.
Step 4: Transplanting Seedlings
When seedlings develop two to three sets of true leaves and are sturdy enough to handle, they are ready for transplanting.
-
Harden off seedlings by gradually exposing them to outdoor conditions over 7–10 days.
-
Transplant into larger pots or directly into your garden soil.
-
Choose a location with full sun (6–8 hours daily) and well-draining soil.
-
Enrich soil with organic matter or compost to promote healthy growth.
-
Space plants about 18 to 24 inches apart to allow room for development.
Step 5: Growing and Maintenance
Caring for chili plants as they mature will influence the quantity and quality of your harvest.
-
Watering: Keep soil consistently moist, watering deeply but infrequently to encourage deep roots.
-
Fertilizing: Use a balanced fertilizer every 3–4 weeks or a slow-release formula to support flowering and fruit production.
-
Pruning: Pinching off early flowers can encourage the plant to focus energy on vegetative growth for a stronger structure.
-
Support: Some tall varieties may need stakes or cages to keep plants upright.
-
Pest Control: Watch for aphids, spider mites, and fungal diseases. Organic insecticidal soaps or neem oil are good options for treatment.
Step 6: Flowering and Pollination
Chili plants produce small, delicate flowers before fruiting.
-
Flowers are usually self-pollinating but benefit from some airflow or gentle shaking to distribute pollen.
-
If growing indoors or in a greenhouse, you can hand-pollinate by gently brushing the inside of flowers with a soft paintbrush.
Step 7: Harvesting Chili Peppers
The wait is over once your peppers ripen! Harvesting depends on the chili variety and desired maturity.
-
Color: Most peppers change color when ripe—commonly from green to red, yellow, orange, or purple.
-
Size: Some varieties are best harvested when small and tender, others when fully grown.
-
Texture: Peppers should feel firm and glossy.
Use scissors or garden shears to cut peppers to avoid damaging the plant. Regular harvesting encourages more fruit production.
Tips for Success
-
Keep a gardening journal to track germination times, growth rates, and harvests.
-
Label your plants clearly if growing multiple chili varieties.
-
Experiment with growing in containers or garden beds based on your available space.
-
Consider companion planting with herbs like basil or marigolds to deter pests naturally.
Conclusion
Growing chili peppers from seed to harvest is a satisfying experience that provides you with fresh, flavorful fruits right at home. By following the steps of seed preparation, germination, seedling care, transplanting, and ongoing maintenance, you can enjoy bountiful harvests of spicy chili peppers suited to your taste.
Whether you’re a beginner or an experienced gardener, cultivating chilis is a fulfilling journey that connects you with nature and enriches your culinary adventures.


