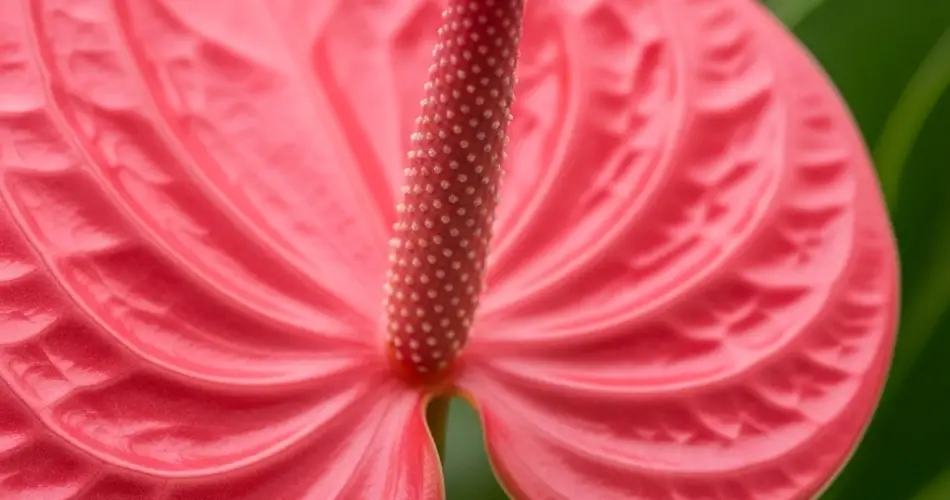
Anthuriums are striking tropical plants known for their glossy, heart-shaped leaves and vibrant, waxy flowers. Growing anthuriums from seed is a rewarding way to cultivate unique plants and expand your collection. While the process requires patience, following the right techniques can accelerate germination and help your anthuriums reach stunning maturity faster than usual.
This guide will walk you through every step—from seed preparation to nurturing seedlings—ensuring your anthurium grows healthy and beautiful in record time.
Why Grow Anthuriums from Seed?
Growing anthuriums from seed offers several advantages:
-
Genetic variety: Each seed produces a unique plant with subtle differences in foliage and flower color.
-
Cost-effective: Seeds are more affordable than buying mature plants.
-
Satisfaction: Watching your plants grow from tiny seeds to lush specimens is deeply rewarding.
Though propagation from cuttings or divisions is faster, seed germination allows for diversity and personal achievement.
Step 1: Obtain Fresh Seeds
Seed freshness dramatically affects germination success. Anthurium seeds quickly lose viability once harvested, so source fresh seeds from reputable nurseries or directly from mature plants.
You can also collect seeds from your own plants if you have both male and female flowers producing fruit. Harvest the bright red berries when fully ripe.
Step 2: Clean and Prepare Seeds
Cleaning seeds thoroughly is essential to prevent fungal infections.
-
Soak seeds in warm water for 24 hours to soften the outer pulp.
-
Gently rub seeds to remove all pulp residue.
-
Rinse seeds under running water.
-
Optionally, soak seeds in a mild fungicide solution for 10–15 minutes to reduce the risk of rot.
After cleaning, spread seeds on a paper towel to dry slightly before planting.
Step 3: Prepare the Growing Medium
Anthuriums need a light, well-draining medium that retains moisture without becoming waterlogged.
Ideal mix:
-
Equal parts sphagnum moss and fine orchid bark
-
Or a mix of peat moss, perlite, and fine pine bark
Sterilize your growing medium by baking it in the oven or microwaving it to eliminate pathogens.
Step 4: Sow Seeds Properly
Planting seeds correctly encourages quick and uniform germination.
-
Fill shallow trays or small pots with the prepared medium.
-
Moisten the medium evenly but avoid sogginess.
-
Place seeds on the surface; anthurium seeds require light for germination, so do not cover them deeply.
-
Press seeds gently into the medium to ensure good contact.
Step 5: Create Optimal Germination Conditions
Anthurium seeds require warm, humid conditions to germinate successfully.
-
Maintain temperatures between 75°F to 85°F (24°C to 29°C).
-
Keep humidity high (around 80–90%) by covering trays with clear plastic domes or placing them in a humidity chamber.
-
Provide bright, indirect light but avoid direct sunlight that can overheat the seeds.
-
Mist the surface regularly to keep the medium moist but not soaked.
Step 6: Be Patient During Germination
Germination can take anywhere from 2 to 8 weeks, depending on seed freshness and conditions. During this time:
-
Check seeds daily to ensure the medium remains moist.
-
Watch for mold or fungal growth; if spotted, remove affected seeds and increase air circulation.
-
Avoid disturbing seeds unnecessarily.
Once seedlings emerge, gradually remove the humidity cover over a week to acclimate them.
Step 7: Care for Seedlings
Once your seedlings have sprouted:
-
Provide bright, indirect light to encourage strong growth.
-
Maintain temperatures around 70°F to 80°F (21°C to 27°C).
-
Water seedlings with a fine spray or bottom watering to avoid displacing soil.
-
Begin feeding with a half-strength, balanced liquid fertilizer after 6–8 weeks.
-
Transplant seedlings to larger pots once they develop 2–3 true leaves.
Step 8: Encourage Faster Growth to Stunning Plants
To speed up development:
-
Keep seedlings in a warm, humid environment with consistent moisture.
-
Fertilize regularly but avoid overfeeding.
-
Repot plants when roots fill their containers to prevent stunting.
-
Ensure good air circulation to reduce disease risk.
-
Provide a growing medium rich in organic matter for nutrient availability.
Step 9: Transition to Mature Care
As your anthuriums mature:
-
Gradually reduce humidity to adapt plants to normal indoor conditions.
-
Continue to provide bright, indirect light.
-
Water deeply but allow the top inch of soil to dry between waterings.
-
Fertilize monthly with a balanced fertilizer formulated for flowering plants.
Troubleshooting Common Issues
-
Poor germination: Check seed freshness and humidity levels.
-
Damping-off disease: Prevent by sterilizing soil and ensuring good air circulation.
-
Yellowing seedlings: Often caused by overwatering or nutrient deficiencies.
-
Slow growth: Increase light exposure and maintain stable temperatures.
Conclusion
Germinating anthurium from seed and transforming them into stunning plants can be achieved in record time with the right approach. By sourcing fresh seeds, creating optimal conditions, and providing attentive care, you’ll nurture vibrant seedlings that grow into gorgeous, long-lasting plants.
With patience and consistency, your home or garden will soon be graced with the exotic beauty of your very own homegrown anthuriums.


