Creating drainage holes in containers for planting is a crucial step to ensure the health of your plants. Proper drainage prevents water from pooling at the bottom of pots, which can lead to root rot and other issues. However, making holes in plastic cups, old containers, or recycled vessels can sometimes be tricky, especially when the material is hard or prone to cracking.
This guide will show you a simple, effective method to make drainage holes in cups or plastic containers using just a screwdriver and water. This easy technique saves time, avoids damage, and helps you create homemade pots perfect for your indoor or outdoor plants.
Why Drainage Holes Are Important
Before diving into the technique, it’s important to understand why drainage holes are essential:
-
Prevents Waterlogging: Excess water needs to escape so roots can breathe and avoid suffocation.
-
Promotes Healthy Roots: Good drainage encourages stronger root systems and healthier plants.
-
Avoids Fungus and Diseases: Standing water fosters fungal growth and diseases harmful to plants.
-
Improves Soil Aeration: Proper drainage helps maintain balanced moisture and air within the soil.
Without drainage holes, even the best soil and care won’t protect your plants from water-related problems.
Common Challenges When Making Drainage Holes
Plastic containers vary in thickness and quality. Some may be very thin and prone to cracking or breaking when punctured, while others are hard and difficult to penetrate. Using sharp tools carelessly can cause:
-
Cracks or splits in the container.
-
Uneven or ragged holes that affect the container’s durability.
-
Injury risks when applying excessive force.
The method described here avoids these issues by softening the plastic slightly before making the hole.
Materials Needed
-
Plastic cup, container, or any vessel you want to convert into a plant pot.
-
A screwdriver with a pointed tip (a flathead or Phillips head screwdriver will work).
-
Warm water (not boiling, but comfortably hot to the touch).
-
A towel or cloth (optional, to hold the container safely).
Step-by-Step Method to Make Drainage Holes
1. Prepare Warm Water
Heat some water until it is warm but not boiling. Water that is too hot might deform the plastic or be unsafe to handle.
2. Soak the Plastic Area
Dip the area where you want to make the hole into the warm water for about 30 seconds to 1 minute. If the container is too large to soak easily, you can carefully pour warm water over the spot or dip a cloth soaked in warm water onto the area.
This warm water softens the plastic temporarily, making it easier to puncture without cracking.
3. Secure the Container
Hold the container firmly using your hands or wrap it with a towel or cloth to protect your grip and avoid slips.
4. Puncture the Hole with the Screwdriver
Place the tip of the screwdriver on the warmed spot and gently apply pressure, twisting if needed. Because the plastic is softened, the screwdriver should pierce the container with minimal force and without cracking.
If you want multiple drainage holes, repeat the soaking and puncturing steps in different spots around the base of the container.
5. Widen the Hole if Necessary
If the hole is too small, you can gently twist the screwdriver to widen it or use a small nail or heated metal skewer to enlarge it further. Always be careful to avoid creating jagged edges.
Tips for Best Results
-
Choose the Right Size Container: Make sure your container is large enough for your plant’s root system.
-
Make Several Small Holes: Instead of one large hole, several small holes improve drainage and reduce the risk of soil leaking.
-
Check for Sharp Edges: After making holes, check the inside and outside for any sharp plastic edges. Use sandpaper or carefully trim edges if needed.
-
Reuse Containers: This method works great for repurposing plastic cups, yogurt containers, disposable cups, or other household plastics into plant pots.
-
Label Your Pots: If you’re making multiple pots, label them for easy identification of plant types or planting dates.
Why This Method Works Well
Softening the plastic with warm water reduces brittleness and makes the surface more pliable, allowing the screwdriver to penetrate easily without applying excessive force. This means:
-
Reduced risk of cracking or breaking the container.
-
Cleaner, neater holes.
-
Safer and quicker process, especially when making multiple pots.
Additional Ideas for Homemade Plant Pots
Once you master making drainage holes, you can explore creative ways to recycle everyday containers:
-
Use old kitchen containers for starting seedlings.
-
Turn used yogurt cups into mini herb pots.
-
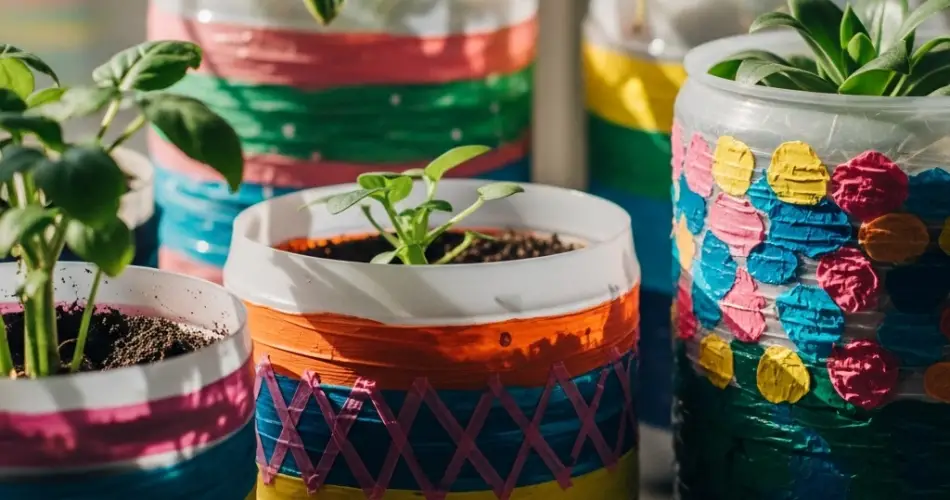
Decorate plain plastic containers with paint or fabric for stylish indoor planters.
-
Experiment with different sizes and shapes to suit your plants.
Conclusion
Making drainage holes in plastic cups or containers doesn’t have to be difficult or risky. With a simple screwdriver and warm water, you can easily soften the plastic and puncture neat drainage holes that keep your plants healthy and thriving.
This homemade pot method is not only cost-effective but also environmentally friendly, helping you reuse plastic waste while growing beautiful plants. Whether you’re starting seeds, transplanting, or creating decorative planters, this technique is a handy skill for every gardener.


