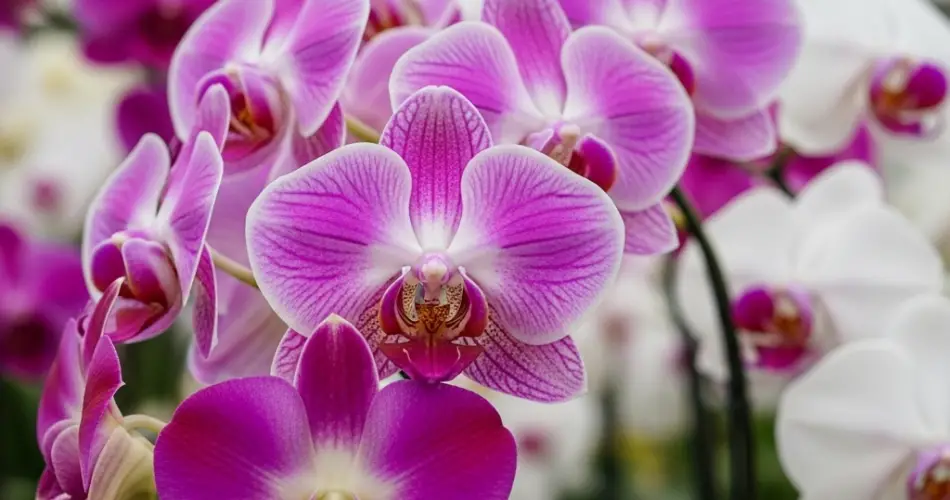
Orchids are often viewed as exotic, high-maintenance plants reserved for expert gardeners or greenhouse growers. But the truth is, with just a little guidance, even beginners can grow and enjoy these stunning blooms right at home. Whether you’re looking to brighten a sunny windowsill or bring some elegance into your living space, orchids can thrive under your care — no previous gardening experience required.
This guide will walk you through the essentials of cultivating orchids, from choosing the right type to watering, repotting, and getting them to bloom again.
1. Choose the Right Orchid for Beginners
The first step is selecting an orchid variety that’s forgiving and easy to care for. Not all orchids have the same needs, so beginners should start with a variety that adapts well to home conditions.
Best beginner-friendly orchids:
-
Phalaenopsis (Moth Orchid): Widely available, blooms last for months, and thrives in average indoor environments.
-
Dendrobium: Slightly more varied but still manageable, with beautiful upright blooms.
-
Oncidium: Known for its dancing flower shapes and resilience.
Phalaenopsis is the most recommended choice for new growers, as it tolerates indoor light and doesn’t require a complex routine.
2. Understand Orchid Basics
Orchids aren’t like regular houseplants — they don’t grow in soil. Most are epiphytes, meaning they grow attached to trees in the wild, drawing moisture and nutrients from the air and rain. Because of this, their roots need access to air and light.
What this means for your setup:
-
Use special orchid potting mix, typically made of bark, sphagnum moss, or coconut husk.
-
Use a pot with drainage holes and, ideally, transparent sides so you can monitor root health.
-
Keep the pot in a place with good air circulation.
3. Light: Not Too Much, Not Too Little
Orchids need plenty of indirect light to thrive. Too much sun can scorch their leaves, while too little will prevent them from blooming.
Ideal lighting conditions:
-
Place near an east or north-facing window for soft morning light.
-
If using a south-facing window, diffuse the light with a sheer curtain.
-
The leaves should be a healthy light green — dark green means not enough light; yellowish tones may mean too much.
If natural light is limited, grow lights can help supplement, especially in winter.
4. Watering the Right Way
Overwatering is one of the most common mistakes for orchid beginners. Unlike typical houseplants, orchids don’t like “wet feet.”
Simple watering rules:
-
Water about once a week during active growth; less during dormancy.
-
Allow the potting medium to dry slightly between waterings.
-
Use room-temperature water, and let excess water drain out completely.
-
Never let the pot sit in standing water.
Tip: Water in the morning so the plant dries out by night, which helps prevent root rot and fungal issues.
5. Fertilize Sparingly
Orchids don’t need a lot of fertilizer, but occasional feeding encourages healthy growth and blooming.
-
Use a balanced orchid fertilizer (20-20-20 or similar).
-
Apply once every 2–4 weeks during the growing season.
-
Dilute the fertilizer to half strength to avoid damaging the roots.
-
Skip feeding during the plant’s rest period (typically after blooming).
6. Watch the Roots and Repot When Needed
Healthy orchid roots are thick, firm, and silvery-green when dry. Brown, mushy roots mean rot has set in — often due to overwatering or poor drainage.
Repotting tips:
-
Repot every 1 to 2 years, preferably after blooming.
-
Replace the old potting mix with fresh orchid bark to prevent compaction.
-
Trim any dead or rotting roots before placing the orchid into its new pot.
Clear pots help you monitor root health, which is especially helpful for beginners.
7. Encouraging Reblooms
Many first-time orchid owners enjoy a beautiful bloom, only to wonder how to get it to happen again.
Tips to encourage reblooming:
-
Maintain consistent lighting and temperature.
-
After flowering, trim the flower spike just above a node (a small bump on the stem).
-
Reduce watering slightly during the rest period, then resume regular care.
-
A slight temperature drop at night (by 10°F) can trigger reblooming in many orchids.
With patience, your orchid will reward you with another round of elegant flowers.
8. Common Problems and Simple Fixes
-
Wilted or limp leaves: Usually from overwatering or poor drainage.
-
No blooms: Could be due to low light or skipping the rest period.
-
Sticky residue or spots: Inspect for pests like scale or mealybugs. Wipe leaves with a damp cloth or use neem oil.
Regular observation will help you catch issues early before they affect the whole plant.
Conclusion
You don’t need a green thumb or a greenhouse to grow beautiful orchids. With the right plant, proper care, and a little patience, even a complete beginner can successfully cultivate orchids that brighten up any space. Follow these simple steps and watch your orchids grow, bloom, and become a long-lasting part of your indoor garden.


