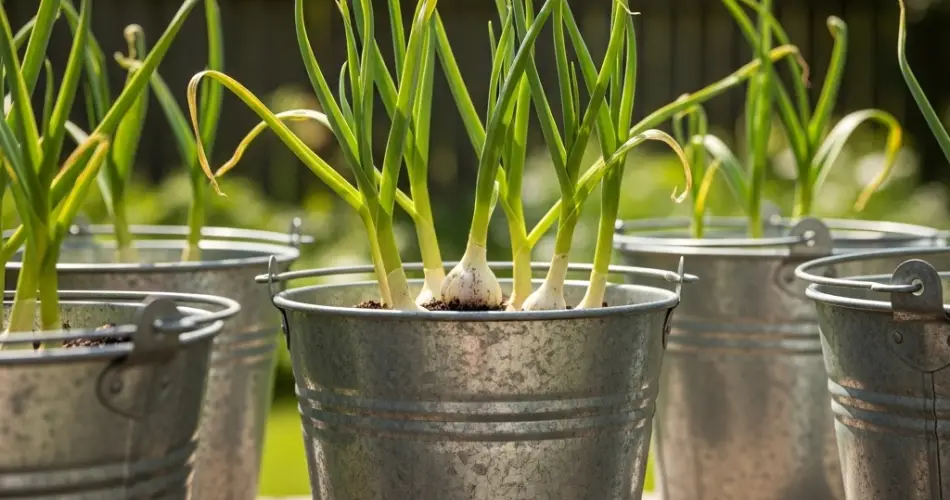
Garlic is a kitchen staple, known for its flavor, aroma, and numerous health benefits. Growing garlic at home provides a fresh and reliable supply, and bucket gardening offers a practical solution for those with limited outdoor space. By using the right techniques, gardeners can cultivate large, healthy garlic bulbs in containers, making this aromatic crop accessible even in small gardens, patios, or balconies.
Why Grow Garlic in Buckets?
Bucket gardening offers several advantages for growing garlic:
-
Space-efficient – Ideal for compact areas where traditional garden beds are unavailable.
-
Soil control – Containers allow precise management of soil fertility, drainage, and texture.
-
Mobility – Buckets can be moved to follow sunlight, protect from extreme weather, or avoid waterlogging.
-
Pest management – Container-grown garlic is less prone to soil-borne pests and diseases.
With proper care, bucket-grown garlic can produce robust bulbs comparable to those grown in traditional gardens.
Step 1: Selecting the Right Bucket
The container is essential for healthy garlic growth:
-
Size – Use a bucket with at least 5 gallons (19 liters) of soil capacity to accommodate garlic’s roots and allow bulbs to expand.
-
Drainage – Ensure the bucket has multiple drainage holes to prevent waterlogging, which can lead to root rot.
-
Material – Plastic, clay, or metal buckets are suitable as long as they are sturdy and can retain soil and moisture.
A well-chosen container supports proper root development and prevents common growth issues.
Step 2: Preparing the Soil
Garlic grows best in nutrient-rich, loose, and well-draining soil:
-
Soil mix – Combine garden soil, compost, and perlite or coarse sand in equal parts. This mixture retains enough moisture for roots while ensuring proper drainage.
-
Soil pH – Garlic prefers slightly acidic to neutral soil, with a pH of 6.0–7.0.
-
Fertilization – Incorporate a slow-release fertilizer into the soil to provide nutrients essential for bulb development and strong foliage.
Healthy soil is the foundation for producing large, flavorful garlic bulbs.
Step 3: Choosing and Preparing Cloves
Healthy planting material is key to a successful harvest:
-
Clove selection – Choose large, firm, disease-free cloves from mature garlic bulbs. Avoid small or damaged cloves.
-
Preparation – Separate the cloves from the bulb, keeping the papery skin intact to protect the root.
-
Orientation – Plant cloves with the pointed end up and the flat root end down to encourage proper growth.
Strong, healthy cloves are the first step toward bigger bulbs at harvest.
Step 4: Planting Garlic
Correct planting depth and spacing are crucial:
-
Depth – Plant each clove about 2 inches (5 cm) deep into the soil.
-
Spacing – Leave 4–6 inches (10–15 cm) between cloves to allow adequate room for bulb expansion.
-
Succession planting – Staggering plantings every few weeks can provide a continuous supply of garlic.
Proper planting ensures robust root systems and optimal bulb development.
Step 5: Watering
Garlic requires consistent moisture but not waterlogged conditions:
-
Initial watering – Water thoroughly after planting to settle soil around the cloves.
-
Ongoing care – Keep soil evenly moist, especially during dry periods. Avoid overwatering, which can cause rot.
-
Technique – Water at the base of the plant to prevent wet foliage and reduce fungal risk.
Balanced watering encourages steady leaf growth and bulb development.
Step 6: Sunlight and Placement
Garlic needs ample sunlight to thrive:
-
Light requirements – Place the bucket in an area that receives at least 6 hours of direct sunlight daily.
-
Temperature – Garlic grows best in cooler conditions during root establishment and warmer weather for bulb maturation. Shade the bucket if temperatures become extreme.
Adequate sunlight ensures strong, healthy plants and larger bulbs.
Step 7: Maintenance
Regular care helps maximize bulb size:
-
Fertilization – Apply a balanced liquid fertilizer every 3–4 weeks during the growing season to support foliage and bulb growth.
-
Mulching – Apply a thin layer of organic mulch to retain soil moisture, regulate temperature, and suppress weeds.
-
Pest monitoring – Inspect plants for aphids, mites, or fungal issues and address them promptly.
Consistent care supports vigorous growth and larger garlic bulbs.
Step 8: Harvesting
Harvest at the right time to maximize bulb size and flavor:
-
Timing – Garlic is ready to harvest when lower leaves begin to yellow and dry, usually 8–10 months after planting.
-
Technique – Loosen the soil gently with a trowel and lift bulbs carefully to avoid damage.
-
Curing – Allow bulbs to dry in a shaded, ventilated area for 2–3 weeks before storage. Proper curing enhances flavor and shelf life.
Correct harvesting ensures full-sized, flavorful garlic bulbs.
Final Thoughts
Bucket gardening makes it possible to grow large, healthy garlic bulbs even in limited spaces. By choosing the right container, preparing fertile soil, planting healthy cloves, providing consistent water and sunlight, and maintaining regular care, gardeners can enjoy a bountiful garlic harvest.
With these techniques, small-space gardeners can transform balconies, patios, or compact yards into productive garlic-growing areas, supplying fresh, aromatic bulbs for months.


