Rubber plants (Ficus elastica) are bold, beautiful, and surprisingly easy to propagate. Known for their broad, glossy leaves and upright growth, they make a striking statement indoors. While most people grow them in pots with soil, there’s an alternative method that’s both budget-friendly and visually engaging: propagating rubber plants in water using recycled plastic bottles.
This method allows you to turn household waste into a functional planter and offers a clear view of the plant’s rooting process. Whether you’re expanding your rubber plant collection or sharing cuttings with friends, propagating in bottles is a simple and sustainable project anyone can try.
Why Use Bottles to Grow Rubber Plant Cuttings?
Plastic bottles provide an ideal environment for water propagation and offer several benefits:
-
Cost-effective: No need to buy propagation trays or vases.
-
Eco-friendly: Gives a second life to plastic bottles.
-
Visible root development: Transparent bottles let you observe growth.
-
Space-saving: Compact enough for desks, windowsills, or kitchen counters.
-
Customizable: Easy to cut, decorate, and label.
Using bottles is especially useful for beginners who want to monitor their plant’s progress without disturbing the roots.
What You’ll Need
-
A healthy rubber plant cutting
-
A clean plastic bottle (1-liter or larger)
-
Sharp scissors or a sterilized pruning tool
-
Room-temperature filtered or dechlorinated water
-
Optional: activated charcoal to keep water clean
-
Bright, indirect light source
-
Optional: string, paint, or fabric for decoration
Step 1: Take a Healthy Cutting
Rubber plants can be propagated from stem cuttings. Choose a sturdy, healthy stem with at least one node and one or two leaves.
-
Use sharp, sterilized scissors or a knife to cut just below a node.
-
If the cutting has large leaves, you can trim them slightly to reduce water loss and stress on the plant.
-
Allow the cutting to rest for an hour so the sap can seal and reduce the risk of rot in water.
Step 2: Prepare the Bottle
Choose a clean, clear plastic bottle. Remove any labels and cut off the top third to create an open container.
-
Smooth any sharp edges with sandpaper or a lighter flame.
-
Rinse the bottle with warm water to remove residue or lingering sugars that could encourage bacteria.
-
If desired, decorate the bottle with jute twine, paint, or patterned paper.
Transparent containers are useful because you can see the roots develop and monitor water clarity.
Step 3: Add Water and Place the Cutting
Fill the bottle with room-temperature filtered or dechlorinated water, ensuring that at least one node on the stem is submerged. Avoid soaking any leaves, as this can lead to rot.
-
If you’re using activated charcoal, add a small pinch to the water to prevent bacterial growth and algae.
-
Place the cutting in the bottle upright. It should be stable enough to stay vertical without added support.
Step 4: Provide Proper Light and Environment
Rubber plants thrive in bright, indirect light. Place your bottle near a window that gets filtered sunlight. Avoid direct midday sun, which can heat the water and damage the cutting.
-
Keep the environment warm and stable. Rubber plants prefer temperatures between 65–80°F (18–27°C).
-
Avoid cold drafts or air conditioning vents.
Step 5: Maintain the Water and Monitor Progress
Rubber plants are relatively slow to root in water, so patience is key. Here’s how to care for your cutting:
-
Change the water every 7–10 days to keep it clean and oxygenated.
-
Top off the water as needed to ensure the node remains submerged.
-
Clean the bottle as needed to prevent algae buildup.
-
Watch for roots, which usually appear within 3 to 6 weeks. Early roots may look like small, white bumps emerging from the node.
Step 6: Transplanting to Soil (Optional)
Once the roots are 2–3 inches long, the cutting can be moved to soil. Here’s how:
-
Choose a well-draining soil—a mix of potting soil, perlite, and peat or coco coir is ideal.
-
Fill a small pot and create a hole for the rooted cutting.
-
Gently plant the cutting and water lightly to settle the soil.
Let the plant adjust gradually, and continue to provide bright, indirect light. Water only when the top inch of soil feels dry.
Creative Display Ideas
If you choose to keep your rubber plant in water longer, you can enhance the bottle’s appearance:
-
Use decorative stones at the base of the bottle.
-
Wrap the exterior with fabric or rope for a rustic look.
-
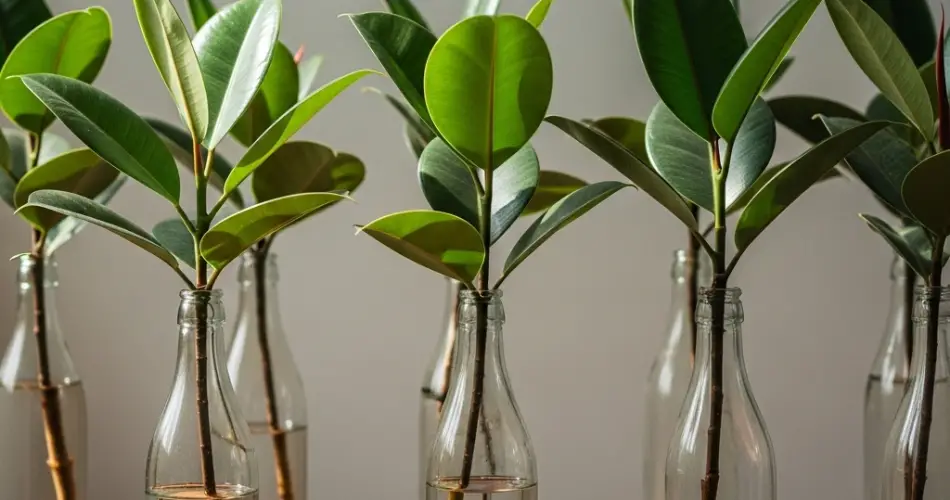
Group several bottles with different plant cuttings for an eye-catching indoor display.
Troubleshooting Tips
-
Leaf drop or curling: This can be due to sudden environmental changes or poor light. Move the cutting to a brighter, more stable location.
-
Brown stem or cloudy water: Likely caused by rot. Remove the cutting, trim away affected parts, and restart in clean water.
-
No root growth after several weeks: Make sure the node is submerged, the cutting is healthy, and the light is sufficient. Sometimes cuttings just take longer.
Final Thoughts
Propagating rubber plants in plastic bottles is a rewarding and eco-conscious way to grow new plants. This method not only reduces waste but also offers a simple, engaging way to expand your indoor garden. With time, care, and a bit of sunlight, you can turn a discarded bottle and a single cutting into a strong, thriving new plant.
It’s a project that encourages both patience and creativity—perfect for any plant enthusiast ready to grow more while doing more for the planet.


