Dill is a versatile, aromatic herb celebrated for its bright flavor and culinary versatility. From enhancing pickles and salads to seasoning fish and soups, dill is a kitchen essential. While it is commonly grown from seeds, propagating dill from cuttings is a faster and more reliable method, allowing gardeners to multiply plants efficiently. Using plastic bottles for propagation is an eco-friendly and practical way to achieve this at home.
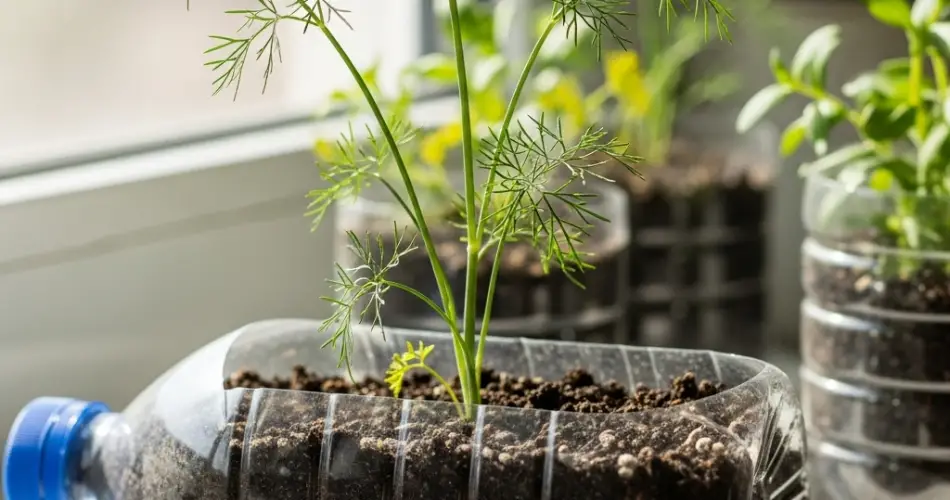
Plastic bottles provide an ideal environment for dill cuttings, offering consistent moisture while protecting developing roots. This method is perfect for small-space gardens, urban apartments, or anyone interested in upcycling bottles into functional gardening tools. By turning bottles into propagation containers, you can grow healthy dill plants sustainably and efficiently.
Why Use Plastic Bottles for Dill Propagation
Propagating dill in bottles has several advantages:
-
Faster Root Formation: Dill cuttings often develop roots more quickly in water than in soil.
-
Easy Monitoring: Transparent bottles allow you to observe root growth and detect any issues early.
-
Space-Efficient: Bottles take up minimal space, ideal for windowsills, balconies, or small indoor gardens.
-
Sustainable Gardening: Upcycling bottles reduces waste while creating a practical tool for herb propagation.
This method is particularly useful for gardeners seeking a low-maintenance way to enjoy fresh dill year-round.
Selecting the Right Bottle
Choosing an appropriate bottle is crucial for successful propagation.
Size and Shape
Bottles of 1–2 liters are ideal, providing sufficient water volume and space for roots to develop. Narrow-neck bottles help keep stems upright, while wider bottles allow roots to spread more freely.
Cleanliness
Thoroughly wash bottles with warm water and mild soap to remove residues. Rinse well to avoid leaving any chemicals that could harm the cuttings.
Optional Modifications
Cutting the bottle in half can create an open container for easy access, or a small slit can hold stems in place while the top portion reduces evaporation and maintains humidity.
Preparing Dill Cuttings
Select healthy, green stems from an established dill plant. Avoid woody or yellowed stems, which root less effectively.
Steps for Preparing Cuttings
-
Choose a stem 4–6 inches long with several leaf nodes.
-
Make a clean cut just below a leaf node using sharp scissors or pruning shears.
-
Remove lower leaves to prevent them from sitting in water and rotting.
-
Optional: Dip the cut end in rooting hormone to encourage faster root development, although dill roots easily in water without it.
Rooting Dill in Bottles
Place the prepared cuttings in the bottle filled with fresh, room-temperature water.
Tips for Successful Rooting
-
Submerge at least one leaf node, as this is where roots will form.
-
Position bottles in bright, indirect sunlight; avoid direct sun to prevent overheating the water.
-
Change the water every 2–3 days to keep it fresh and oxygenated.
Roots usually begin forming within 1–2 weeks. White, healthy roots indicate that the cuttings are ready for transplanting.
Transplanting Dill Cuttings
Once roots reach 2–3 inches in length, dill cuttings can be transferred to soil.
Steps for Transplanting
-
Fill a pot or crate planter with well-draining soil. A mixture of potting soil and sand or perlite works well.
-
Make a small hole and gently place the rooted cutting, covering the roots with soil.
-
Water lightly and maintain consistent moisture during the first few weeks.
-
Gradually expose the plant to full sunlight to strengthen growth.
Dill prefers sunny locations with 4–6 hours of light per day. Regular watering and occasional feeding support healthy foliage and vibrant flavor.
Maintaining Healthy Dill
Proper care ensures lush, productive plants:
-
Pinch back tips to encourage bushier growth.
-
Remove yellow or damaged leaves to keep the plant healthy.
-
Monitor for pests such as aphids and address them promptly.
Routine maintenance keeps dill visually appealing and flavorful.
Harvesting Dill
You can begin harvesting once the plants reach 6–8 inches in height:
-
Snip outer stems while leaving inner growth intact to encourage continuous production.
-
Harvest frequently to maintain tender leaves and prevent early flowering, which can reduce flavor.
-
Fresh dill leaves can be used immediately or preserved by freezing or drying for later use.
Dill seeds can also be collected for future planting or culinary use, adding versatility to your herb garden.
Styling Your Dill Bottle Garden
Dill’s feathery, bright green foliage adds charm and fragrance to any space:
-
Display bottles on a sunny windowsill, balcony, or shelf for convenient harvesting.
-
Group multiple bottles in a rustic crate for a compact and organized herb station.
-
Label or decorate bottles to enhance the aesthetic appeal of your setup.
This method combines practicality, sustainability, and visual appeal, creating an attractive and productive mini herb garden.
Final Thoughts
Using plastic bottles to propagate dill is a simple, eco-friendly, and effective method for multiplying herbs. With proper preparation, regular water changes, and sufficient light, cuttings develop into healthy plants ready for soil or continued growth in bottles.
This approach is ideal for small-space gardeners, urban dwellers, or anyone seeking a continuous supply of fresh, aromatic dill. By combining sustainability with practical gardening techniques, you can cultivate an environmentally conscious, productive, and visually appealing herb-growing system.


