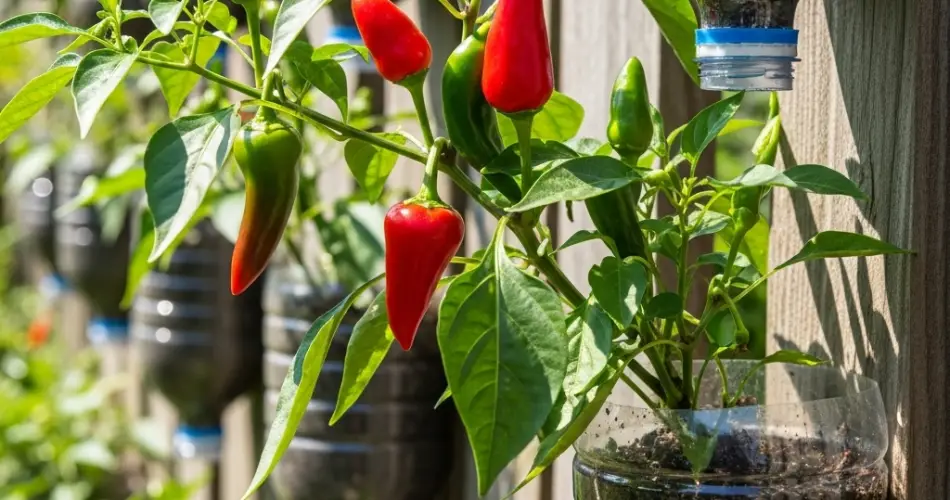
Chili peppers are a beloved addition to gardens and kitchens worldwide. They bring bold flavor, a vibrant splash of color, and a touch of heat that elevates countless dishes. For gardeners, chili plants are rewarding because they are relatively hardy and highly productive. However, many people don’t realize just how easy it is to multiply chili plants without buying new seeds or seedlings. With a simple bottle propagation method, you can grow new chili plants quickly and cost-effectively.
Using recycled plastic bottles as mini greenhouses is a practical way to propagate chili cuttings. This method encourages strong root development while protecting young plants from pests and environmental stress. Whether you’re an experienced gardener or a beginner with limited space, bottle propagation offers a sustainable and efficient way to expand your chili crop.
Why Use Bottles for Chili Propagation?
Bottles provide an ideal controlled environment for chili cuttings to root. The enclosed space mimics greenhouse conditions by maintaining humidity and warmth. Here are the key advantages of this method:
-
Moisture Control – The sealed bottle reduces evaporation, keeping the soil consistently damp.
-
Protection from Pests – Insects, birds, and small animals are kept away from fragile cuttings.
-
Temperature Regulation – Clear bottles trap heat, helping cuttings establish even in cooler weather.
-
Eco-Friendly Gardening – Recycling bottles reduces waste while serving a useful gardening purpose.
-
Low Cost and Accessible – No need to invest in specialized propagation trays or equipment.
This approach is especially handy for urban gardeners with limited growing space. A sunny windowsill or balcony is enough to get started.
Materials You’ll Need
To multiply chili plants with bottles, gather the following items:
-
Healthy chili plant for cuttings
-
Clear plastic bottles (1–2 liters)
-
Sharp knife or scissors
-
Potting mix or seed-starting soil
-
Small stick or pencil for making holes
-
Spray bottle with water
Step-by-Step Guide to Propagating Chili Plants in Bottles
1. Select and Prepare Cuttings
Choose a strong, mature chili plant as the parent. Select cuttings that are 10–15 cm long, preferably from non-flowering branches. Trim each cutting just below a node (where leaves join the stem) using a clean, sharp tool. Remove the lower leaves, leaving only a few at the top. This helps the cutting direct energy toward root development.
2. Prepare the Bottle
Cut the bottle horizontally about two-thirds of the way up, keeping both halves intact. Make a few drainage holes at the bottom. Fill the lower portion with moist potting mix.
3. Plant the Cutting
Use a stick or pencil to create a hole in the soil. Place the chili cutting into the hole, burying at least one node below the surface. Gently firm the soil around it.
4. Create the Mini Greenhouse
Place the upper portion of the bottle back over the base to form a dome. Keep the cap slightly open to allow some airflow while still trapping humidity.
5. Place in a Bright Spot
Set the bottle in a location with indirect sunlight. Too much direct sun can overheat the bottle, while too little light will slow growth. A bright windowsill, balcony, or shaded outdoor corner works best.
Caring for Chili Cuttings in Bottles
-
Watering – Check the soil regularly. It should remain moist but not soggy. Mist with a spray bottle as needed.
-
Ventilation – Open the bottle dome for a few hours each day to allow airflow and prevent mold.
-
Patience – Rooting typically takes 2–4 weeks. During this time, avoid disturbing the cuttings.
Signs of success include new leaf growth and resistance when gently tugging on the cutting, which indicates roots are forming.
Transplanting Rooted Chili Cuttings
Once the cuttings develop strong roots and new growth, they are ready to be transplanted.
-
Harden Off – Gradually expose the rooted plants to outdoor conditions, starting with a few hours daily before fully transitioning.
-
Prepare the Growing Space – Choose a sunny spot in the garden or use containers at least 20–30 cm deep. Chili plants thrive in well-drained, nutrient-rich soil.
-
Spacing – Plant each chili 12–18 inches apart to give them enough room to branch and produce peppers.
-
Transplant Carefully – Remove the cutting with its soil intact from the bottle and replant at the same depth. Water thoroughly afterward.
Tips for Healthy, Productive Chili Plants
-
Fertilize Wisely – Use a balanced organic fertilizer or compost tea once plants are established. Too much nitrogen encourages leafy growth but fewer fruits.
-
Prune Strategically – Pinch off early flowers on young plants to encourage stronger branching.
-
Support Growth – As plants grow, provide small stakes or trellises to support branches heavy with peppers.
-
Pest Management – Watch for aphids, whiteflies, and spider mites. Neem oil or soap sprays work as natural controls.
-
Harvest Often – Picking ripe peppers encourages continuous production throughout the season.
Final Thoughts
Bottle propagation is an easy, low-cost, and eco-friendly way to multiply chili plants. By recycling bottles into mini greenhouses, you give cuttings the perfect environment to root and thrive. This method not only saves money but also ensures a steady supply of chili plants for your garden, balcony, or patio.
With just a little effort and patience, you can expand your chili crop, reduce plastic waste, and enjoy the satisfaction of harvesting homegrown peppers season after season.


