Sage (Salvia officinalis) is a versatile herb treasured for its earthy aroma, culinary uses, and medicinal properties. It’s a favorite among herb garden enthusiasts, and the good news is—you don’t need a garden bed to grow it. With a recycled plastic bottle and a bit of creativity, you can grow sage right at home, even in a small apartment or on a sunny windowsill.
This article will walk you through the steps of making your own DIY plastic bottle planter for growing sage. It’s a sustainable, space-saving method that helps reduce plastic waste while giving you a steady supply of this hardy and flavorful herb.
Why Grow Sage in Plastic Bottles?
Plastic bottle planters are an ideal solution for anyone looking to grow herbs sustainably and affordably. Here are some of the benefits:
-
Eco-friendly: Repurposes plastic bottles that would otherwise contribute to landfill waste.
-
Compact and space-saving: Great for urban gardening, balconies, or kitchen counters.
-
Low-cost: No need to buy fancy pots—reusing a bottle is both practical and economical.
-
Customizable: You can design the planter to fit your style and space.
-
Suitable for sage: Sage thrives in containers, especially those with proper drainage and airflow.
Because sage prefers well-drained soil and moderate watering, plastic bottles (when properly prepared) make an excellent container choice for this drought-tolerant herb.
What You’ll Need
To get started with your DIY sage planter, gather the following materials:
-
1 clean plastic bottle (1.5 to 2-liter size)
-
Sharp scissors or a utility knife
-
Potting soil (preferably light and well-draining)
-
Sage seeds or seedlings
-
Perlite or sand (optional, for better drainage)
-
Small piece of mesh or coffee filter (optional)
-
Nail or skewer (to poke holes)
-
Marker (for drawing cut lines)
-
Twine or wire (optional if you want to hang the planter)
How to Make a Sage Planter from a Plastic Bottle
Step 1: Clean and Cut the Bottle
Wash the plastic bottle thoroughly and remove any labels. Let it dry. Use a marker to draw a horizontal line about one-third from the bottom of the bottle. Cut along this line using scissors or a craft knife. You’ll be using the bottom part as your planter.
Step 2: Add Drainage Holes
Poke several small holes in the bottom of the bottle using a heated nail, skewer, or similar tool. This allows excess water to escape and prevents soggy soil—essential for healthy sage roots.
Step 3: Add a Drainage Barrier (Optional)
Place a piece of mesh, coffee filter, or fabric at the bottom to prevent soil from escaping through the holes while still allowing water to drain.
Step 4: Prepare the Soil
Sage prefers well-draining soil. Mix 2 parts potting soil with 1 part perlite or sand. This keeps the soil light and helps prevent root rot.
Step 5: Fill and Plant
Fill the bottle with your soil mix, leaving about an inch of space from the top.
-
If using seeds, plant them about ¼ inch deep, spacing them evenly across the surface. Lightly cover with soil.
-
If using seedlings, dig a small hole and gently place the plant in, then firm the soil around it.
Water lightly until the soil is moist but not soaked.
Growing Conditions for Sage
Light Requirements
Sage thrives in full sun, needing at least 6 hours of direct sunlight daily. Place your planter near a sunny window, on a balcony, or in any bright spot.
Watering
Sage prefers slightly dry soil. Water only when the top inch feels dry. Overwatering is a common mistake—bottle planters retain moisture, so check before watering again.
Humidity and Airflow
Avoid trapping humidity around sage leaves. Ensure good airflow around your planter to prevent mildew or fungal issues.
Care Tips for Healthy Sage
Pruning
Once your sage plant is established, prune it regularly to encourage bushy growth. Trim the tips above a pair of leaves to promote branching.
Harvesting
Harvest sage leaves once the plant is about 6–8 inches tall. Snip leaves in the morning when the oils are most concentrated. Avoid harvesting more than one-third of the plant at a time to allow it to keep producing.
Feeding
Sage doesn’t require heavy feeding. Fertilize once a month during the growing season with a diluted organic fertilizer. Over-fertilizing can reduce the plant’s flavor and aroma.
Winter Care
If you’re in a region with cold winters, bring your sage planter indoors during the colder months. Keep it near a bright window and reduce watering frequency.
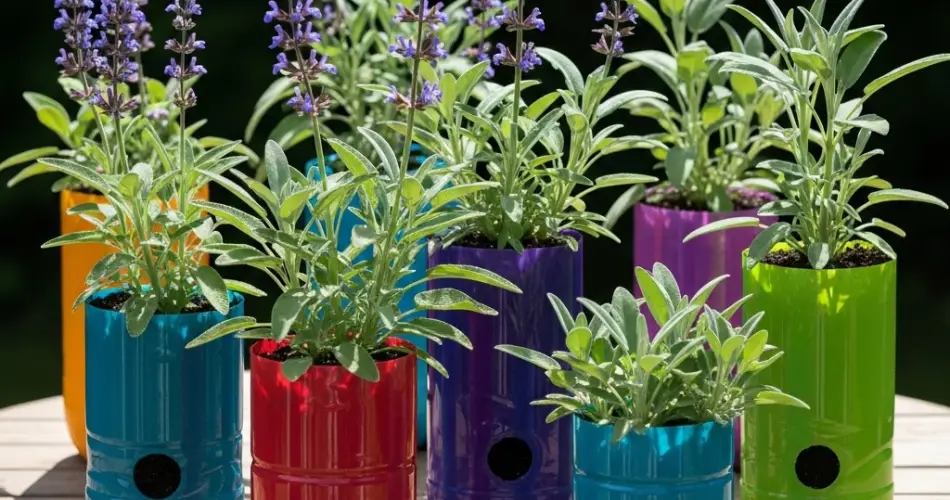
Decorating and Displaying Your Planter
Plastic bottles don’t have to be boring. Customize your sage planter with these fun ideas:
-
Paint the bottle with non-toxic paint to match your kitchen or balcony decor.
-
Wrap it in twine or jute for a rustic look.
-
Add a label or tag to identify your herb.
-
Hang it with string or wire to create a vertical herb wall.
Final Thoughts
Growing sage in a plastic bottle is a practical and eco-friendly way to bring fresh herbs into your home. With a few simple tools and some creativity, you can turn waste into something beautiful and useful. Whether placed on a windowsill, balcony, or kitchen shelf, your DIY sage planter will provide you with flavorful leaves for months to come—while contributing to a more sustainable lifestyle.
This project proves that even the most modest gardening setups can produce rich rewards—both in flavor and in fulfillment.


