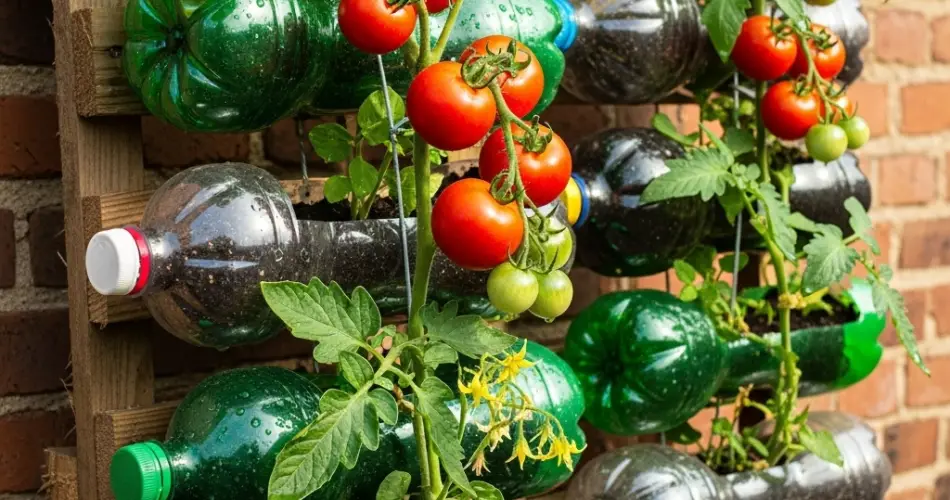
Propagating tomato plants through cuttings is an effective and economical way to multiply your garden without buying new seedlings. Using a DIY bottle cloner made from recycled plastic bottles provides a controlled environment that encourages quick root development, making it easier to produce healthy new plants. This simple technique is perfect for gardeners looking to propagate tomatoes indoors or in small spaces.
Here’s a detailed step-by-step guide on how to build and use a bottle cloner to root tomato cuttings efficiently.
Why Use a Bottle Cloner for Tomato Cuttings?
A bottle cloner creates a mini greenhouse that maintains high humidity and stable temperatures around the cutting. This environment reduces water loss and stress on the plant, which encourages faster root growth. Plastic bottles are inexpensive, easy to find, and reusable, making them a sustainable option for gardeners.
Materials Needed
-
Clear plastic bottle (1 to 2 liters work well)
-
Sharp scissors or a craft knife
-
A small container or jar for water
-
Healthy tomato cuttings (4 to 6 inches long)
-
Rooting hormone (optional)
-
Clean water
-
Small stones or pebbles (optional, for stability)
Step 1: Preparing the Bottle Cloner
Start by thoroughly cleaning the plastic bottle and removing any labels. Using scissors or a craft knife, cut the bottle horizontally approximately one-third from the top. The bottom part will hold water and support the cutting, while the top can be inverted to form a humidity dome.
Remove the bottle cap to allow for airflow and prevent mold buildup. You can also poke a few small holes in the top part if desired to regulate humidity further.
Step 2: Preparing Tomato Cuttings
Choose healthy, disease-free tomato plants and cut 4 to 6 inch (10 to 15 cm) sections from the tips of non-flowering shoots. Make the cut just below a leaf node (where leaves attach to the stem), as this is where roots are most likely to develop.
Remove the lower leaves from the cutting, leaving only a few sets of leaves at the top. This reduces water loss and helps the cutting focus energy on root production.
Optional: Dip the cut end in rooting hormone powder or gel to stimulate faster rooting, although tomatoes often root well without it.
Step 3: Setting Up the Cloner
Fill the bottom part of the bottle with clean water, about 3 to 4 inches deep. Add small stones or pebbles if you want extra support for the cuttings.
Insert the tomato cutting into the water so the lower stem is submerged, but the leaves remain above the water line to prevent rot.
Invert the top part of the bottle over the bottom section to create a humidity dome. This enclosure will keep the environment moist and warm, ideal for root development.
Step 4: Providing the Right Environment
Place the bottle cloner in a bright location with indirect sunlight. Avoid direct sunlight, as it can overheat the water and damage the cutting.
Maintain room temperature between 20°C to 25°C (68°F to 77°F) for optimal rooting conditions.
Step 5: Maintenance and Monitoring
Change the water every two to three days to keep it fresh and oxygenated, which prevents bacterial growth that can harm the cuttings.
Check the cuttings regularly for root development. Tomato cuttings typically start forming roots within 7 to 14 days.
If mold or algae appear, clean the bottle thoroughly and replace the water immediately.
Step 6: Transplanting Rooted Cuttings
Once roots reach 2 to 3 inches (5 to 7 cm) in length, your tomato cuttings are ready for transplanting.
Carefully remove the rooted cutting from the water and plant it in a pot or garden bed filled with well-draining potting soil.
Water the new plant gently and place it in a shaded area for a few days to help it adjust before moving to full sun.
Benefits of Using a Bottle Cloner for Tomato Cuttings
-
Cost-Effective: Utilizes recycled materials with no extra expense.
-
Controlled Environment: Maintains humidity and temperature to speed up rooting.
-
Easy Monitoring: Transparent bottle allows you to see root growth clearly.
-
Space-Saving: Compact and suitable for small indoor spaces.
-
Reusable: Bottles can be cleaned and used multiple times.
Tips for Successful Cloning
-
Always use healthy parent plants free from disease.
-
Change water frequently to reduce the risk of rot and infection.
-
Keep the humidity dome in place until roots develop to maintain moisture.
-
Provide indirect light to avoid overheating and stress.
-
Avoid overcrowding—root one cutting per bottle cloner for best results.
Conclusion
Creating a DIY bottle cloner for tomato cuttings is a simple and sustainable method to propagate your tomato plants efficiently. This technique offers an easy way to produce new plants from cuttings by providing an ideal environment for root development using recycled materials.
By following the steps to prepare the bottle, set up your cuttings, and maintain the right conditions, you can multiply your tomato plants successfully and enjoy a bountiful harvest year after year. Whether you’re a beginner or an experienced gardener, this inexpensive propagation method is an excellent way to expand your tomato garden.


